


Embroider Anything with Water Soluble Sticker Patterns
Stitching snoopy
By Jennie Lennick
Print and transfer designs for hand embroidery projects
In this step-by-step tutorial, you will learn how to choose a design to embroider, how to print it onto a water-soluble stabilizer, how to stitch it onto fabric, and how to remove the stabilizer. With this technique, you can stitch essentially any design you can dream up on your embroidered projects!
In this blog I'll cover the following steps:
- How To Print & Cut Your Design
- How To Stick Your Design To Fabric
- What Stitch To Use For Your Outlines
- How To Wash Away The Sticker
- When To Add More Embroidery
Ready to dive in? Let's stitch!
A Visit to Camp Snoopy
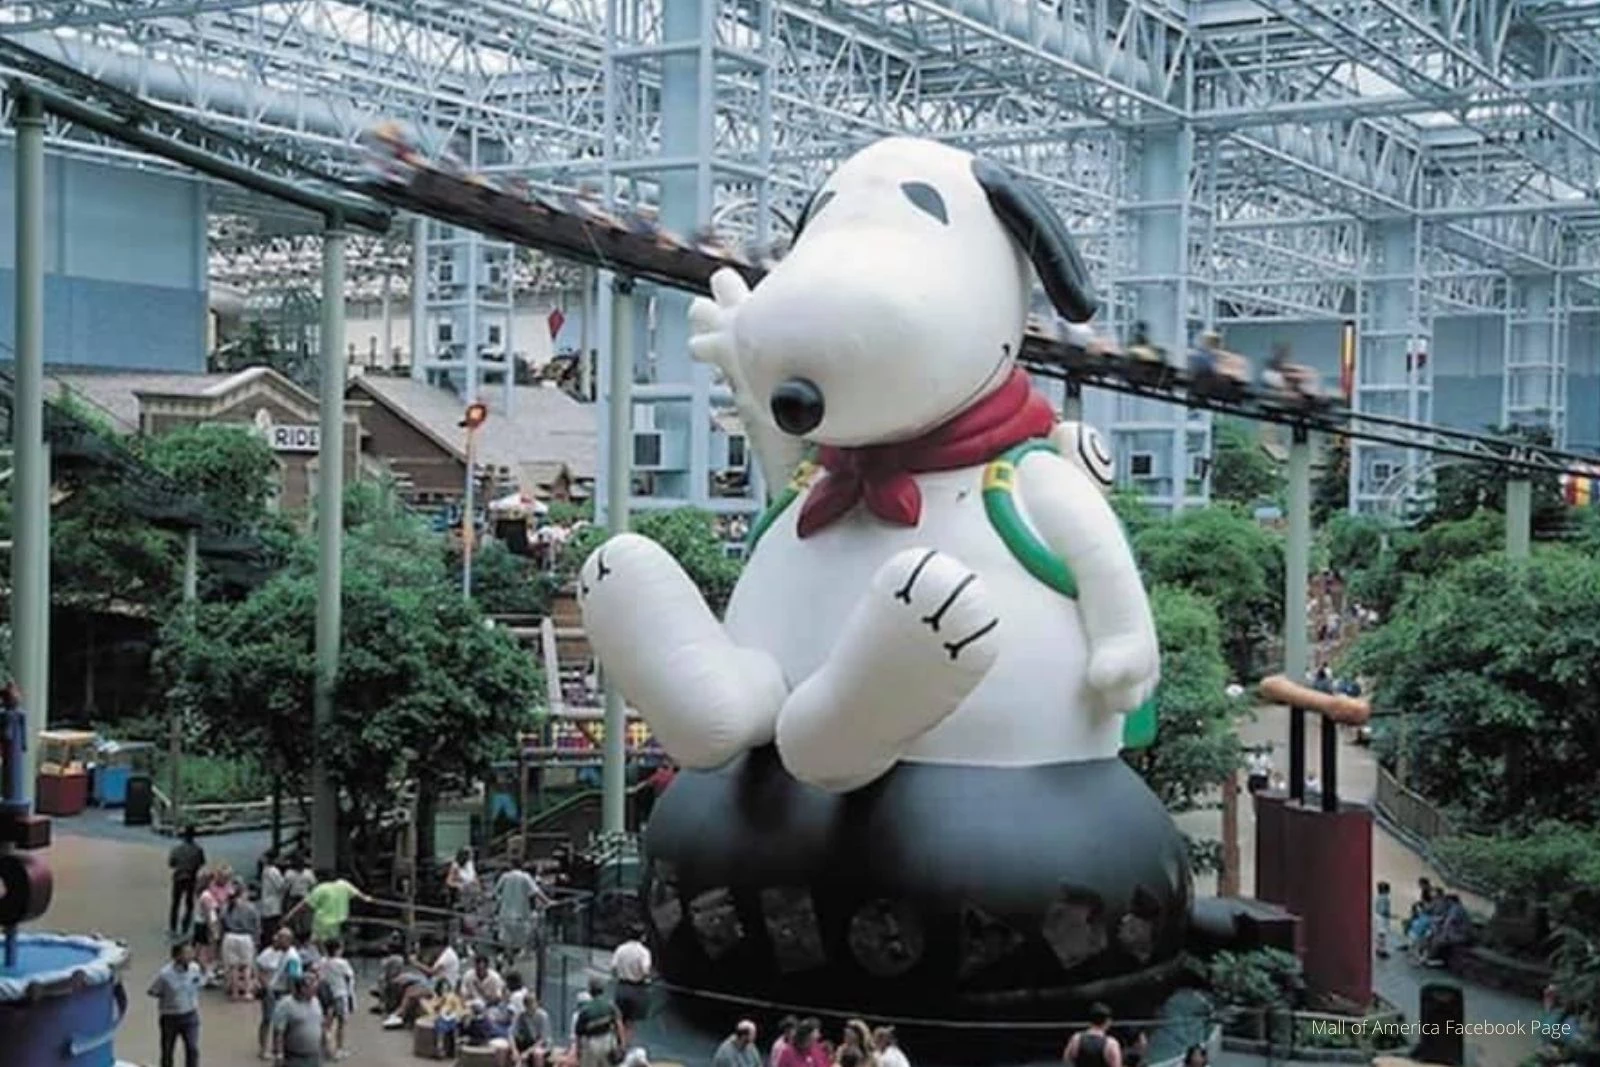
Camp Snoopy on opening day in 1992. Image courtesy of 105fm.com
I was six years old when the Mall of America opened its doors in Bloomington, Minnesota- a few miles from my home in Minneapolis. I felt incredible pride that my home state housed the largest mall in the United States was even more excited about what lay within that mall- an indoor amusement park called Camp Snoopy.
I spent my childhood parading around Camp Snoopy, which operated within the Mall from 1992-2006. I would beg my parents to buy us tickets to the Log Chute, a Paul Bunyan-themed water ride, and waste time jumping in the enormous Snoopy-shaped bounce house.
Charles Schulz, the creator of Peanuts, was born in Minneapolis in 1922. Minnesotans are so proud that our state is the original home of Charlie Brown that it was only natural that our mall’s main attraction would pay him homage.
Snoopy has always held a special place in my heart, so I thought it would be fun to embroider him on a cap!
Gather Your Materials
- Embroidery hoop
- Embroidery floss
- Embroidery needles
- Water Soluble Stabilizer Sheets
- Printer (I love my mini-printer!)
- Scissors
- Fabric to embroider on- I used these blank hats!

As an Amazon Associate I earn from qualifying purchases. Thank you for checking out my recommendations!

Step 1: Print & Cut Your Design

What would you like to stitch? Try doing a Google search for whatever you want your subject matter to be as a vector. I searched “snoopy vector” in my example and found a cute image of Snoopy holding his bird, Woodstock.

Insert a printable stabilizer sheet into your printer. I scaled down my image, so it printed at the size I wanted to stitch. I recommend printing a couple of times with plain paper to make sure you like the size.
Cut out your printed pattern. You’re ready to stick it on and start stitching!
Step 2: Stick Your Design to Fabric
Put your fabric through your embroidery hoop and tighten it. It’s a good idea to have a variety of different sizes of hoops for various projects. Since I am embroidering on a cap with a tiny surface area, I am using a 4-inch hoop.
If you are a total embroidery newbie, check out our blog Getting Started with Embroidery- Stretching Fabric and Threading a Needle for an introduction to the craft.

Once your fabric is through your hoop, place your sticker. You can reposition the sticker a couple of times, but if you do it too much, it’ll lose its stick.
Step 3: Stitch

Thread your needle, knot off your thread, and begin stitching!
I suggest stitching the outline of your project and filling in details later. My favorite stitch for outlines is the backstitch. Check out our tutorial here for a step-by-step!
Stitching through the sticker can be a little challenging. Your needle may get covered with the adhesive from the sticker. If your needle is too sticky to handle, rinse it off with a bit of water, and it’ll be good to go again!

Step 4: Wash

Run your fabric under warm water, and the sticker will begin to dissolve. Gently agitate the fabric with your fingers to help it along. Pat your project dry with a towel and lay it flat to dry.


Step 5: Add More Embroidery

Once your fabric is completely dry, add more embroidery! This step is optional, but it is a lot of fun to stitch details- try satin stitch for filling in areas, french knot for texture, or lazy daisies for flowers!

SHOP JENNY LEMONS


I love my new Snoopy hat! It was so easy to transfer patterns with water-soluble sticker stabilizer!
For my next project, I think I’ll stitch another Peanuts character on a t-shirt. Want to learn how to stitch your shirts? Check out our tutorial on how to stitch on stretchy fabrics!
Want More Needlework Projects? Check out these tutorials:
- Demystifying the French Knot: DIY Embroidery Tutorial
- Learn Running Stitch for Embroidery and Hand Sewing
- Easy Embroidery Tutorial- Fruit Slice Keychain Project
- Embroidery On a T-Shirt: How to Stitch on Stretchy Fabric
- Embroider a Lemon: Learn Lazy Daisy & Backstitch
- DIY Sunshine Tea Towel: Learn Appliqué and Blanket Stitch
Check out my Embroidery for Beginners Pinterest board for more embroidery ideas!
Have you used a transfer stabilizer before? Share your tips in the comments!
This post was originally published on and updated on 8/8/2022. Thanks for visiting! You can check out more DIY projects on our blog here.

JENNIE LENNICK
Designer, entrepreneur, and lover of crafts! Boss Lady at Jenny Lemons in San Francisco


