


How to Make Paper Flowers - Create a Big Impact With This Easy Craft
How to Make Paper Flowers
These paper flowers are simple to craft but make a big impact, especially if you make giant ones! All you need to make them are a few supplies you might already have around the house.
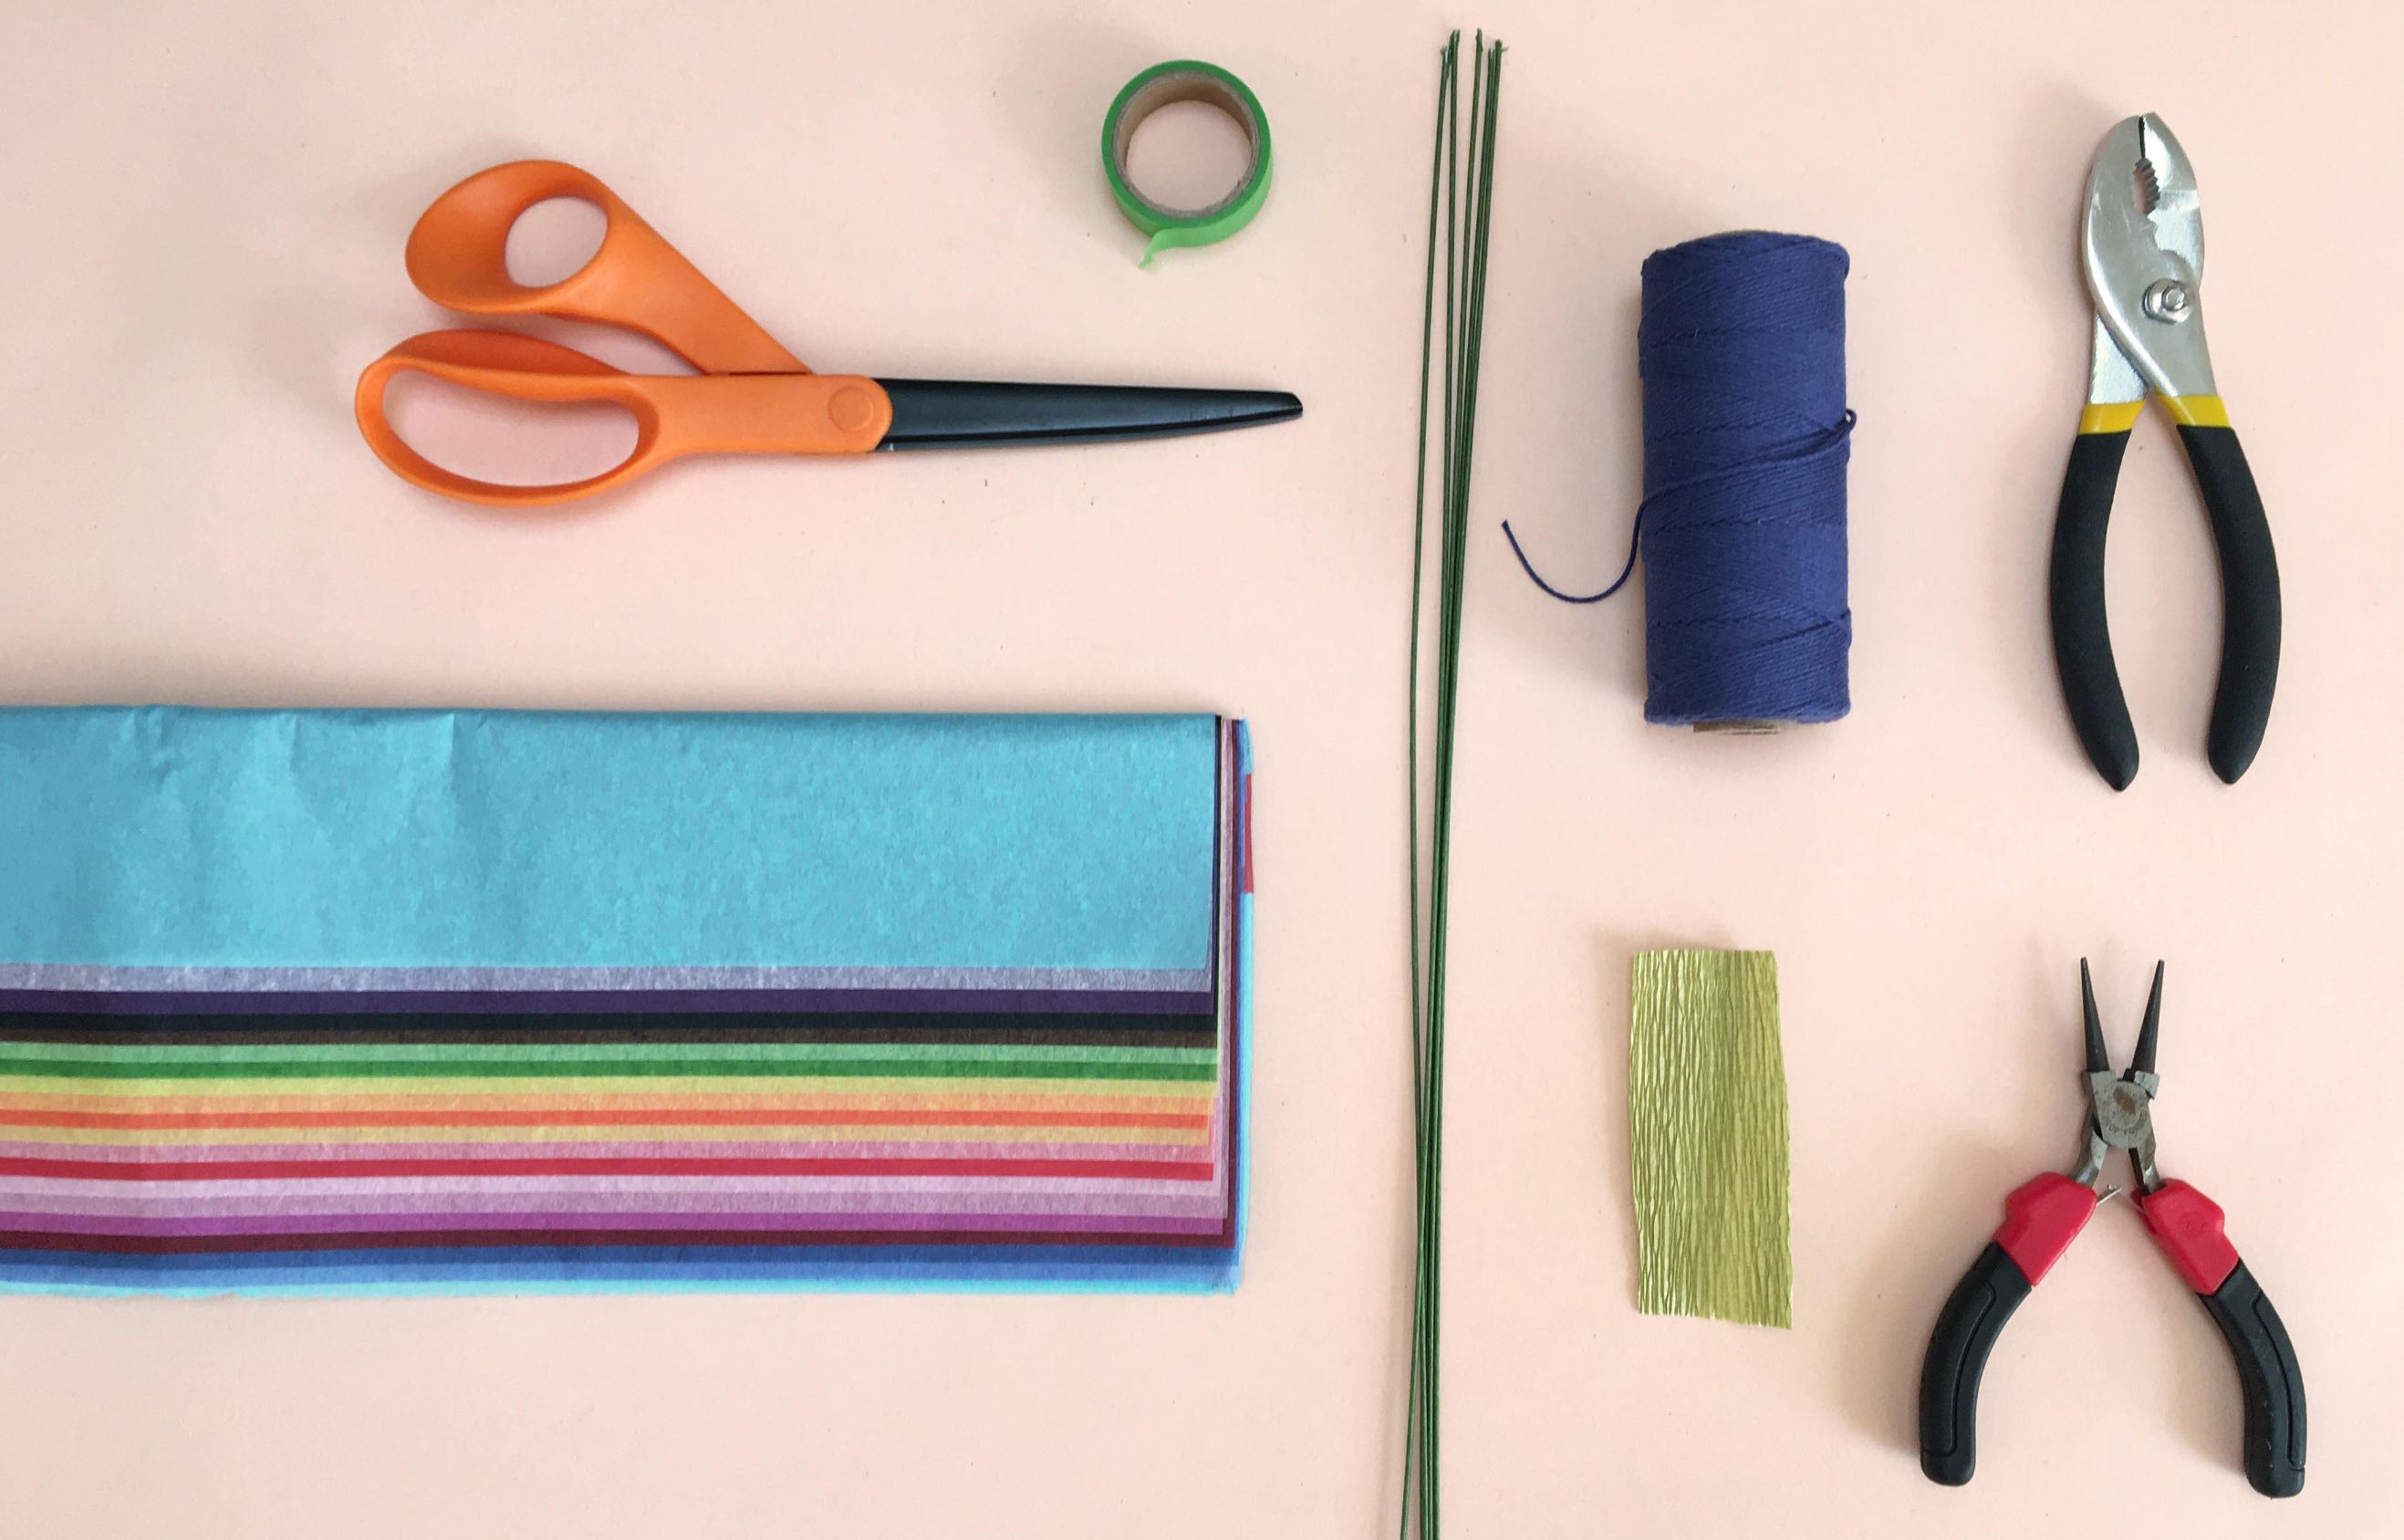
Gather Your Supplies
- Scissors
- Tissue paper in whatever colors you like
- Wire - floral wire works great but isn’t necessary. I’m using 18 gauge floral wire that’s precut to stem length. If you don’t have any wire around the house, you could make these using string with the same technique and make a garland or big blooms to hang around.
Optional but helpful supplies:
As an Amazon Associate I earn from qualifying purchases. Thank you for clicking on our recommendations!
Step 1: Fold Tissue In Half
To make a giant flower:
- Take 2 sheets of tissue paper, either the same color or 2 different colors for a 2-tone bloom, and fold them in half.
- Take the 2 sheets that are now folded in half and stack them on top of each other.
- You should have 4 layers of tissue.
To make a medium sized flower:
- Fold one sheet of tissue in half and then in half again.
- You’ll have 4 layers.
To make a small flower:
- Fold a sheet of tissue in half and then in thirds.
- You’ll end up with 6 layers.
Step 2: Accordion Fold Your Tissue

From the short side of your strip(s) of paper, fold back and forth like an accordion in even segments.
For giant flowers: the folds should be about 1- 1.5 inch
Medium sized flowers: aim for folds between half an inch and 3/4 inch
For small flowers: half an inch folds are best. You don’t want to make them much smaller than 3/8” or the blossoms will be hard to form.
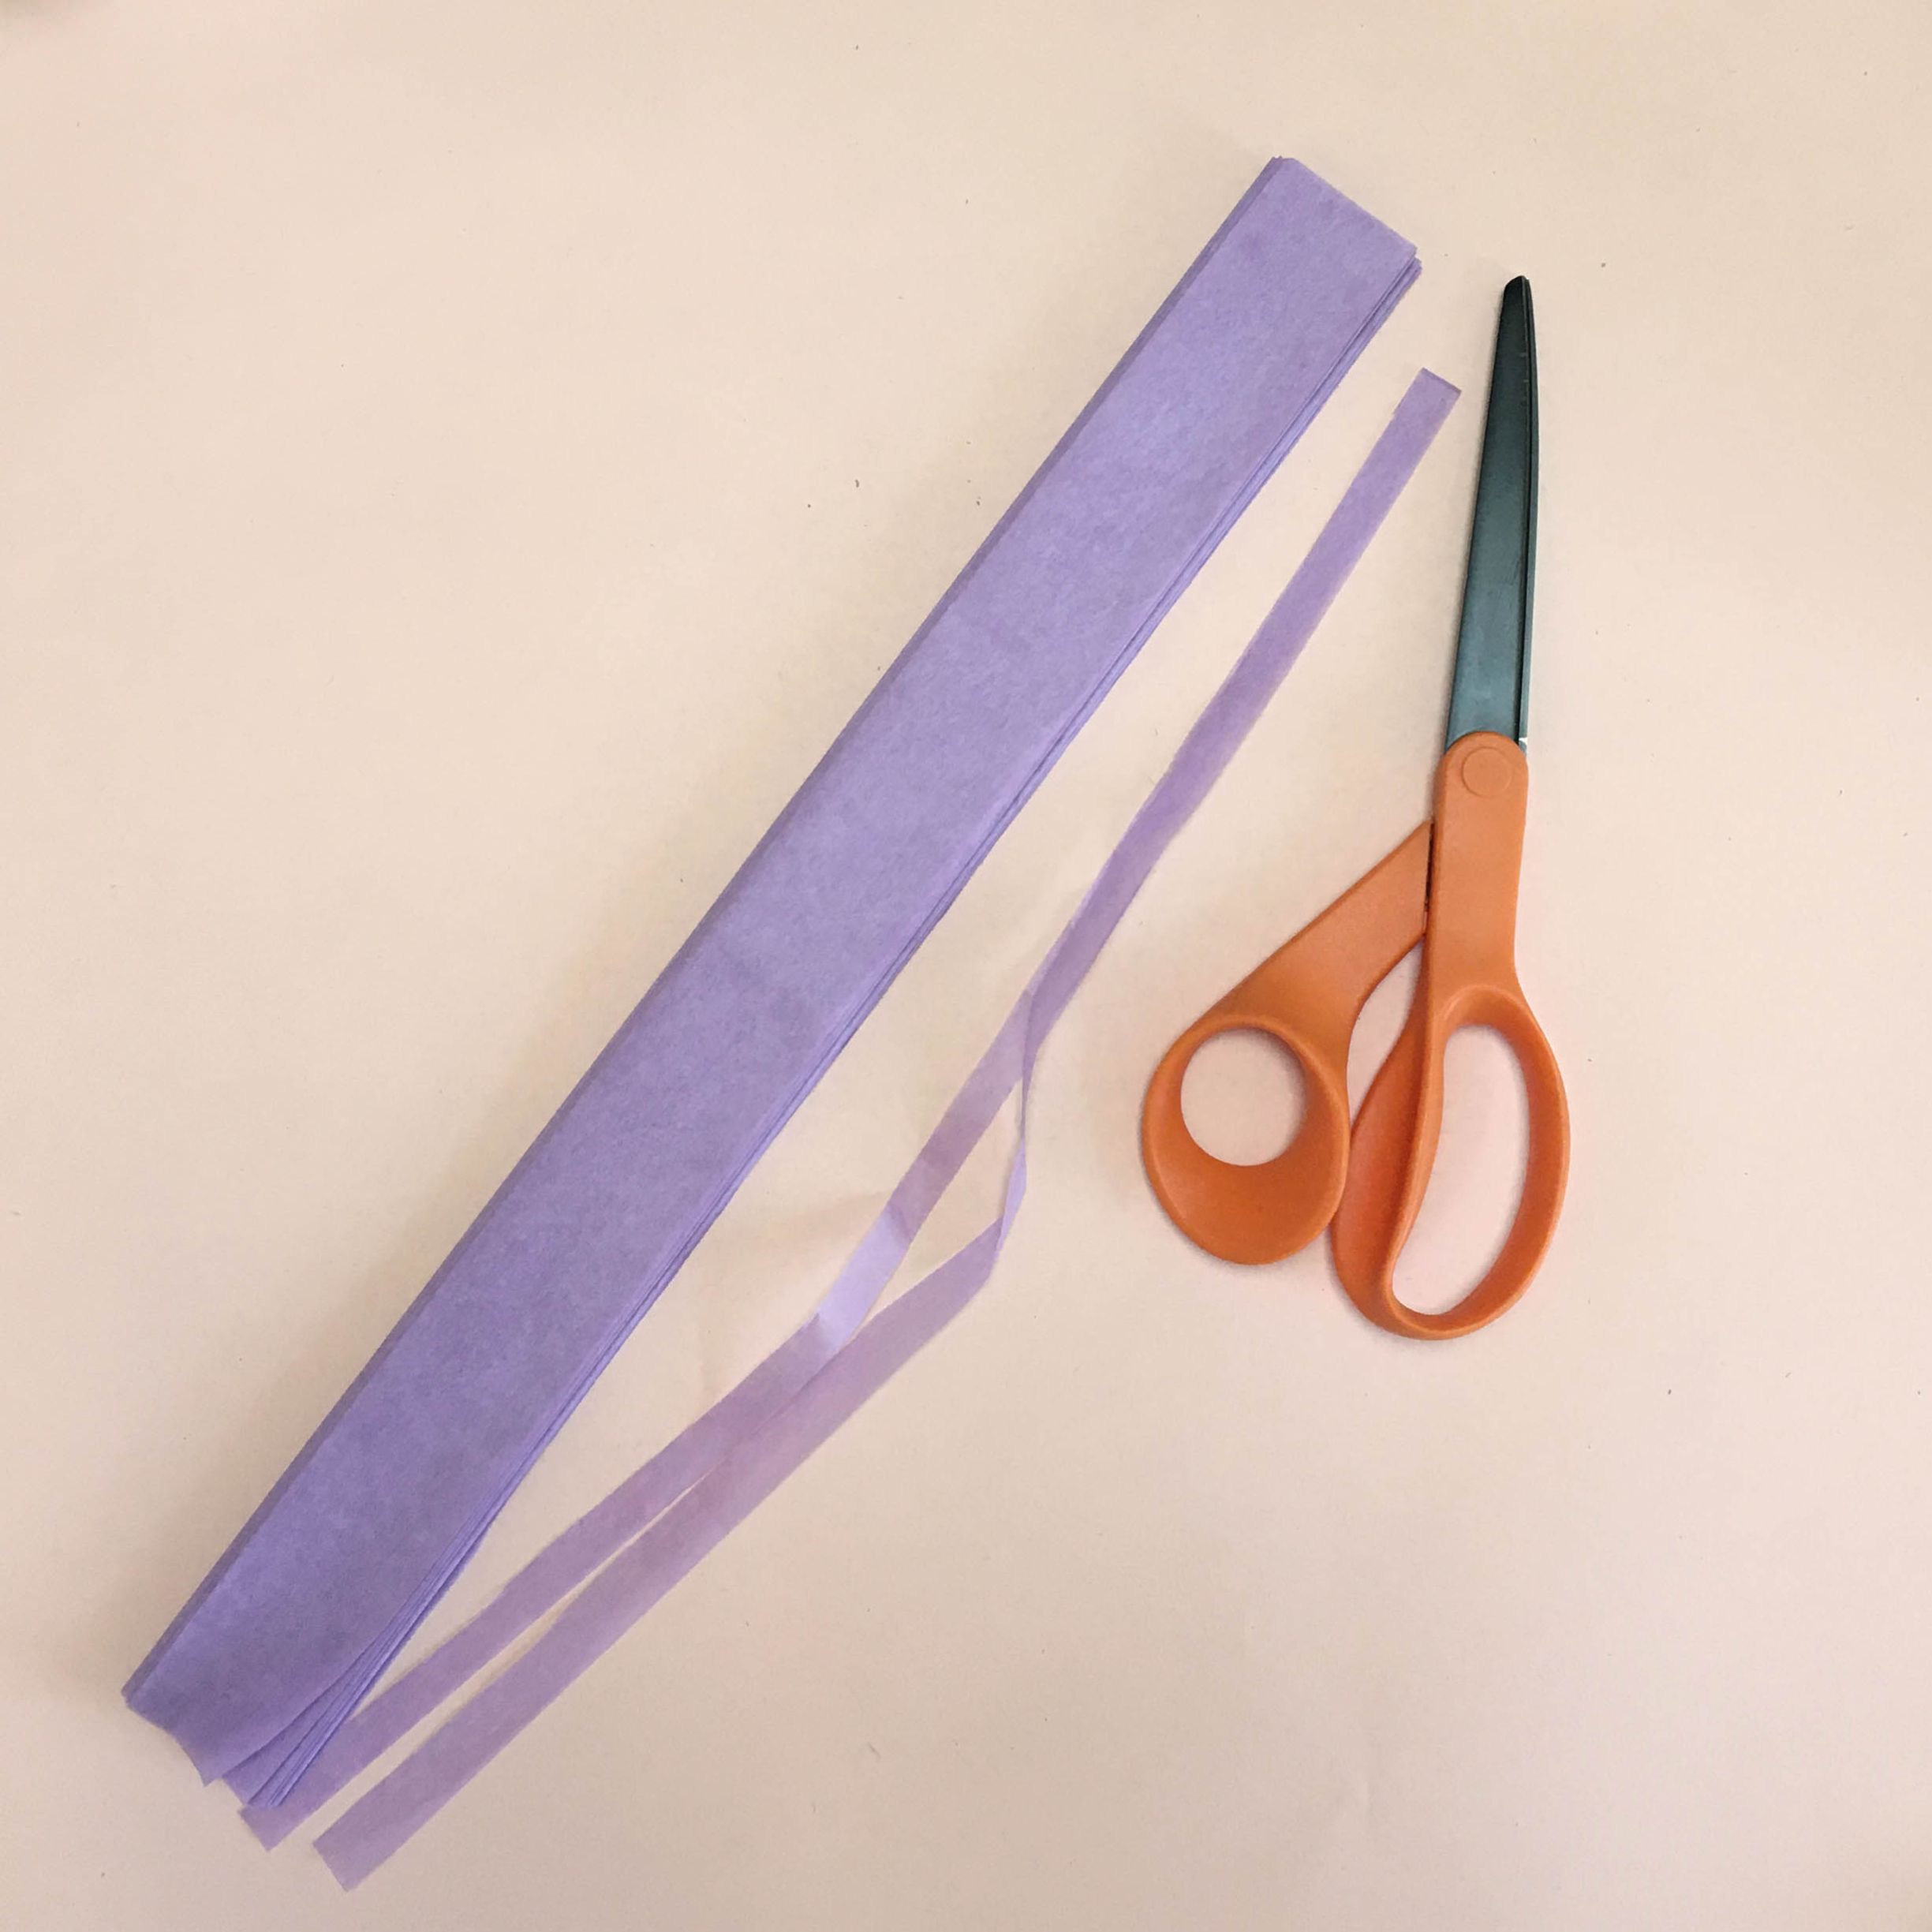
When you’re done folding, you might have a bit of an overhang on one edge. Trim it off so the edge is even with your accordion. BE CAREFUL not to cut through any of your folds.
For medium and smaller flowers: you’ll have enough from 1 long accordion to make 2-3 flowers. Count 4-6 folded edges and cut along a crease. This smaller accordion segment will turn into a flower!
For giant flowers: use the entire piece you folded for one flower.
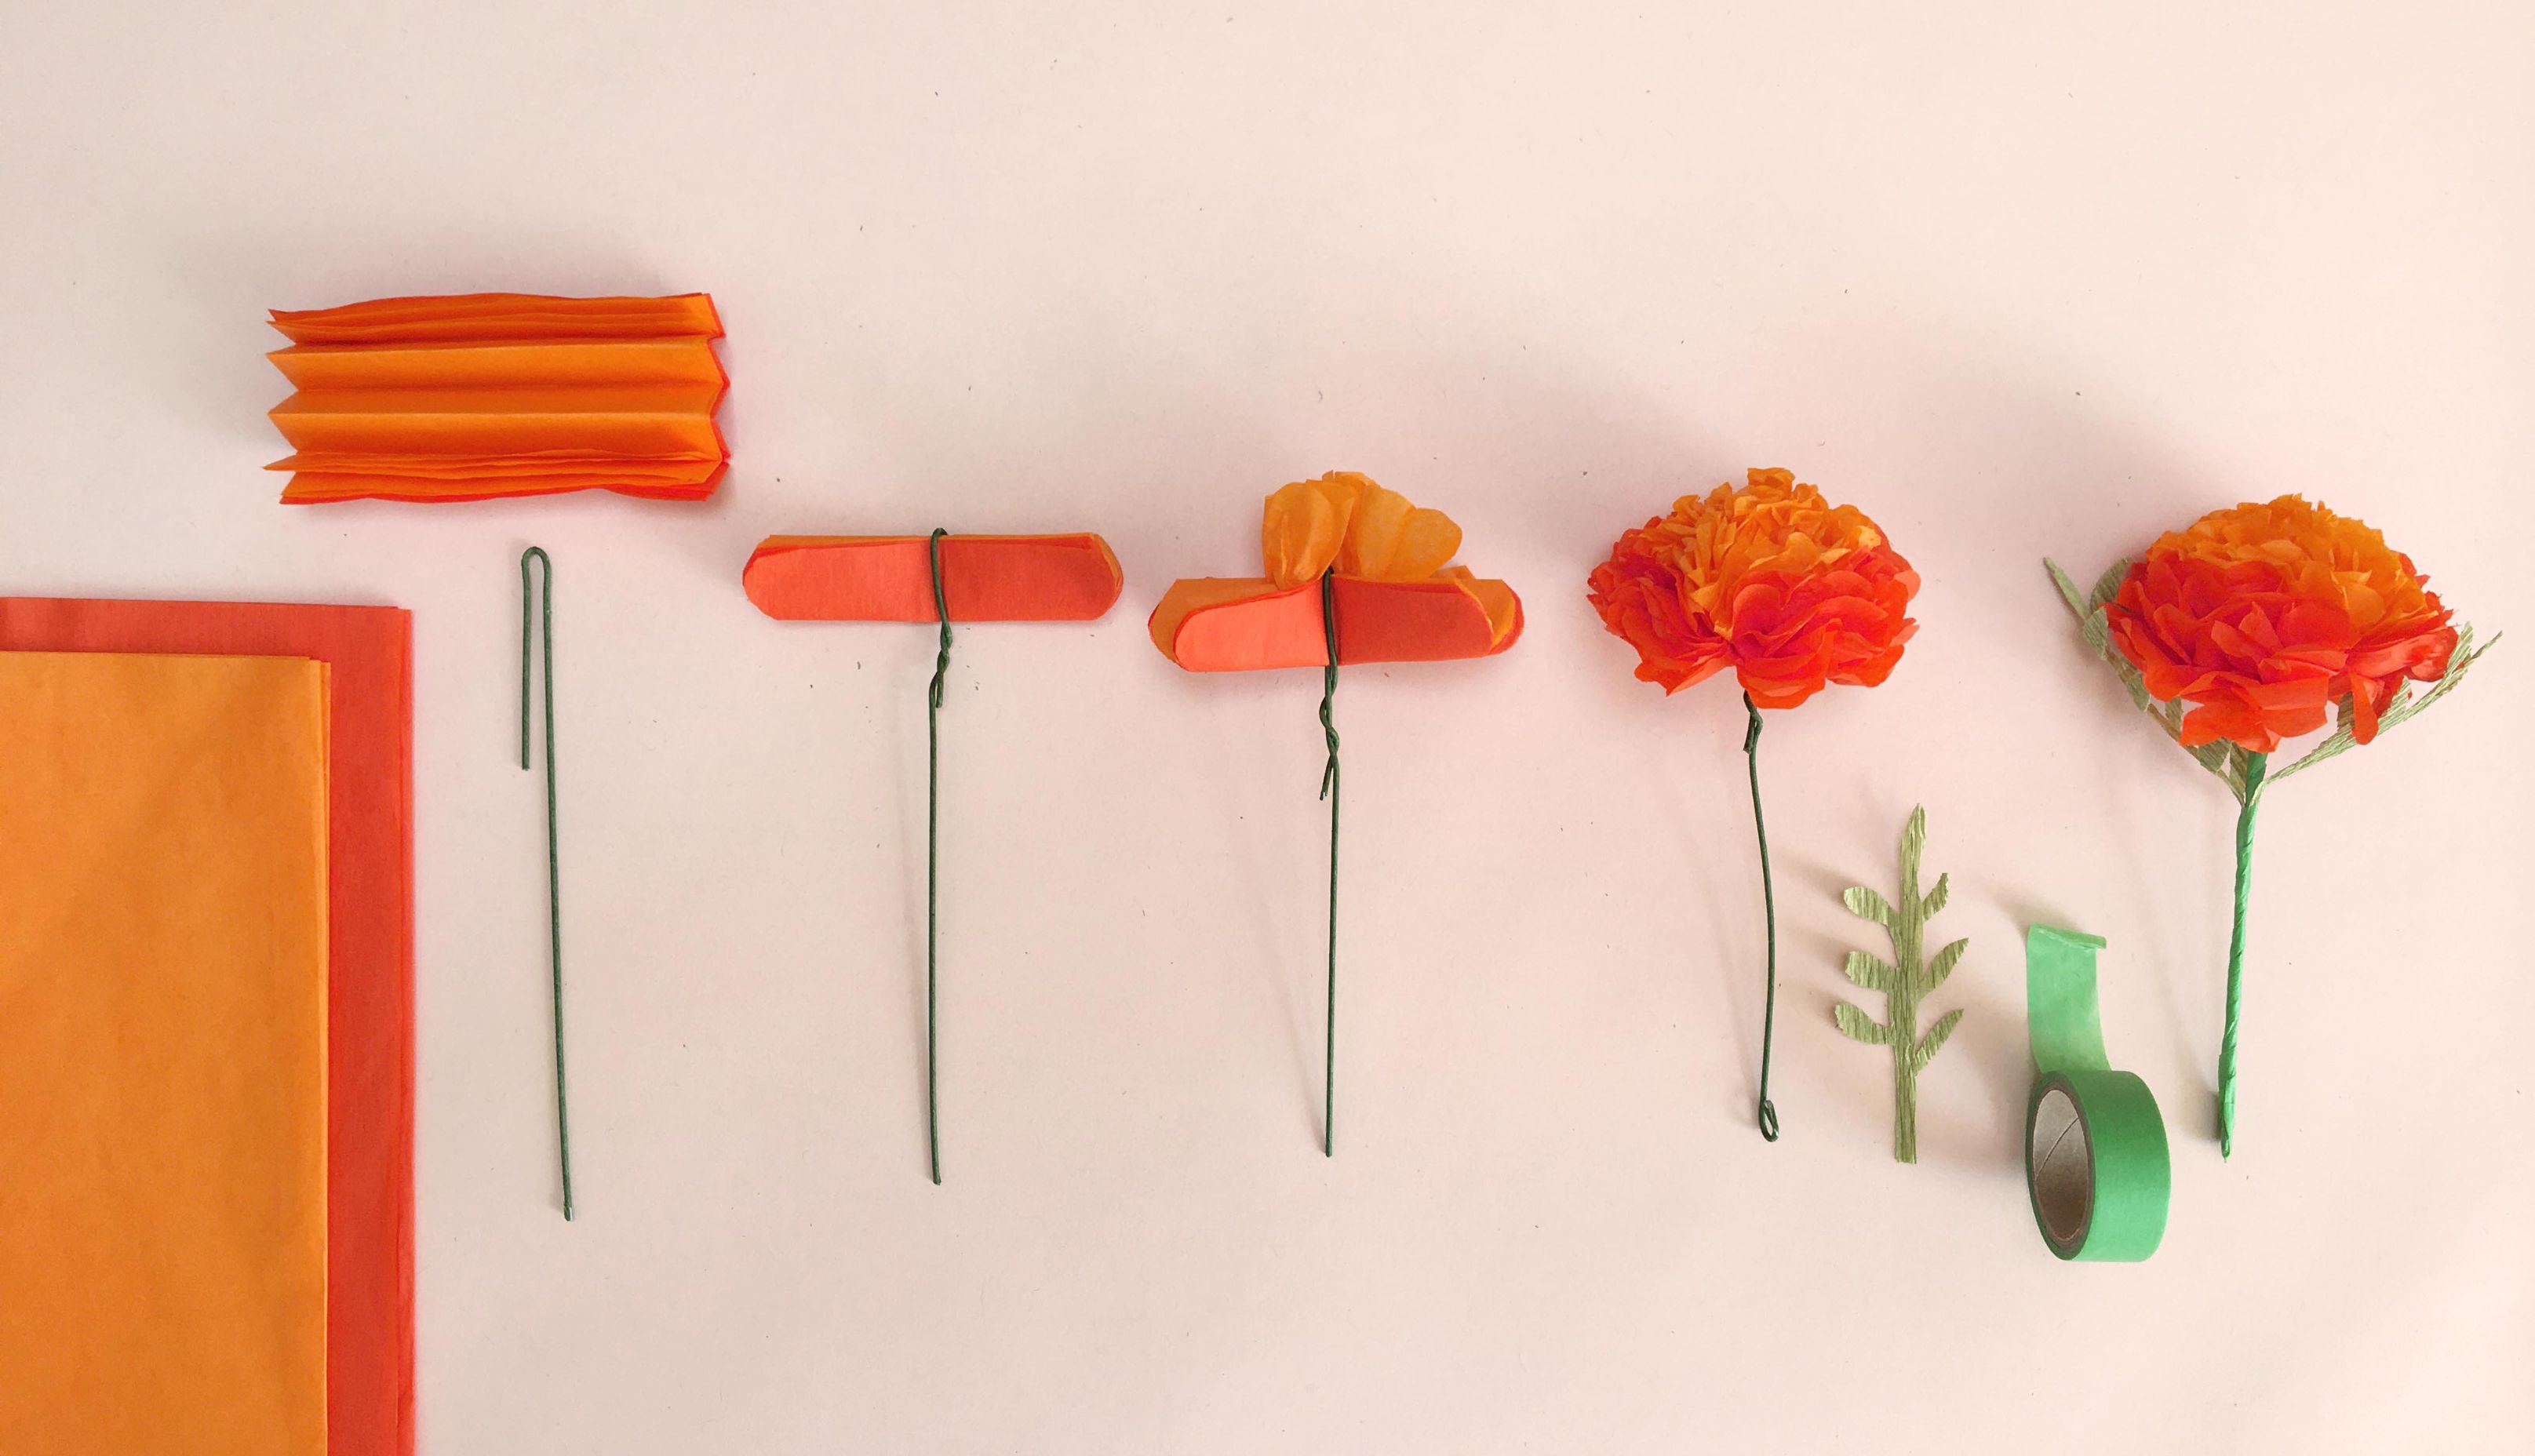
Step 3: Add a Wire Stem
Take a length of wire slightly longer than the flower stem you want. Make a sharp hook with one long end and one short. The short end should be about 2” long.

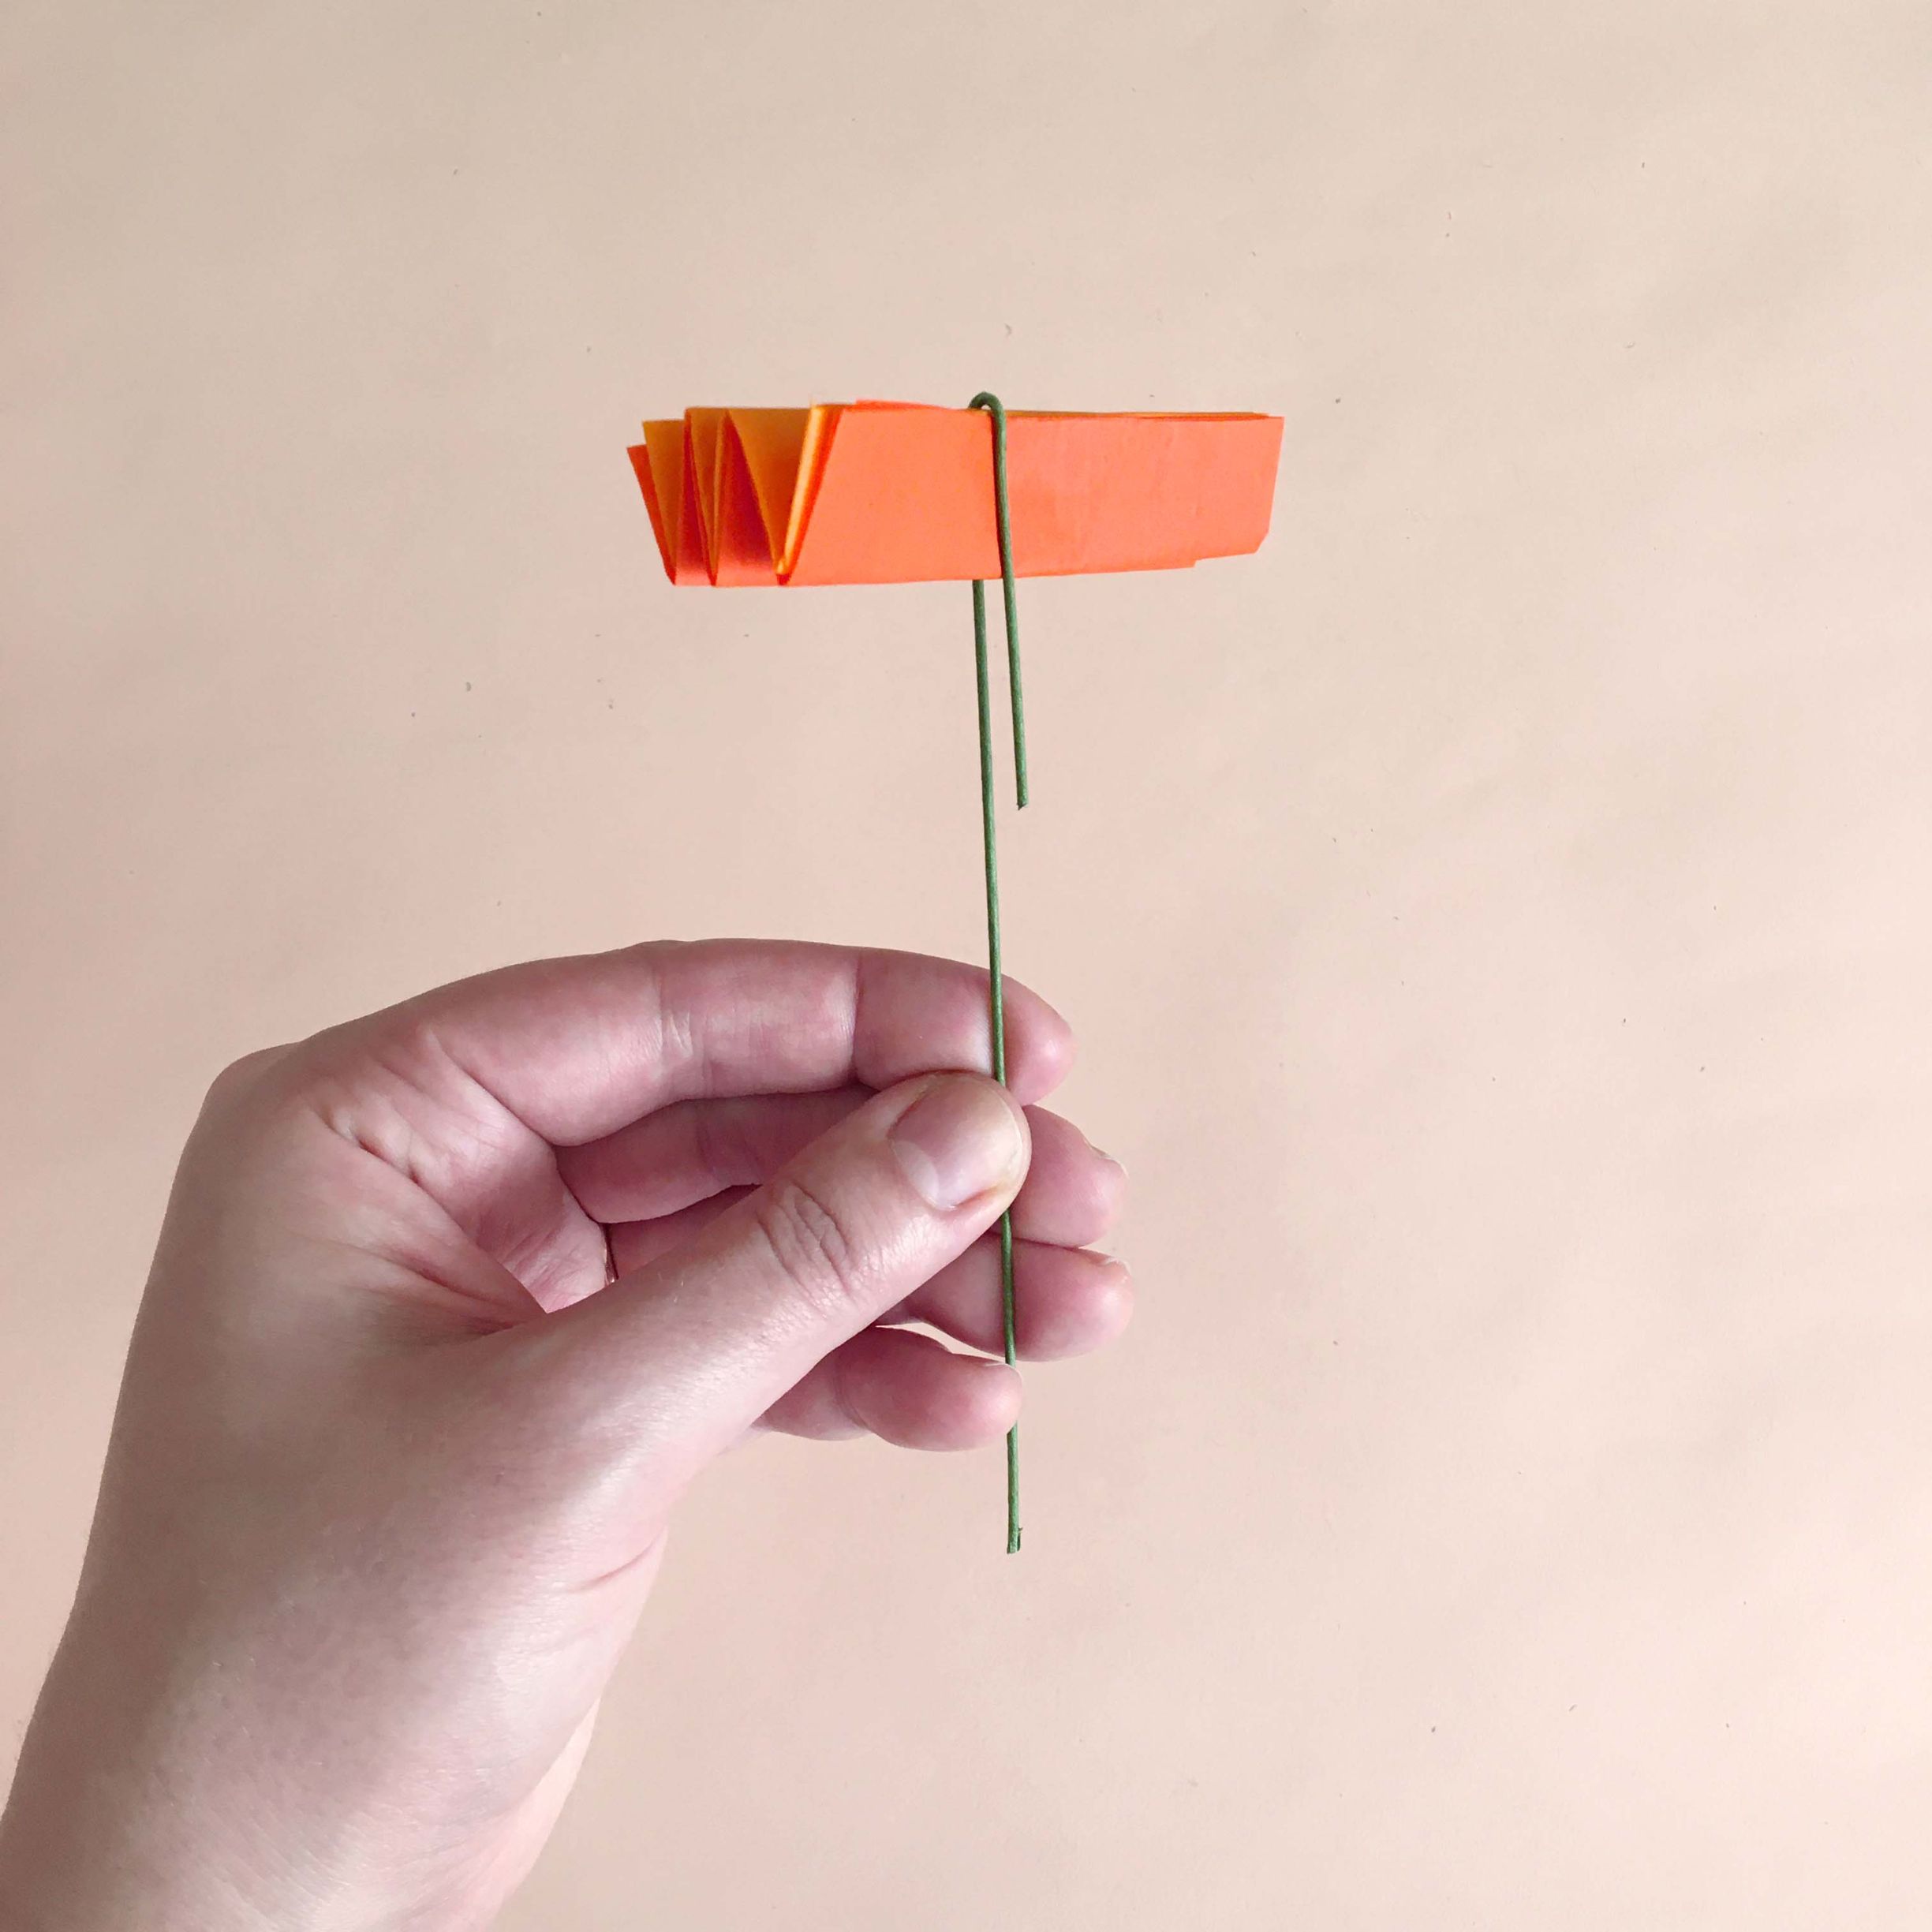
Tuck your folded paper up into the top of the hook. Note: if you’re using 2 colors, the one you want on the inside of the flower should be on top.

Starting at the bottom edge of your folded paper, twist the short end of the hook around the long end, securing the paper in the wire.
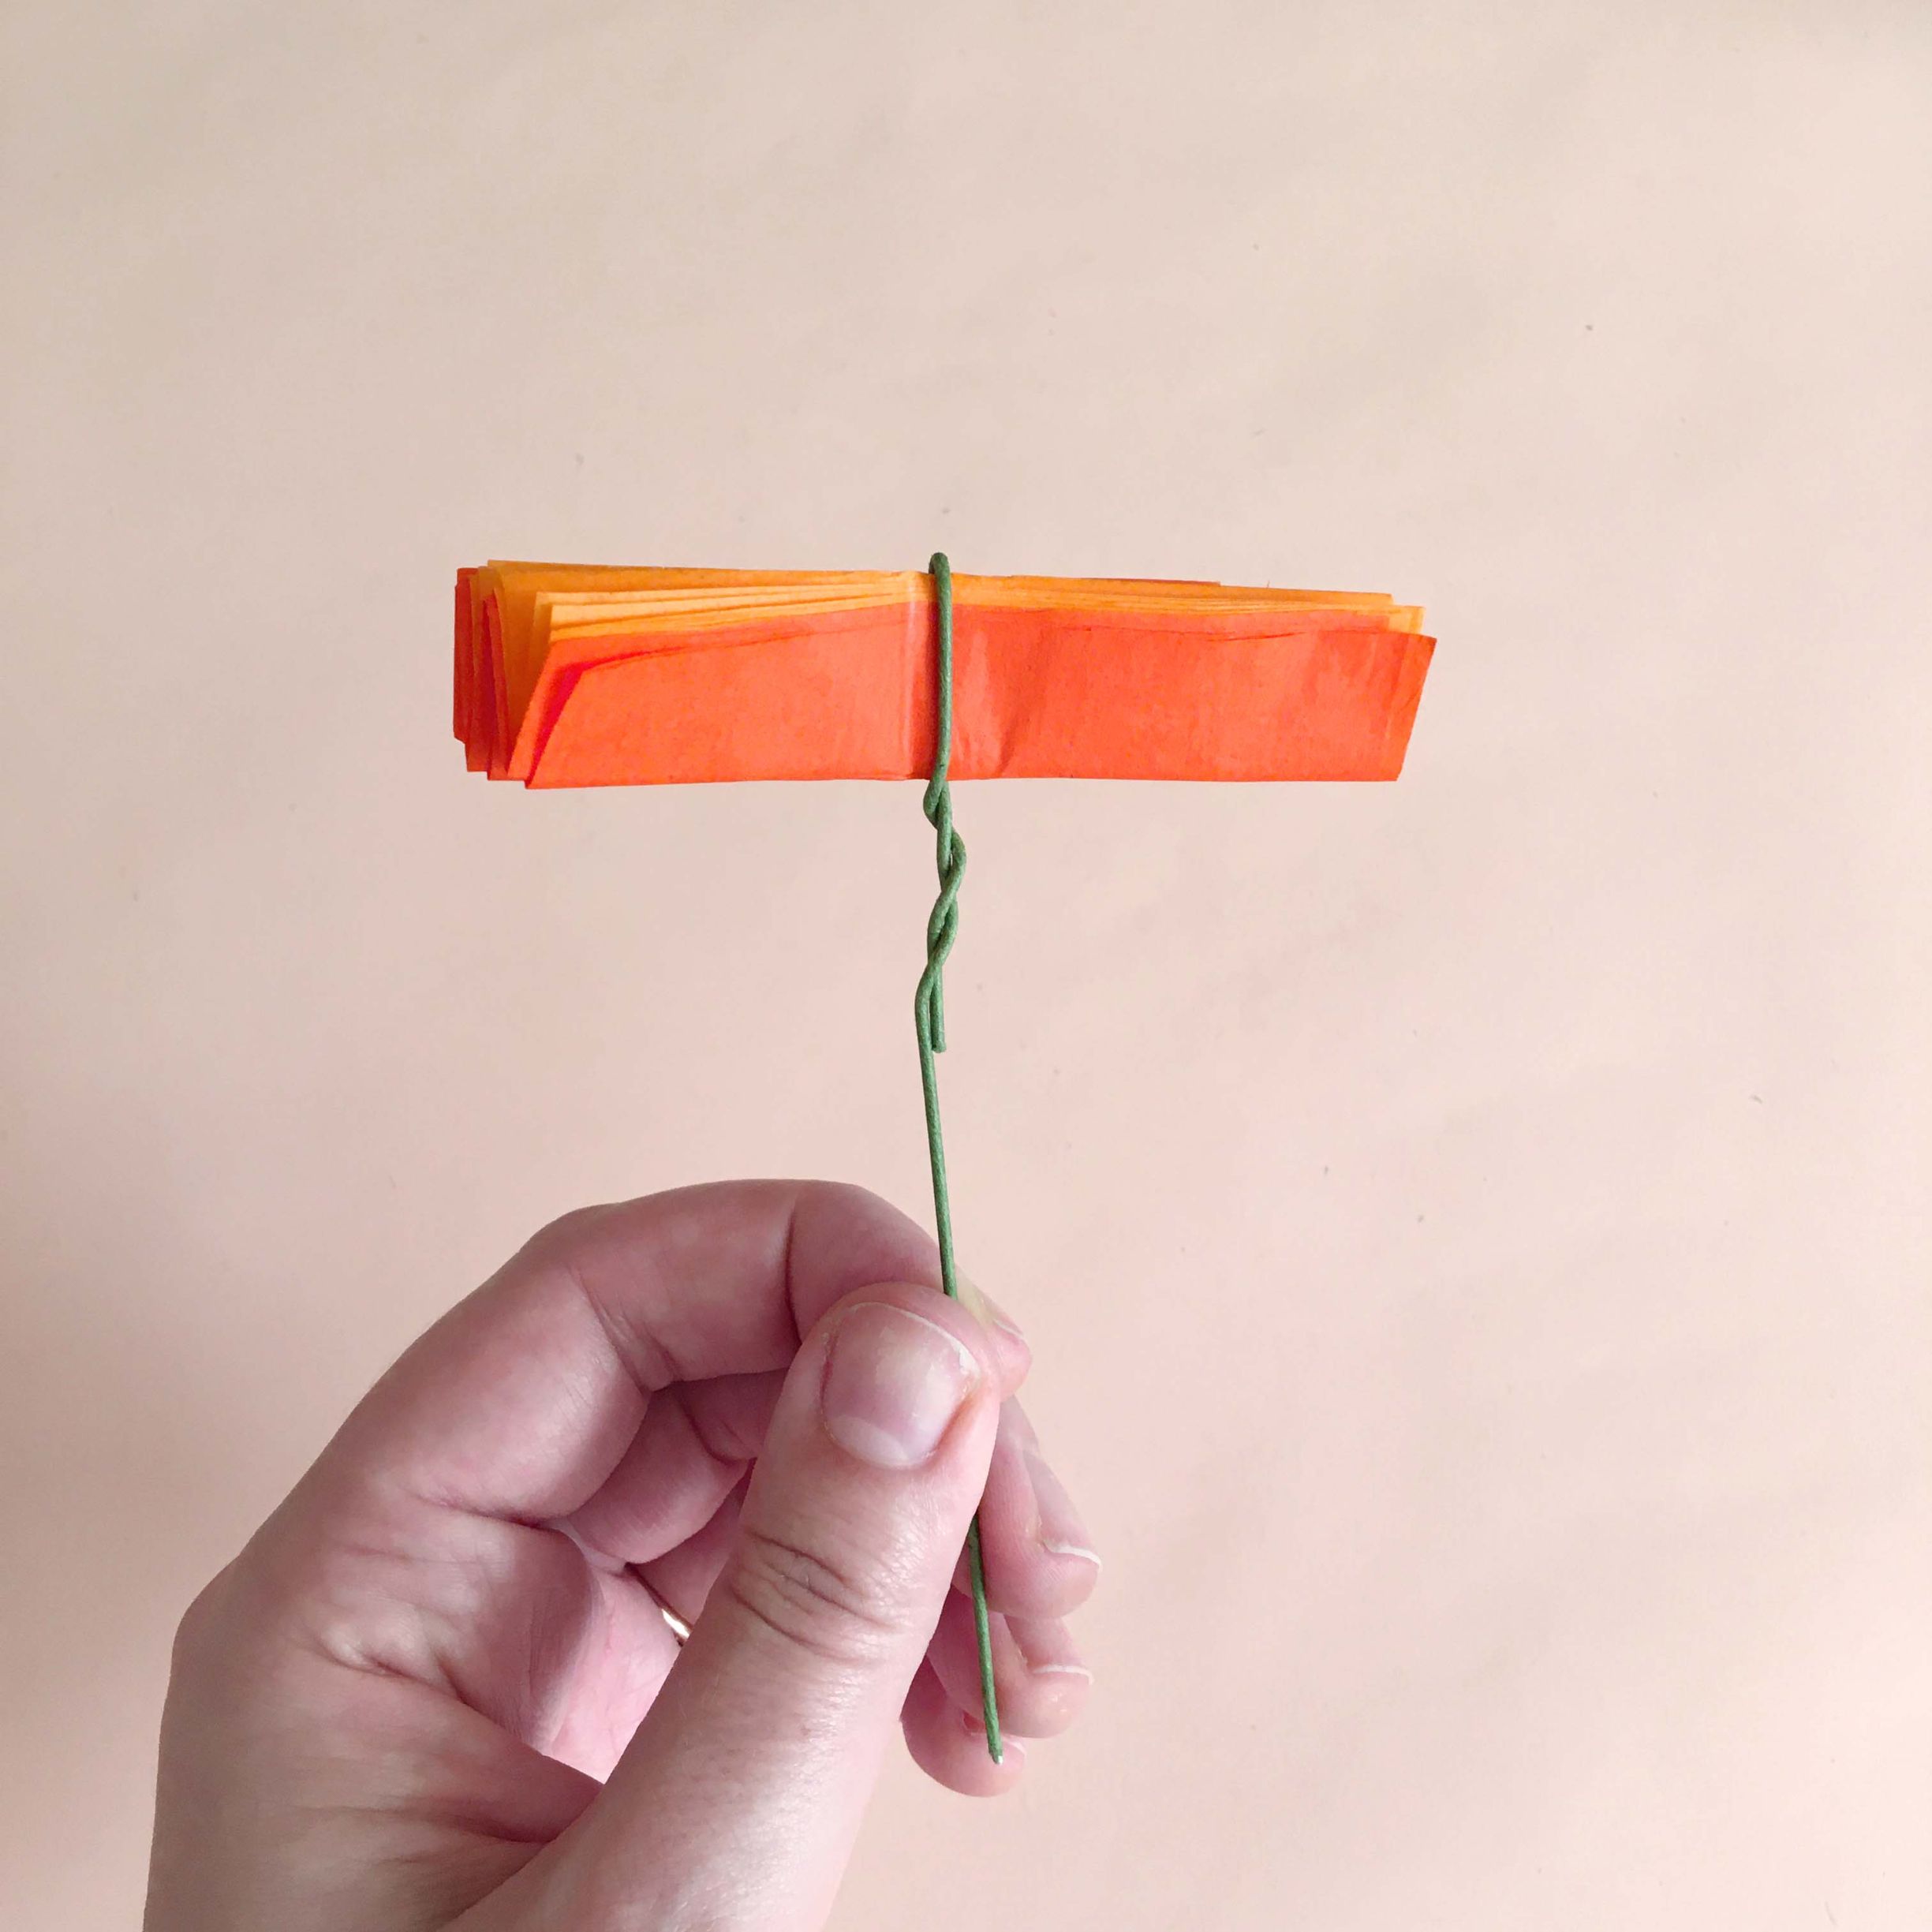
It’s helpful to use pliers for the end of the twist, unless you have really strong fingers! You can also crimp the other end of the stem up so there are no pointy ends.
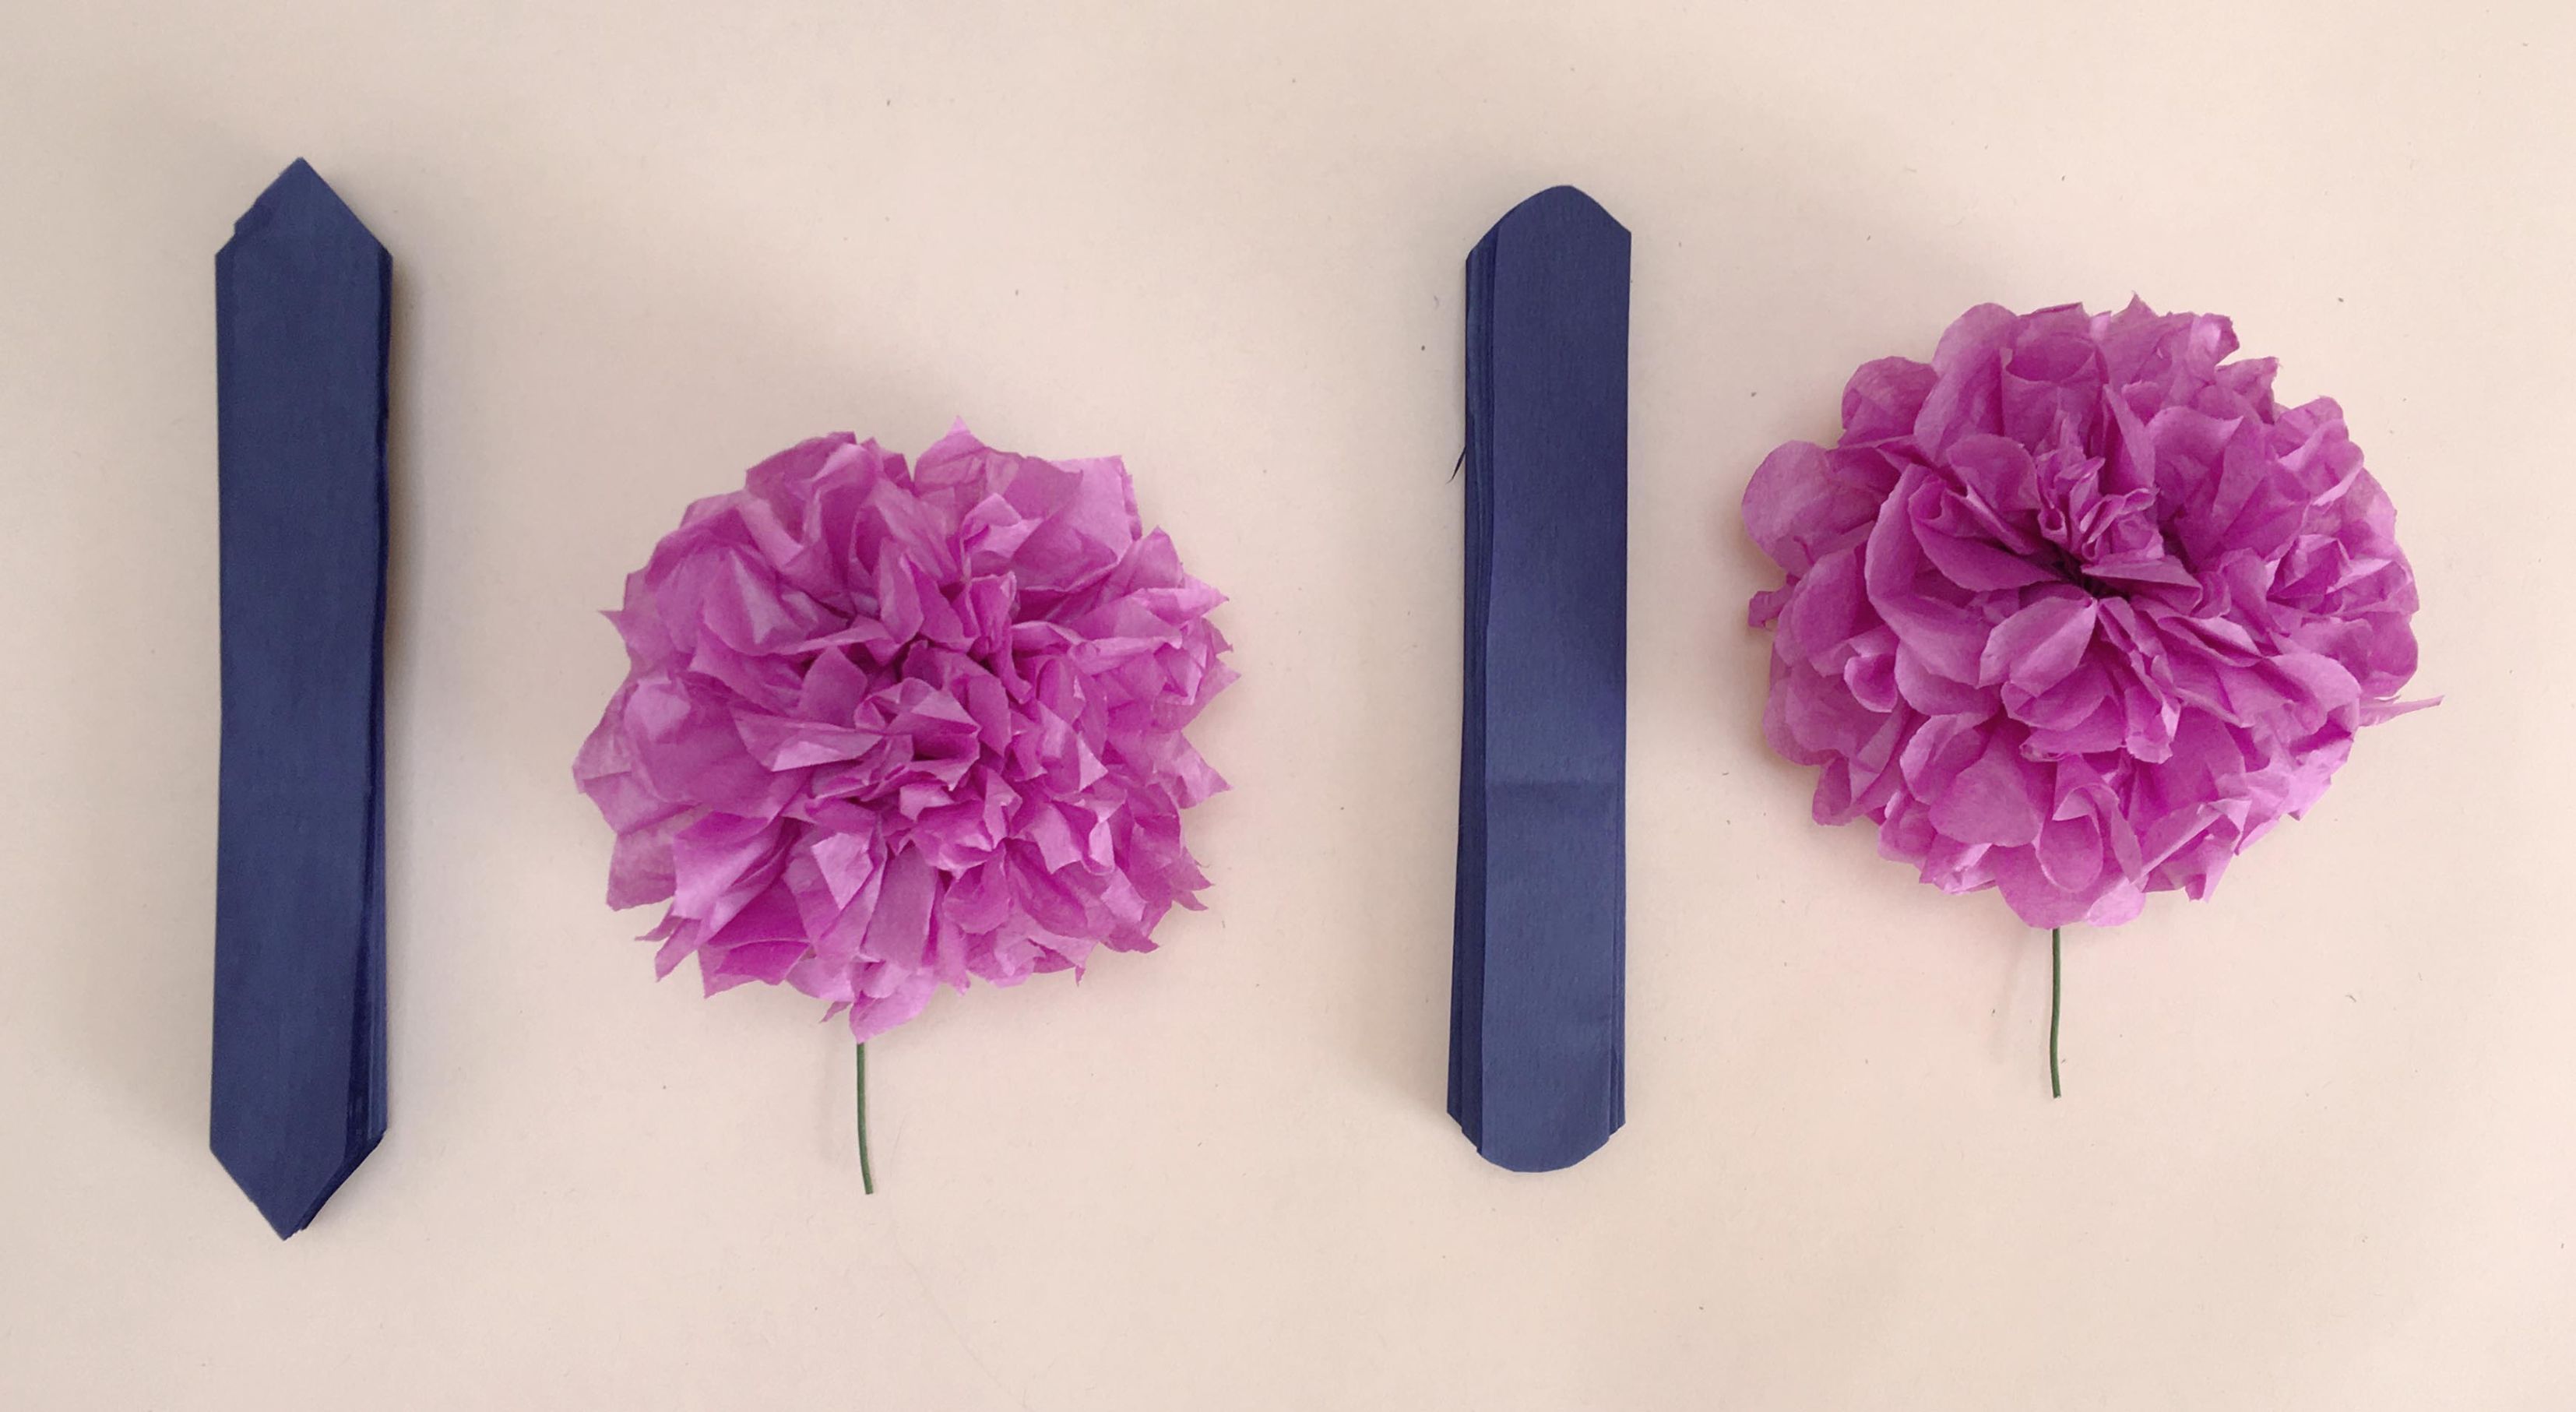
Step 4: Choose the Shape of Your Flower
Grab your scissors and trim the 2 ends of the tissue paper on either side of the wire. Rounded edges will give you more of a peony/marigold/carnation look, depending on the size and pointed ends can look more like dahlias.
Note: When you’re shaping the ends, trim off enough paper so any edges that were folded are gone. You want all the layers to be individual.
Step 5: Form the Blossom!

Center your paper in the wire. Starting on one side, open up the accordion a little bit and gently pull one layer of tissue at a time up towards the crimped wire. This is now the center of your flower.

Try to get the layers as vertical as you can, especially the first few, but don’t pull too hard. It’s okay if you get a little rip here and there, you can disguise it in all the fluffy petals.

When you’re done, use your fingers to fluff it up and move the paper around until you’re happy with it.
Step 6: The Finishing Touches
This step is totally optional!
You can cover your stem with green tape for a cleaner look. Floral tape is ideal but green masking tape or washi tape works, too. Stick the end of your tape to the wire right below the flower and keep twisting/taping until you cover the stem.
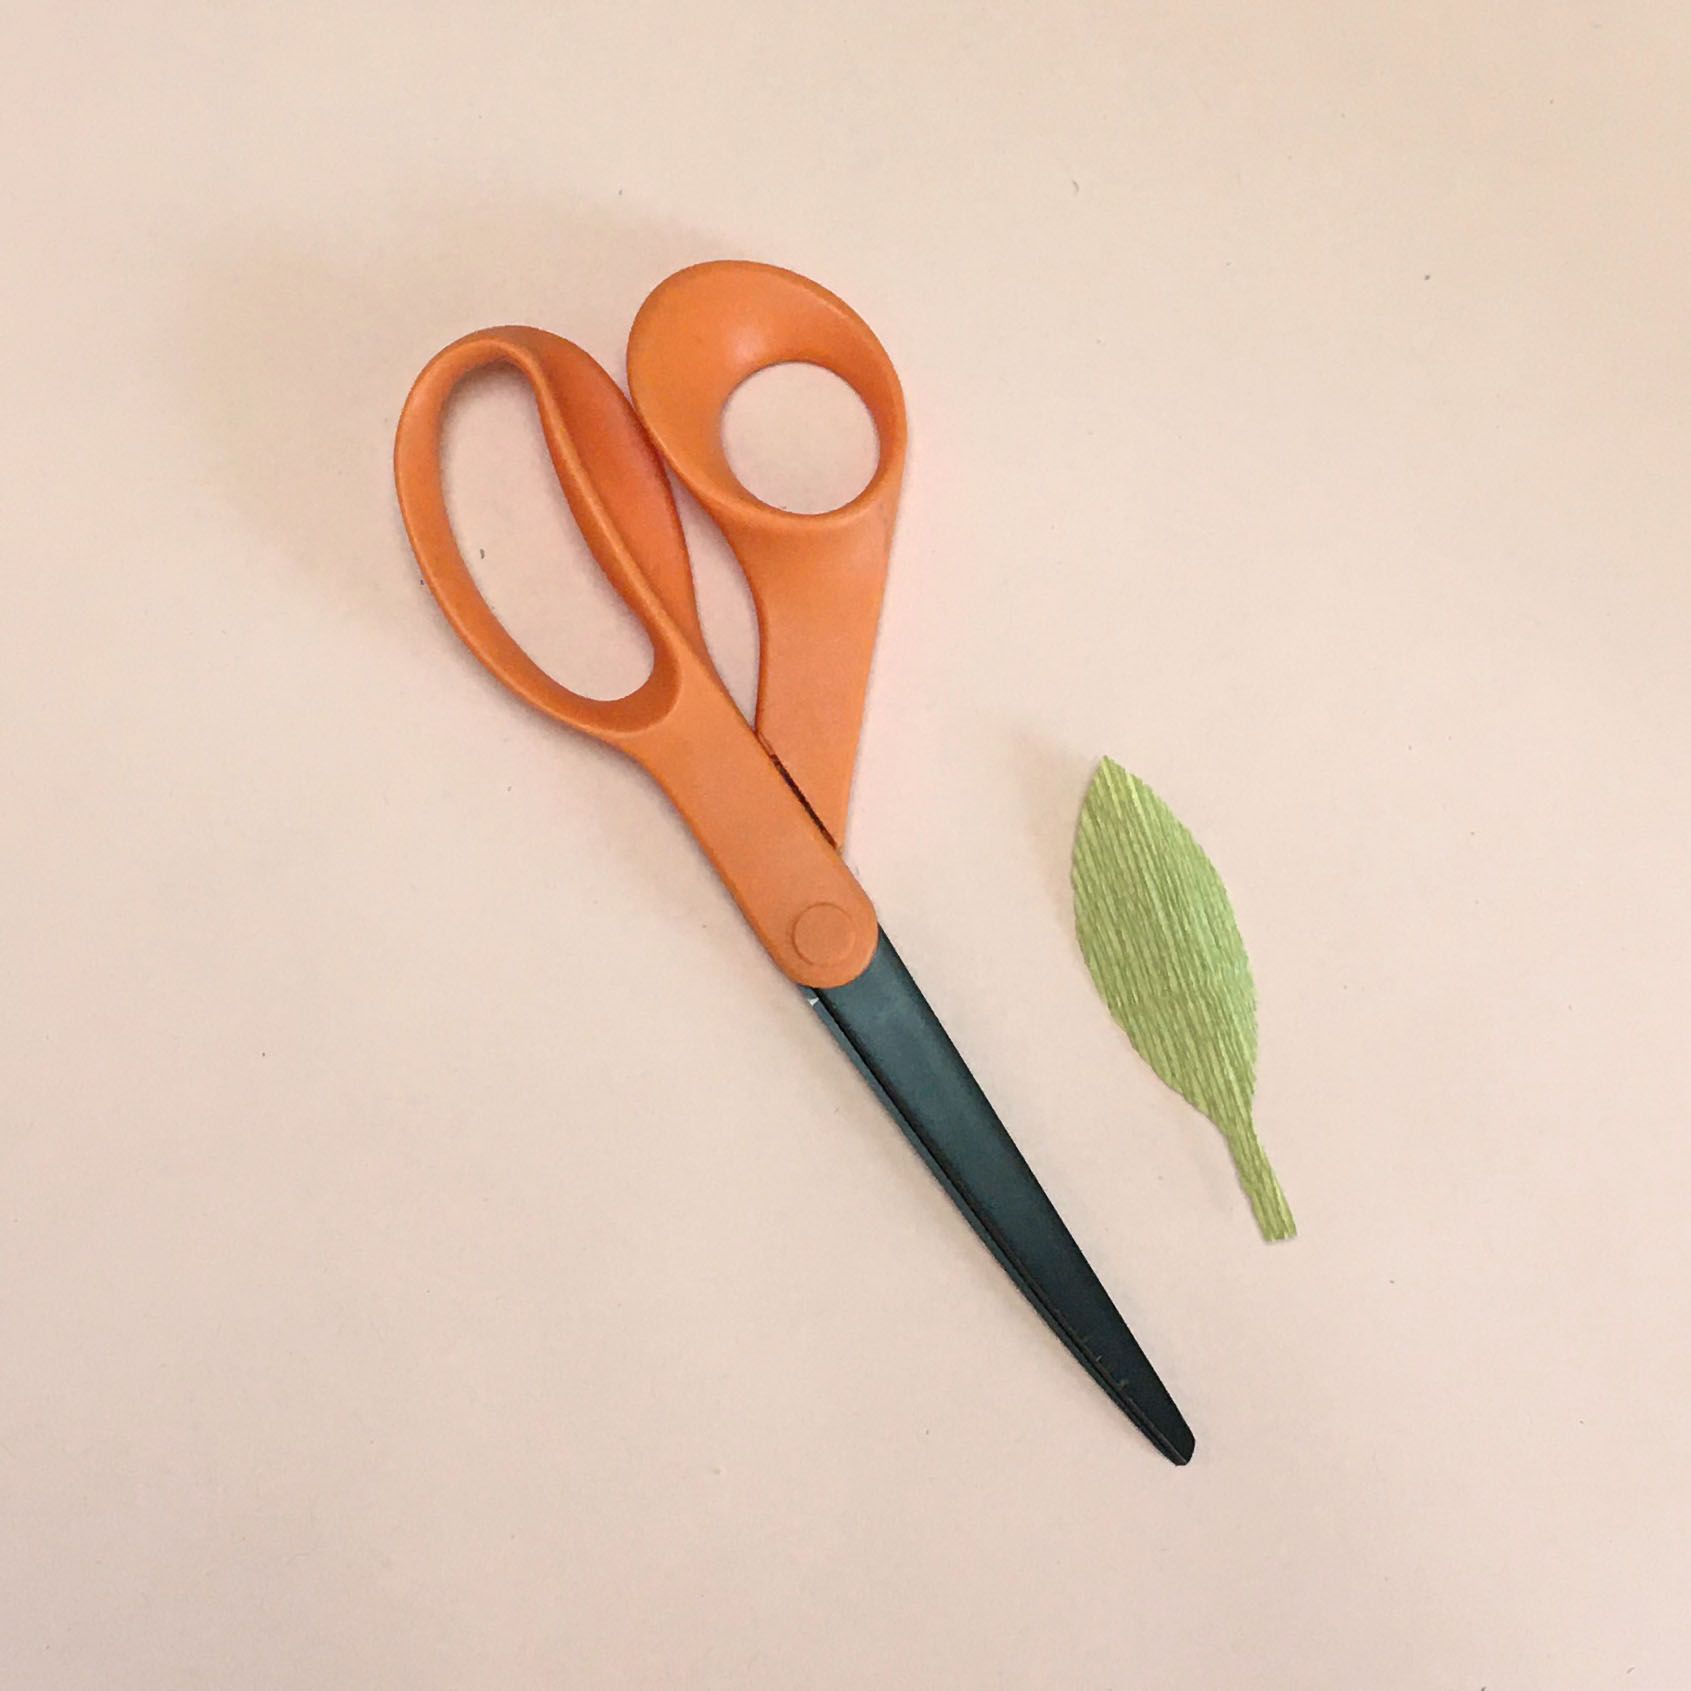
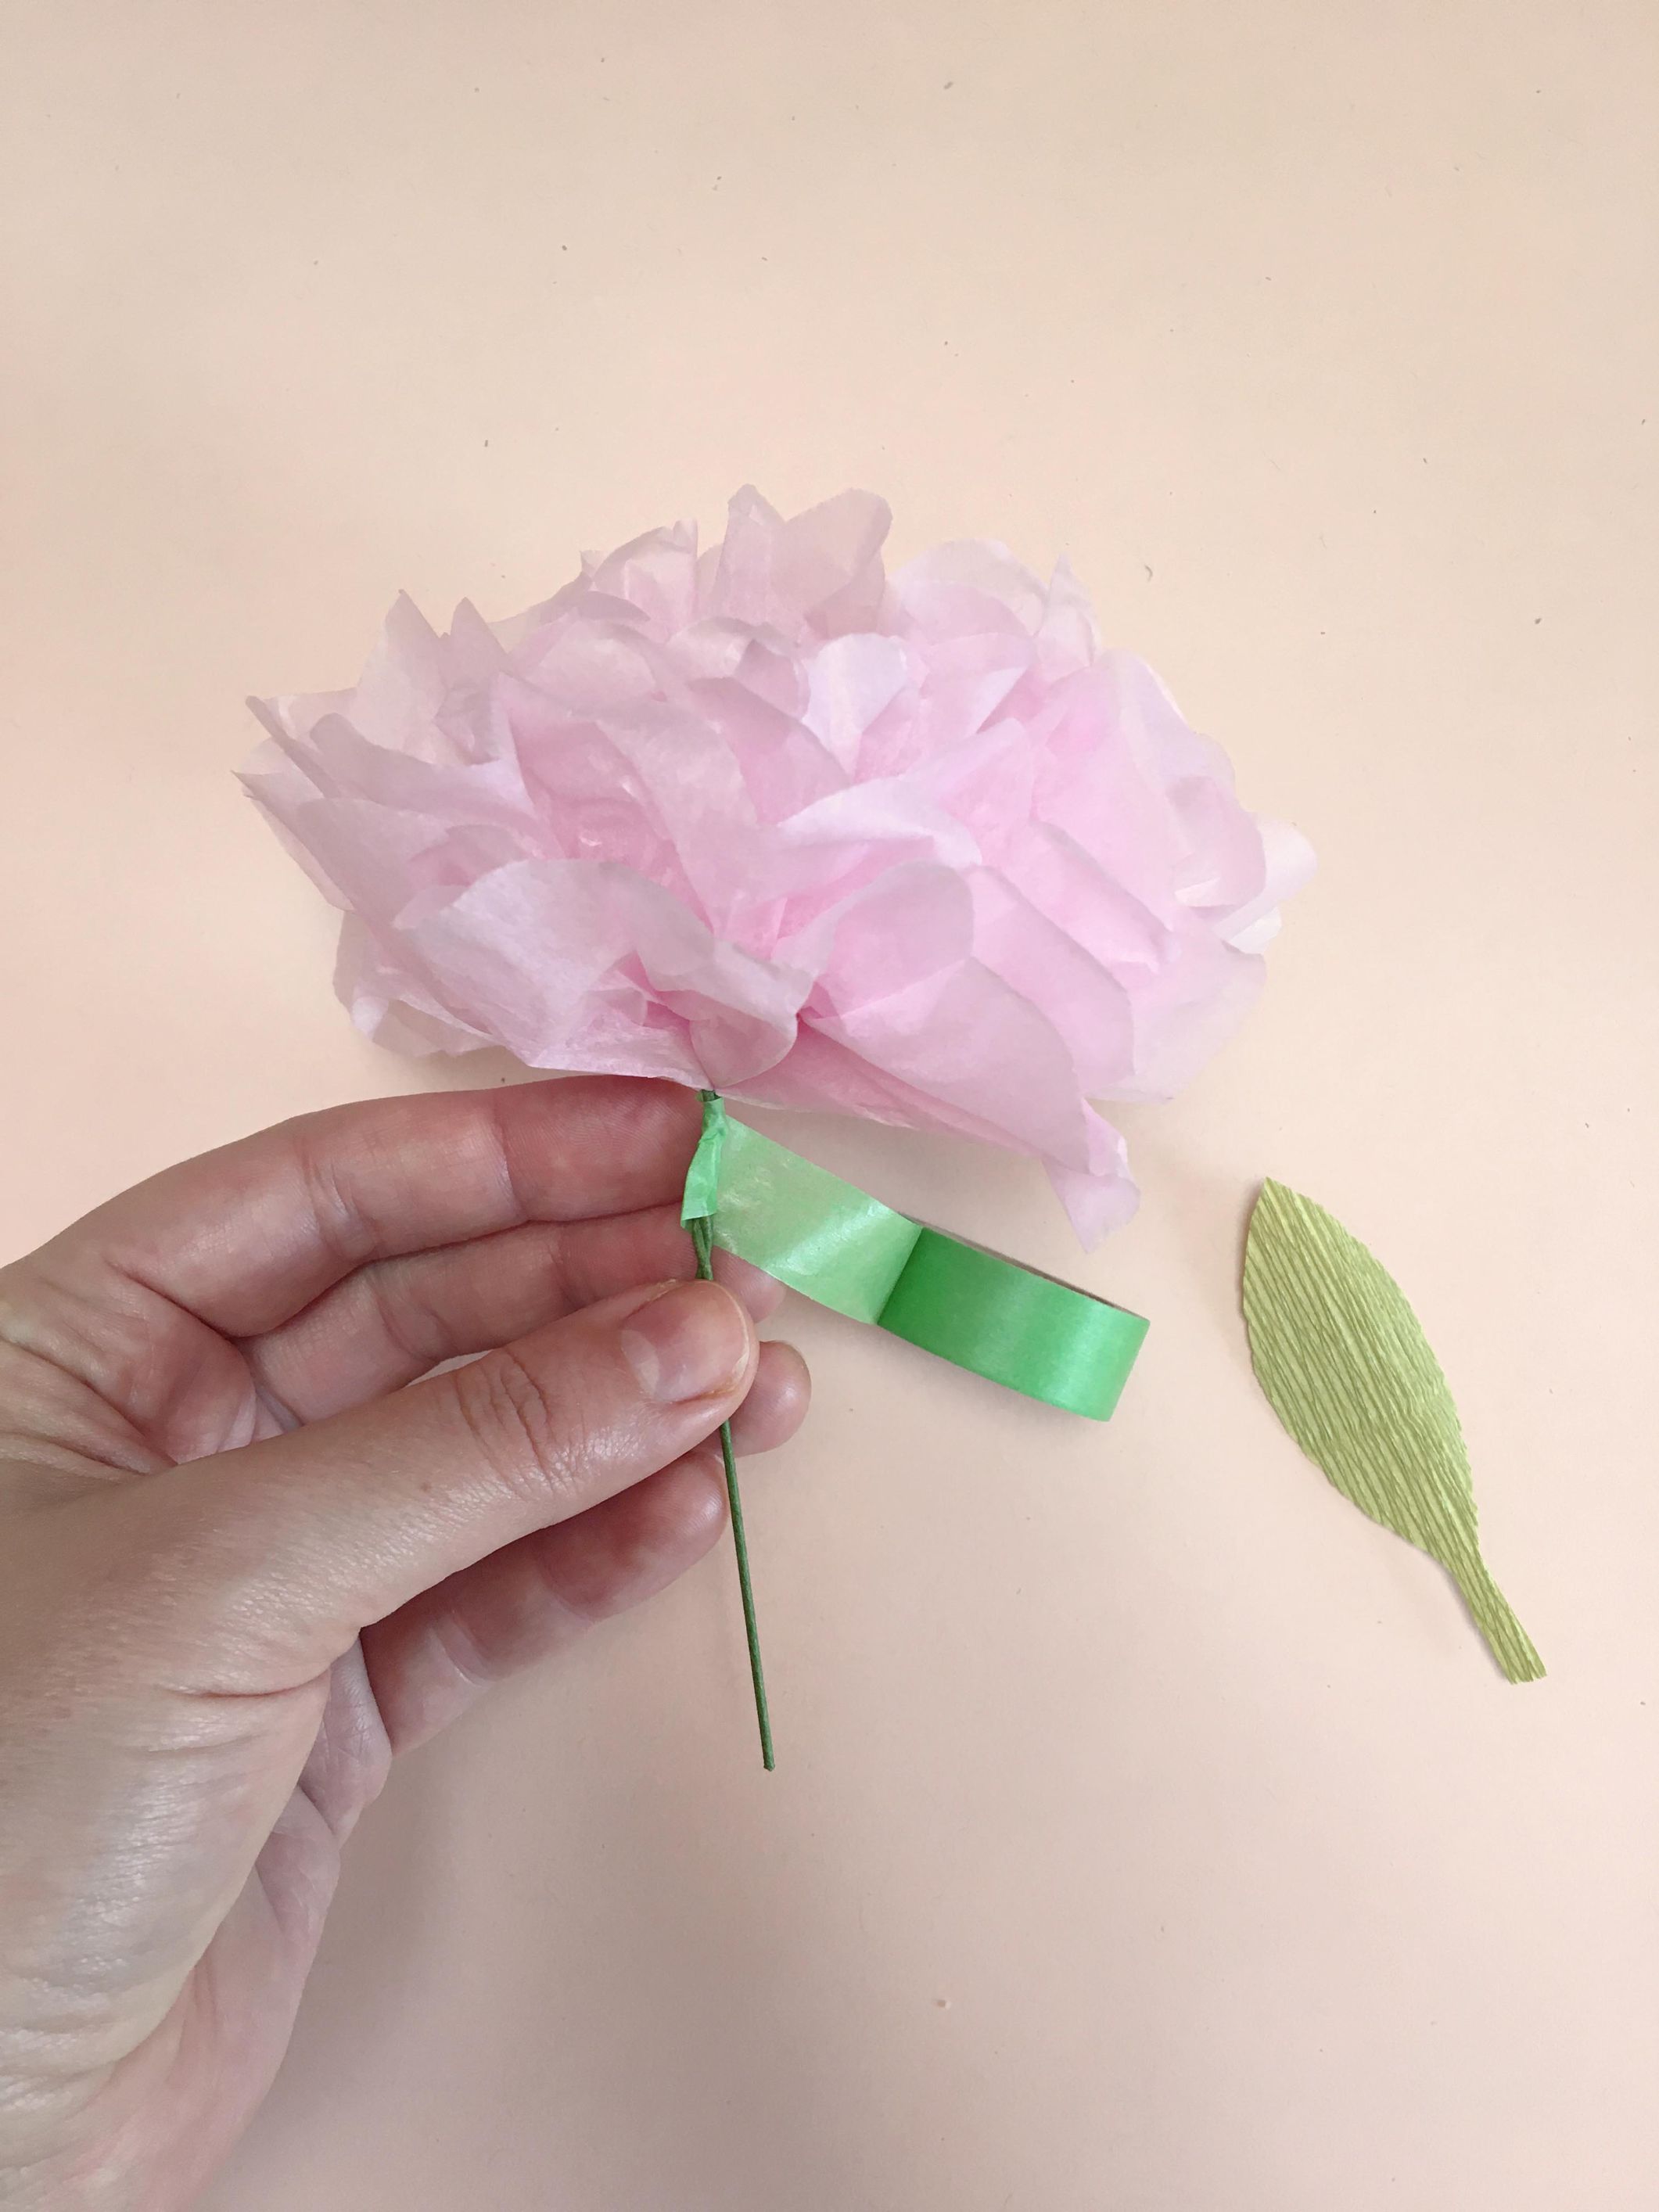
Cut your favorite leaf shape out from green paper, (it doesn’t have to be accurate to the type of flower you’re making, these are abstract) add a half inch “stem” of paper to your leaf. This will help you attach it to the flower stem.

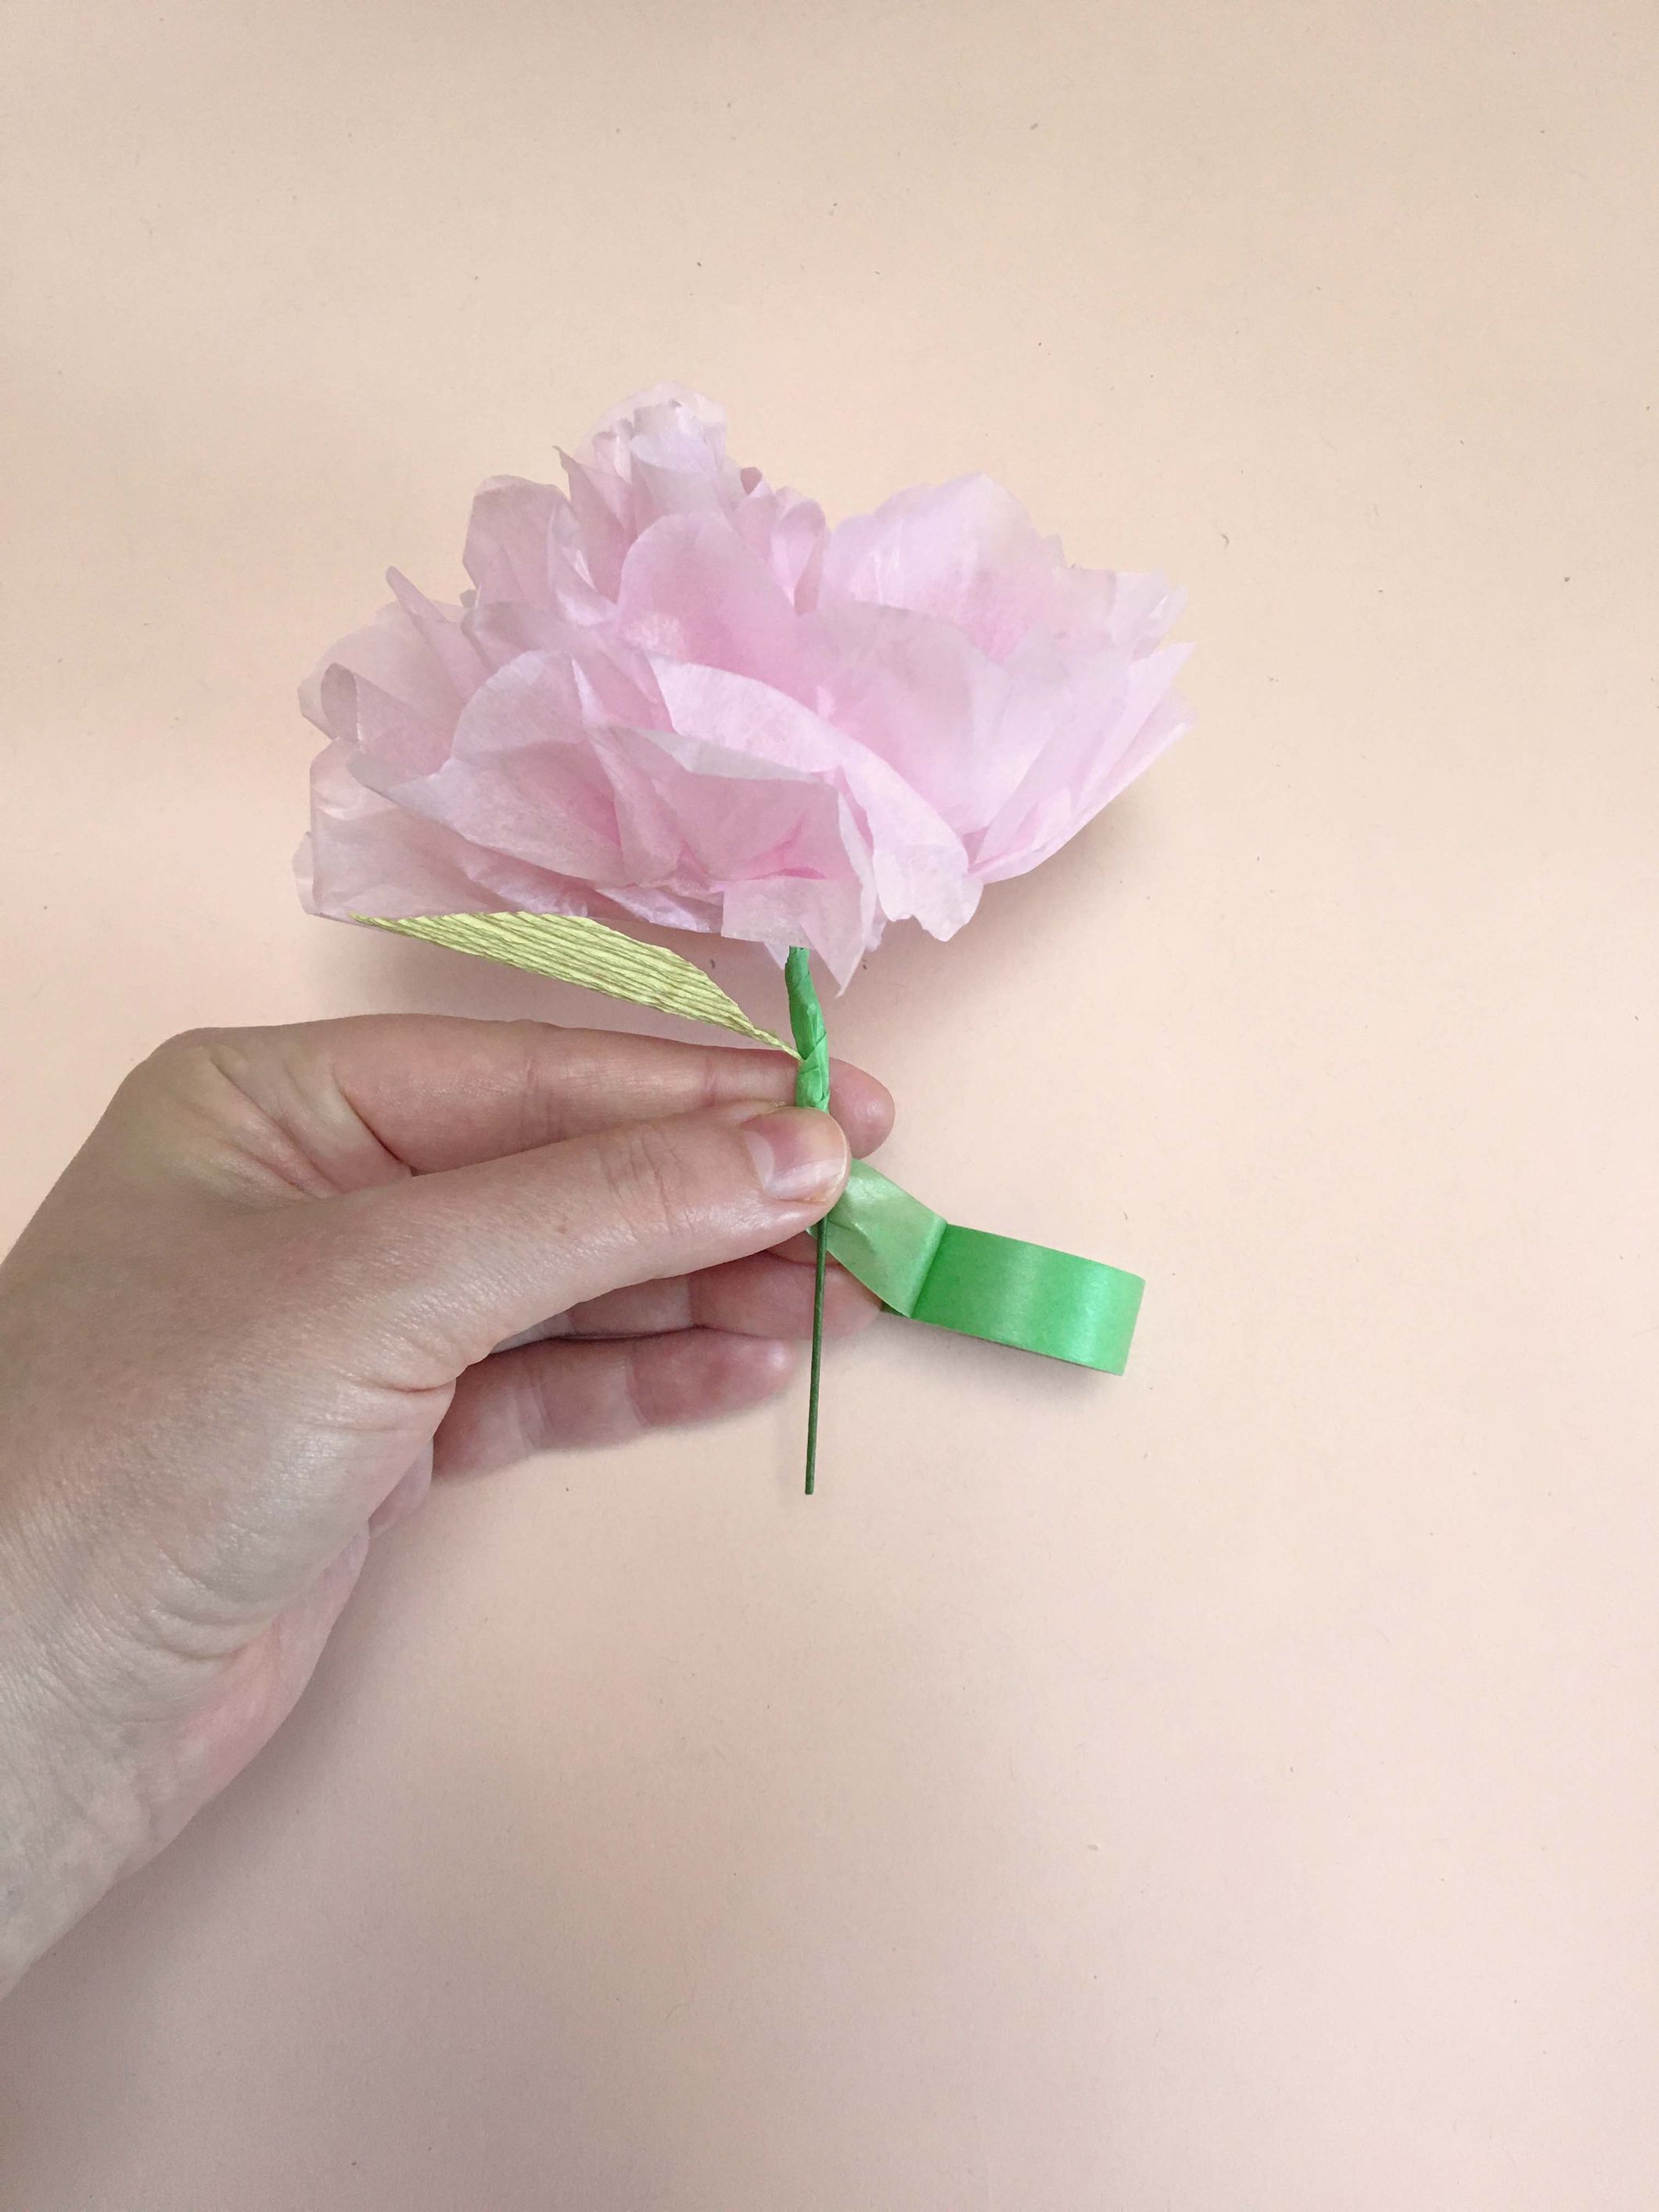
Start covering the top of the stem with tape. When you get an inch or 2 down the stem, add the leaf by holding the leaf stem flush to the wire below the area you just covered and tape the leaf stem to the wire as you twist and tape down.
If you don’t have wire, don’t worry, you can use string! Do steps 1-2 and tie a string around the middle of your folded paper and make a knot to keep the paper in place. Don’t tie it so tight that it warps the paper, just so that it’s sitting snugly in the loop of string. Then proceed with step 4.
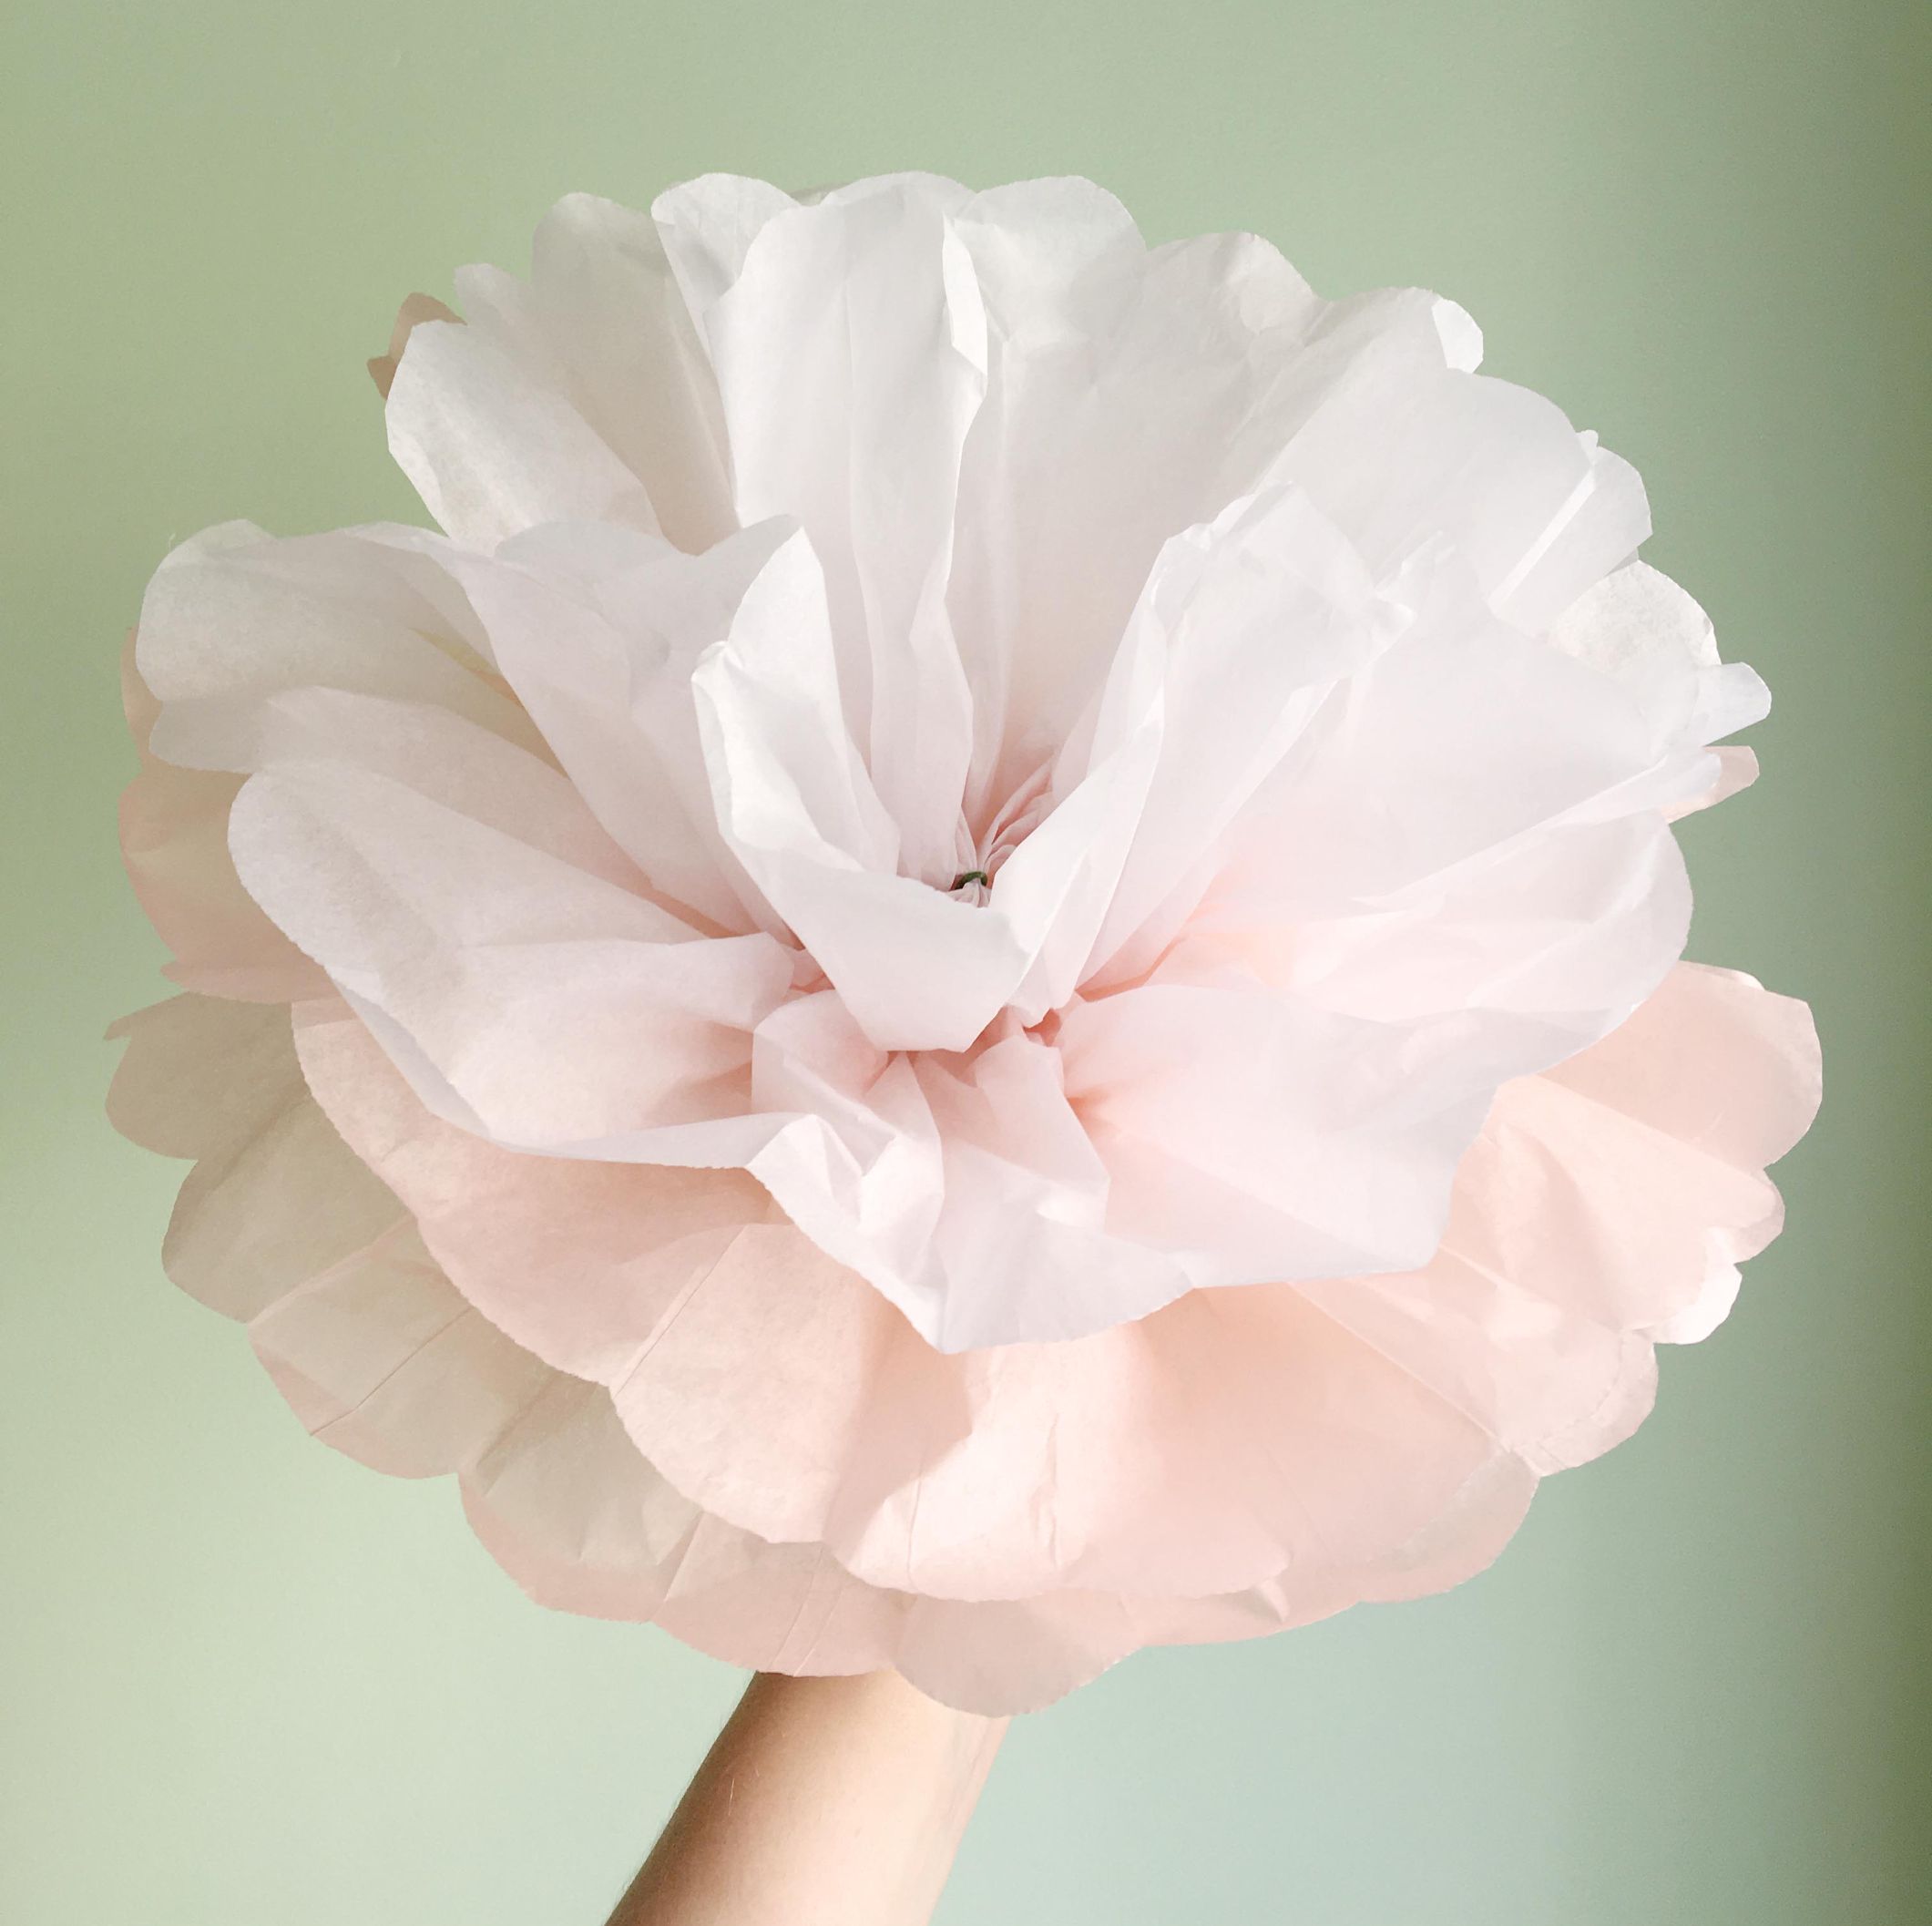
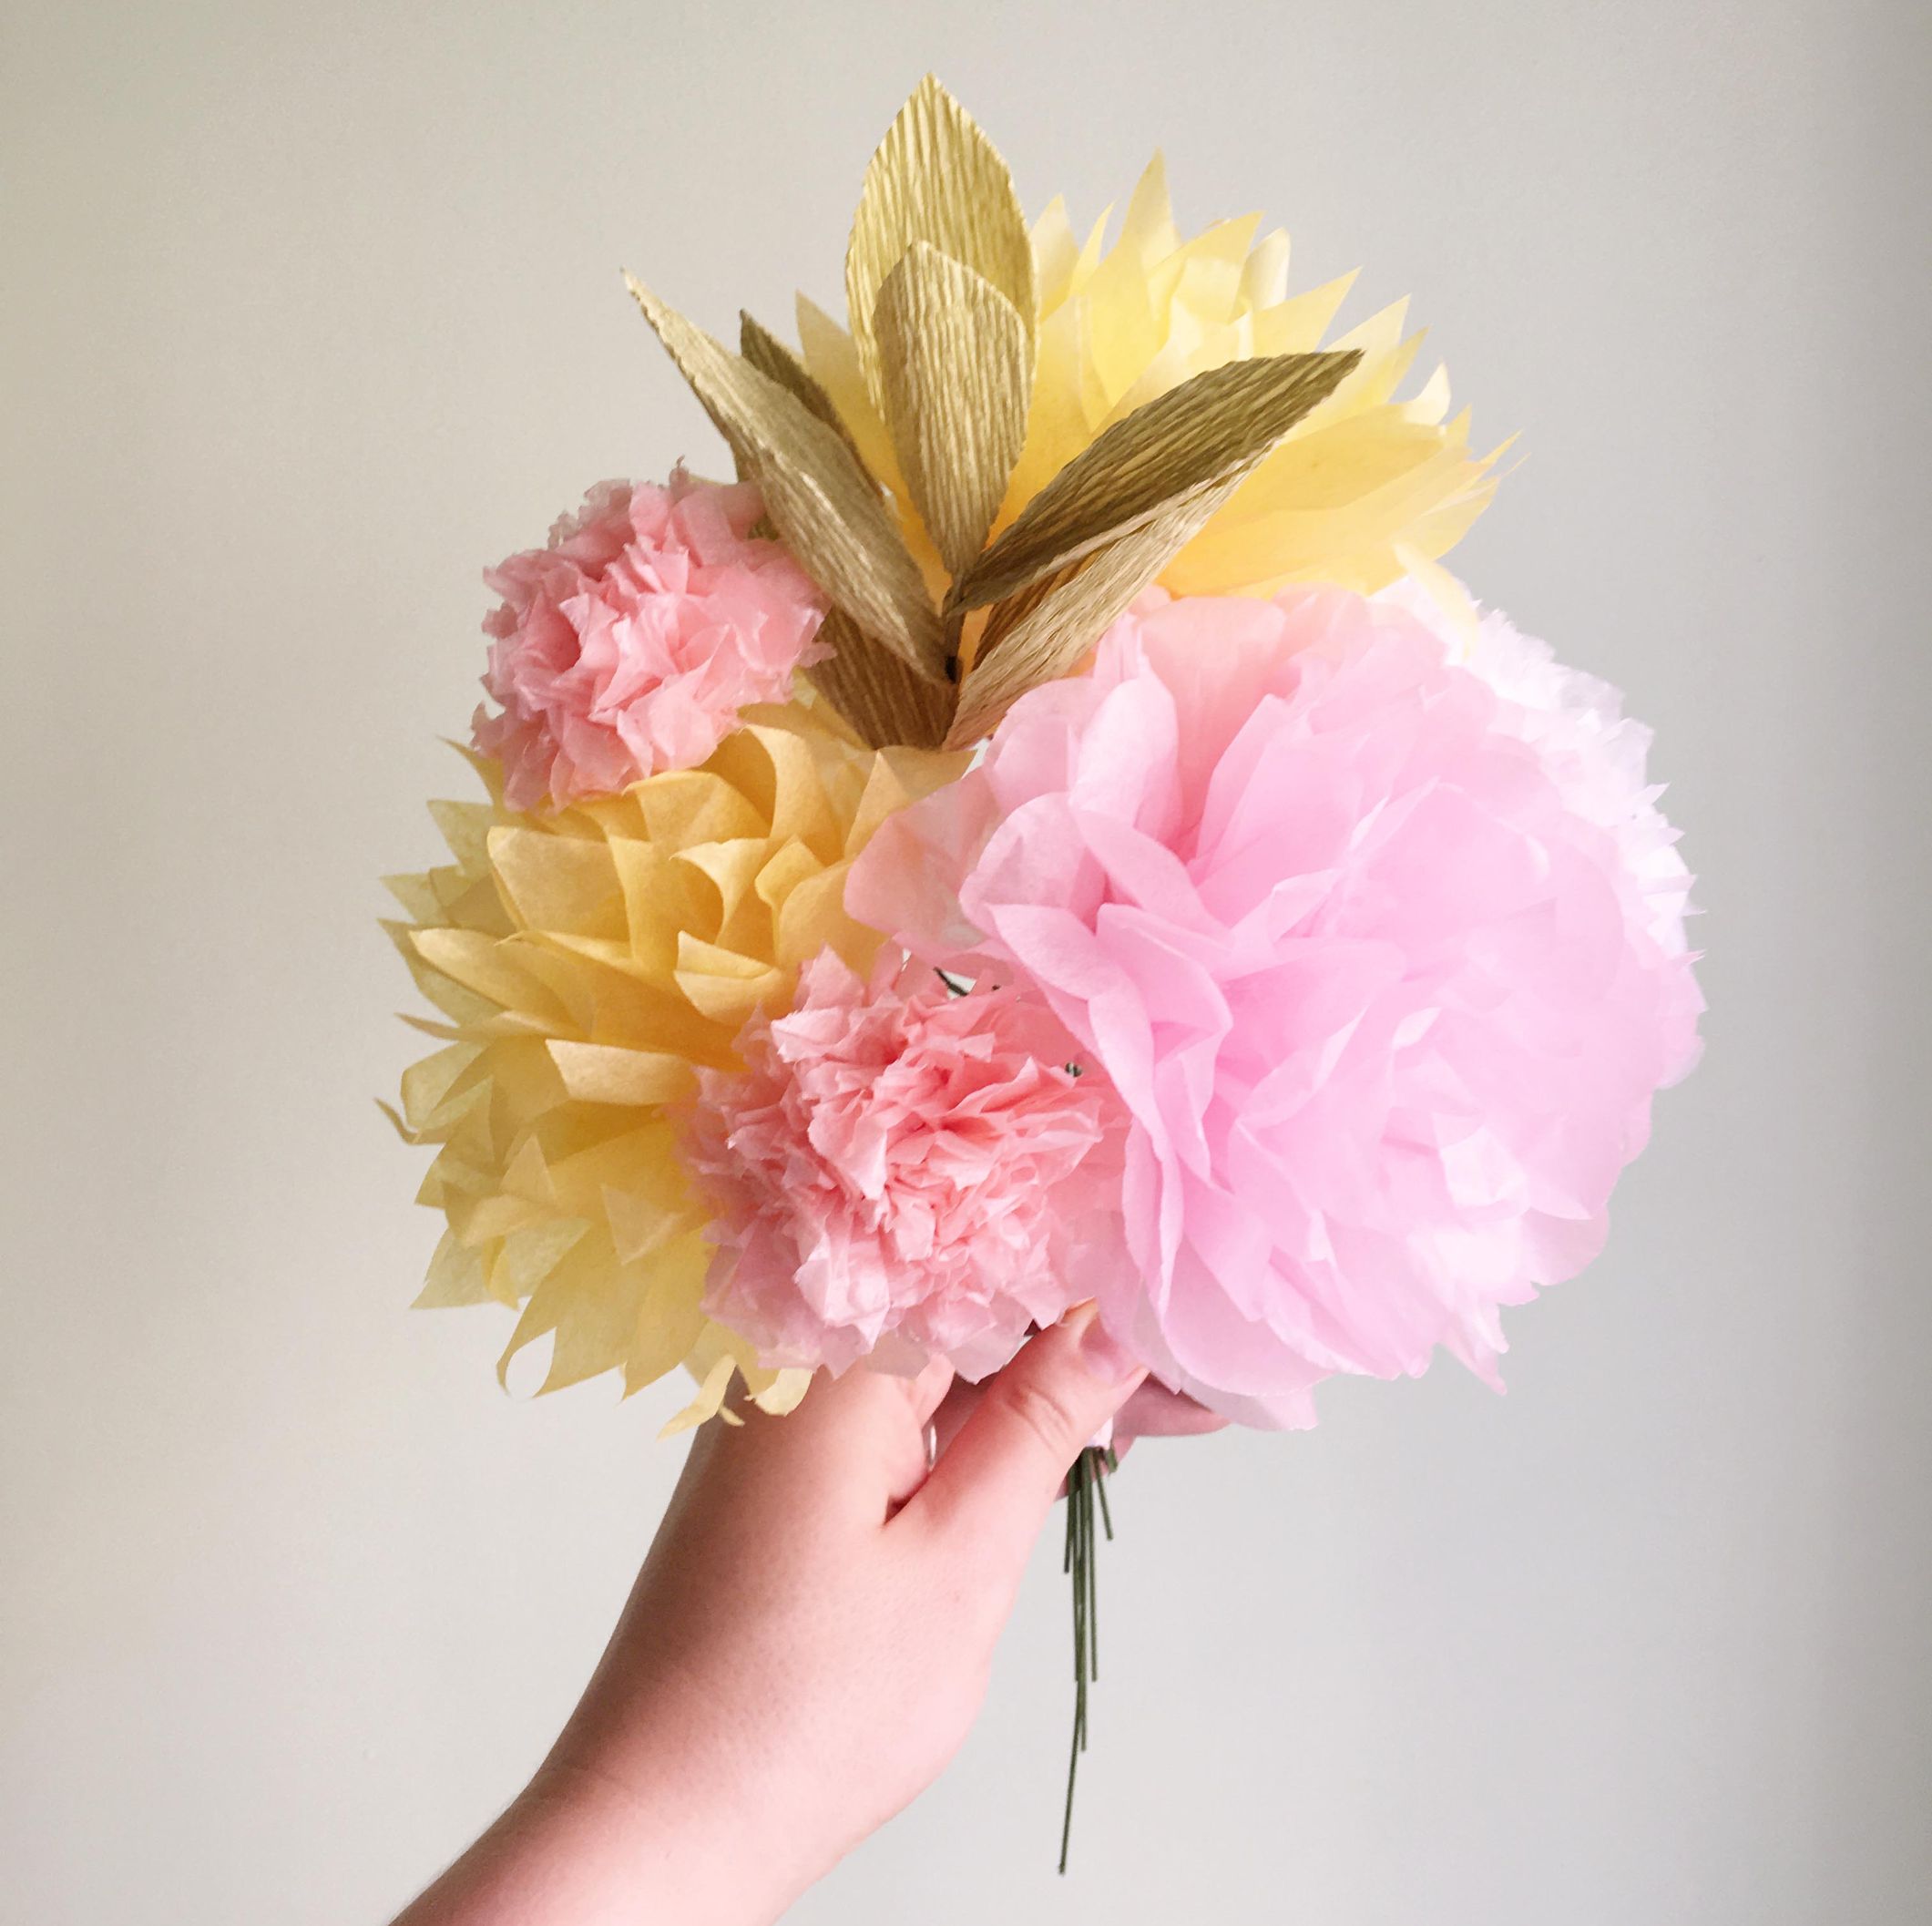
Voila! Your Paper Flower is Done!
SHOP JENNY LEMONS


Want more floral DIYs?
Check out these blooming tutorials:
This blog was originally published on May 5, 2020 and updated on May 20, 2022.
Thanks for visiting! You can check out more DIY projects on our blog here.

Lizzie Knutson Cloward
Creator of Frankie Baby Studio. Frankie Baby is based on a love for the craft of printing and inspiration from the everyday things that make life fun. Though Lizzie took a meandering path (with extended stays/childhood in the Midwest and on the East Coast) to find her way back to her native San Francisco and a career based in graphic design, she’s always had a passion for printed ephemera. She went from collecting stickers as a kid to building a sometimes overflowing collection of paper goods as an adult.

Comments
Lorraine said:
So helpful. Very clearly explained. Simple and direct.
Good illustration. I shall enjoy trying your method.
Thank you.
Dawn D Bruce said:
I love making paper flowers & always look for ways to improve. Thank you for this tutorial. It was very inspiring for me