


Learn to Paint this Watermelon!
paint a melon
By Jennie Lennick
Learn Watercolor Painting
Learn to paint a watermelon with watercolor! In this easy step-by-step tutorial, I cover how to paint one of my favorite summer fruits. Watercolor is fun and uncomplicated to get started; all you need is a watercolor set, a pencil, brushes, and paper.
To paint a watermelon slice, you need to practice two different watercolor techniques: wet on wet and wet on dry. Don’t worry. These skills are easy to learn, and you’ll be a watercolor artist in no time!
Gather Your Materials
- Watercolor set
- Watercolor brushes
- Graphite pencil (I prefer a harder lead, like a 4H pencil)
- Good eraser (this one is my favorite)
- Watercolor paper (watercolor postcards are also fun!)
- Cup of water
- Palette
- Paper towel


Step 1: Sketch

I like to sketch my paintings out in pencil before I start painting. It’s helpful to plan out your composition before adding watercolor.
I prefer a hard lead pencil, like a 2H or 4H, for sketching. Hard leaded pencils make a lighter line that is easier to erase. Just make sure not to push too hard as it will dent the paper.
For our watermelon, sketch a triangle shape with a rounded bottom. Add a curved line running parallel to the bottom to indicate the rind. On one of the long sides of the triangle, add a straight line running parallel. This line suggests space and that our watermelon is a three-dimensional object.
Once you sketch your watermelon, erase it almost all the way. Any graphite lines that remain will be visible through the watercolor.
Pro tip: you CANNOT erase the lines once watercolor is over them. It just doesn’t work!

Step 2: Wet on Wet Technique

Let’s paint! Paint the fleshy part of the watermelon with pink or red paint.

While it is still damp, add a few more drops of paint. Make sure it is not too wet! It should be more clammy than dripping wet.

With a damp, clean brush, blend the colors a little bit. Don’t mix too much. We want to create a gradient with the darkest pink at the top that gets gradually lighter towards the bottom.

Use the same wet into wet technique for the rind.

Start with a light green and paint.

While it’s still damp, add a little more green along the edge of the rind.
Step 3: Dry and Repeat

Let your painting dry and add at least one more layer of paint to the fruit flesh and rind. The more layers, the more saturated your color will be! Allow your watermelon to dry completely.


With your green paint, add a little bit to the side of the rind to indicate space.

Continue the line with pink along the entire edge of the slice. For a more minimal/lighter look, use less. For more vibrant, richer colors, use more!
Step 4: Wet on Dry Technique
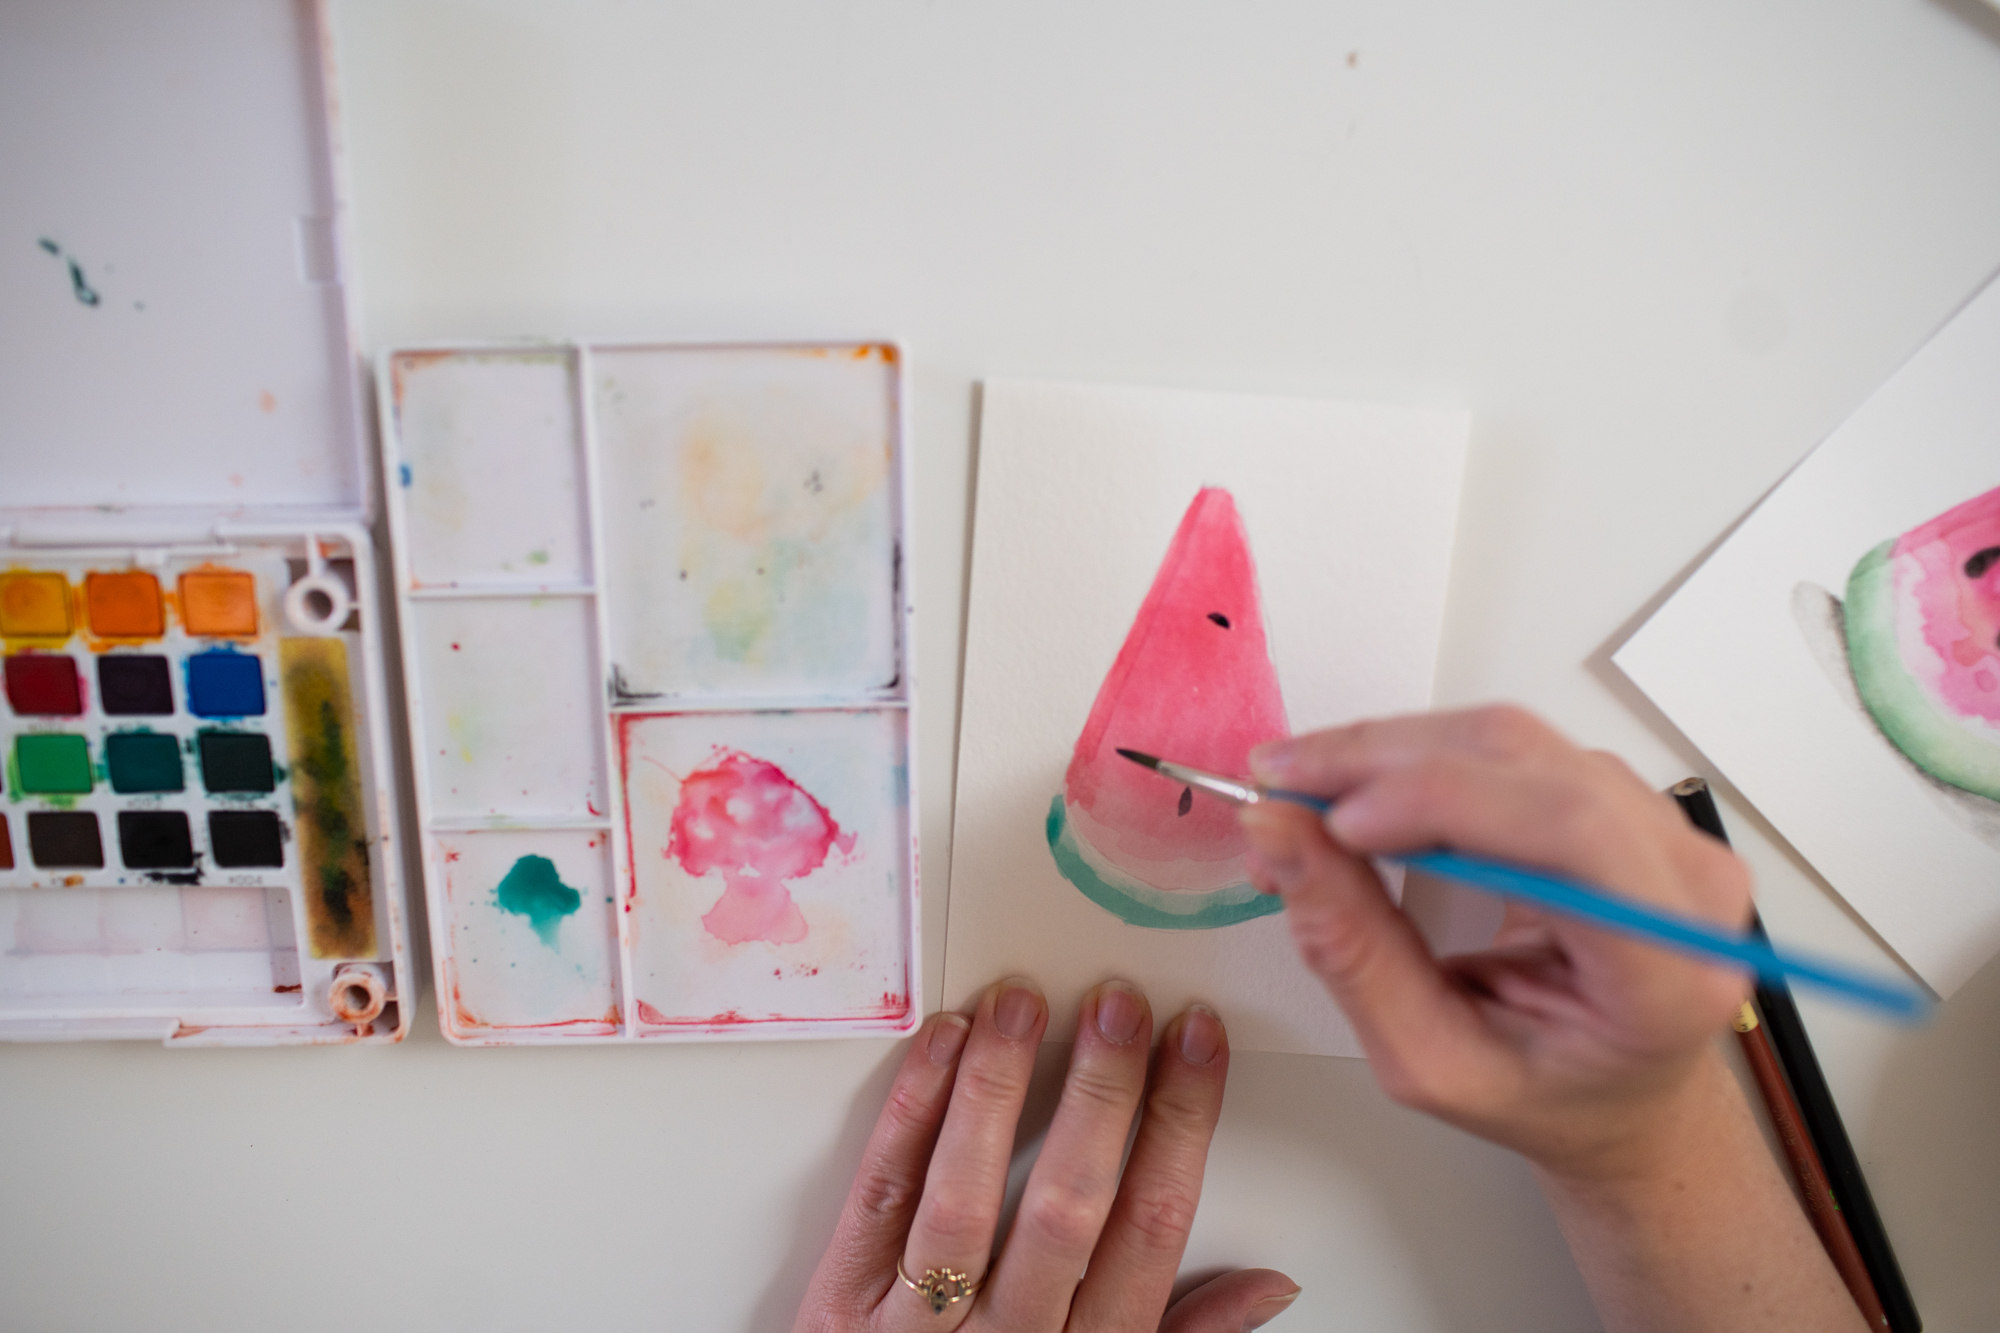
Add seeds with a round paintbrush onto the completely dry watermelon. You can add the seeds randomly or more uniformly. The irregular pattern will look more natural than organized seeds, which will make your watermelon appear cartoonish (not a bad thing if you’re into it!)

Tips:
Watercolor paint will bleed into other colors if they are wet. Make sure all parts of your painting are dry when adding layers unless you want a blended look.
Don’t want to wait for your paint to dry? Use a hairdryer!
Step 5: Add a shadow
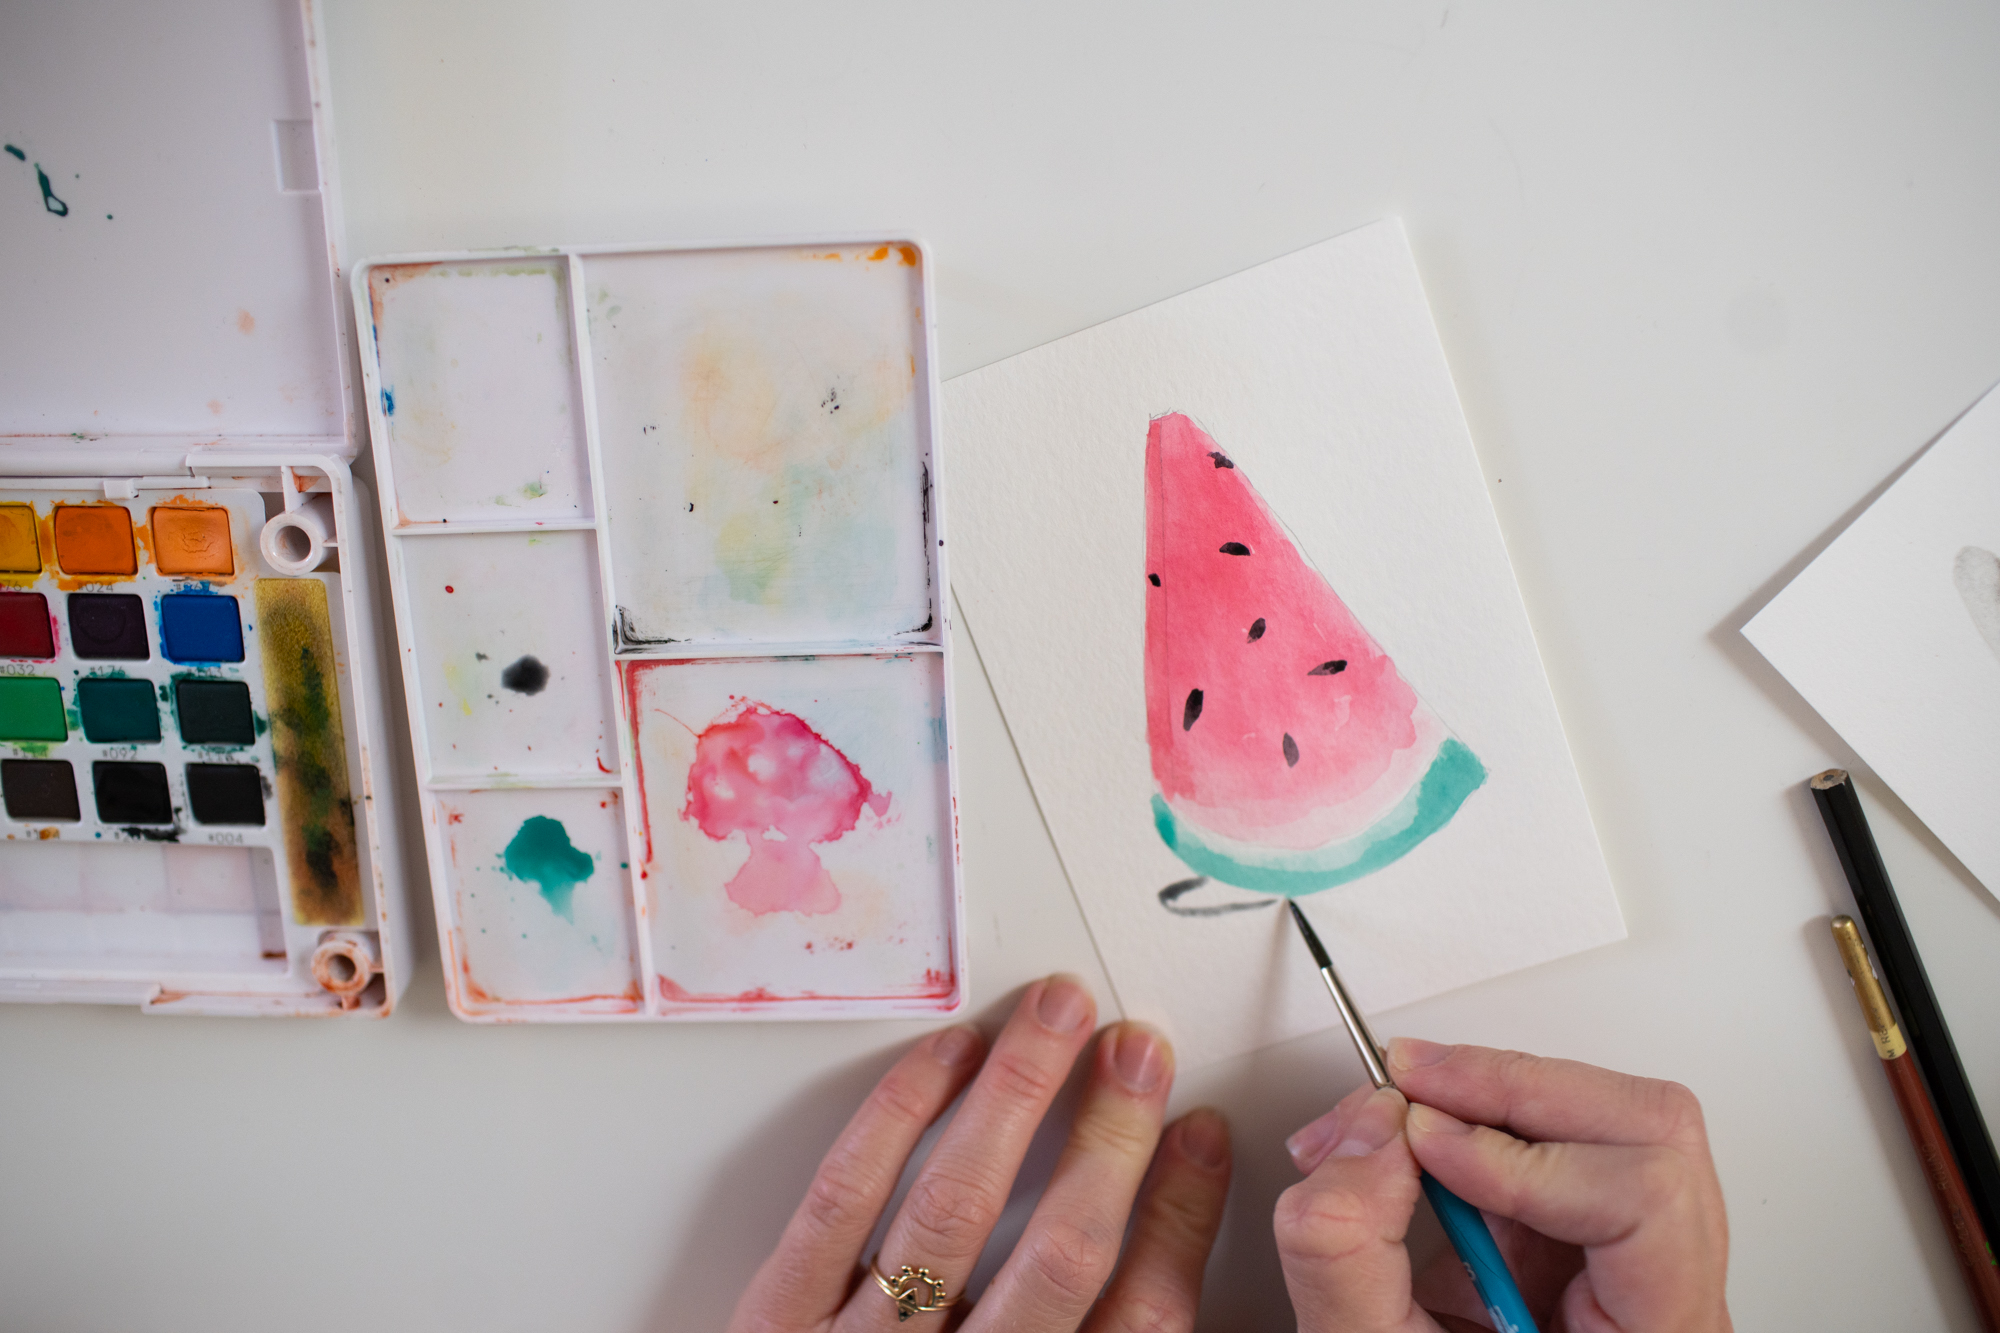
Once your watermelon is totally dry, add a shadow underneath the rind!
Thin out black or grey paint and apply a light grey oval underneath the watermelon.

While it is still damp, add a little more color where the shadow touches the watermelon. Let it dry, and you’re done!


My watermelons are so cute!
Try playing around with the scale of the slices or repeating them on the page to create a pattern. I had fun playing with different-sized pieces.
Want to learn more about watercolor? Check out our online workshops! We also carry a great selection of different paint sets to help you get started!
Did you try painting a watermelon? What things do you love to paint?
Share your comments below!

JENNIE LENNICK
Designer, entrepreneur, and lover of crafts! Boss Lady at Jenny Lemons in San Francisco


