


Getting Started with Embroidery- Stretching Fabric and Threading a Needle

I fell in love with embroidery as a little girl
My obsession with embroidery began in the early nineties. At that time, growing up in rural Minnesota my interests included American Girl Dolls, rollerblading, and 4H. While I was not interested in the more agricultural aspects of 4H (hello brown thumb!) I was immediately drawn to the needlecraft projects done in the group. As a 7 year old, I embroidered my first piece- a little cross stitch doll that I entered into our county fair. As fate would have it, I won a blue ribbon for my age group!
That positive reinforcement drove me forward. Throughout my life I've returned to embroidery as a favorite art form. I studied painting in college and often incorporated the craft into my projects. Over the last year, I've completed a stitch a day. The daily act of stitching has been a great comfort and joy. I have grown to truly love embroidery.
Embroidery is an easy craft to get into! All you need are a few inexpensive supplies and some foundational skills.
In this article we will go over:
- how to stretch fabric on a hoop
- how to split embroidery floss
- how to thread your needle
- how to knot your thread
Gather your materials!
- Embroidery hoop
- Embroidery floss
- Woven fabric (not stretchy!)
- Embroidery needles
- Scissors
- Water erasable marker
- Needle threader (optional)
As an Amazon Associate I earn from qualifying purchases. Thank you for clicking on our recommendations!

Shop Embroidery Supplies


Step 1: Stretch your fabric

Loosen the screw on the top of your hoop and separate the two rings.

Set the solid ring down on your work surface and place your fabric on top. Smooth out any wrinkles or folds.

Place the hoop on top of your fabric and tighten the screw a little bit. Pull on the excess fabric until it is taught. Tighten your screw to secure the fabric.
Step 2: Split your thread
Embroidery floss is made of 6 strands of cotton fiber. You have the choice to use all 6 strands at once resulting in a very thick stitched line, or just one thread for a delicate look. For most stitches I use 3 strands of embroidery floss.
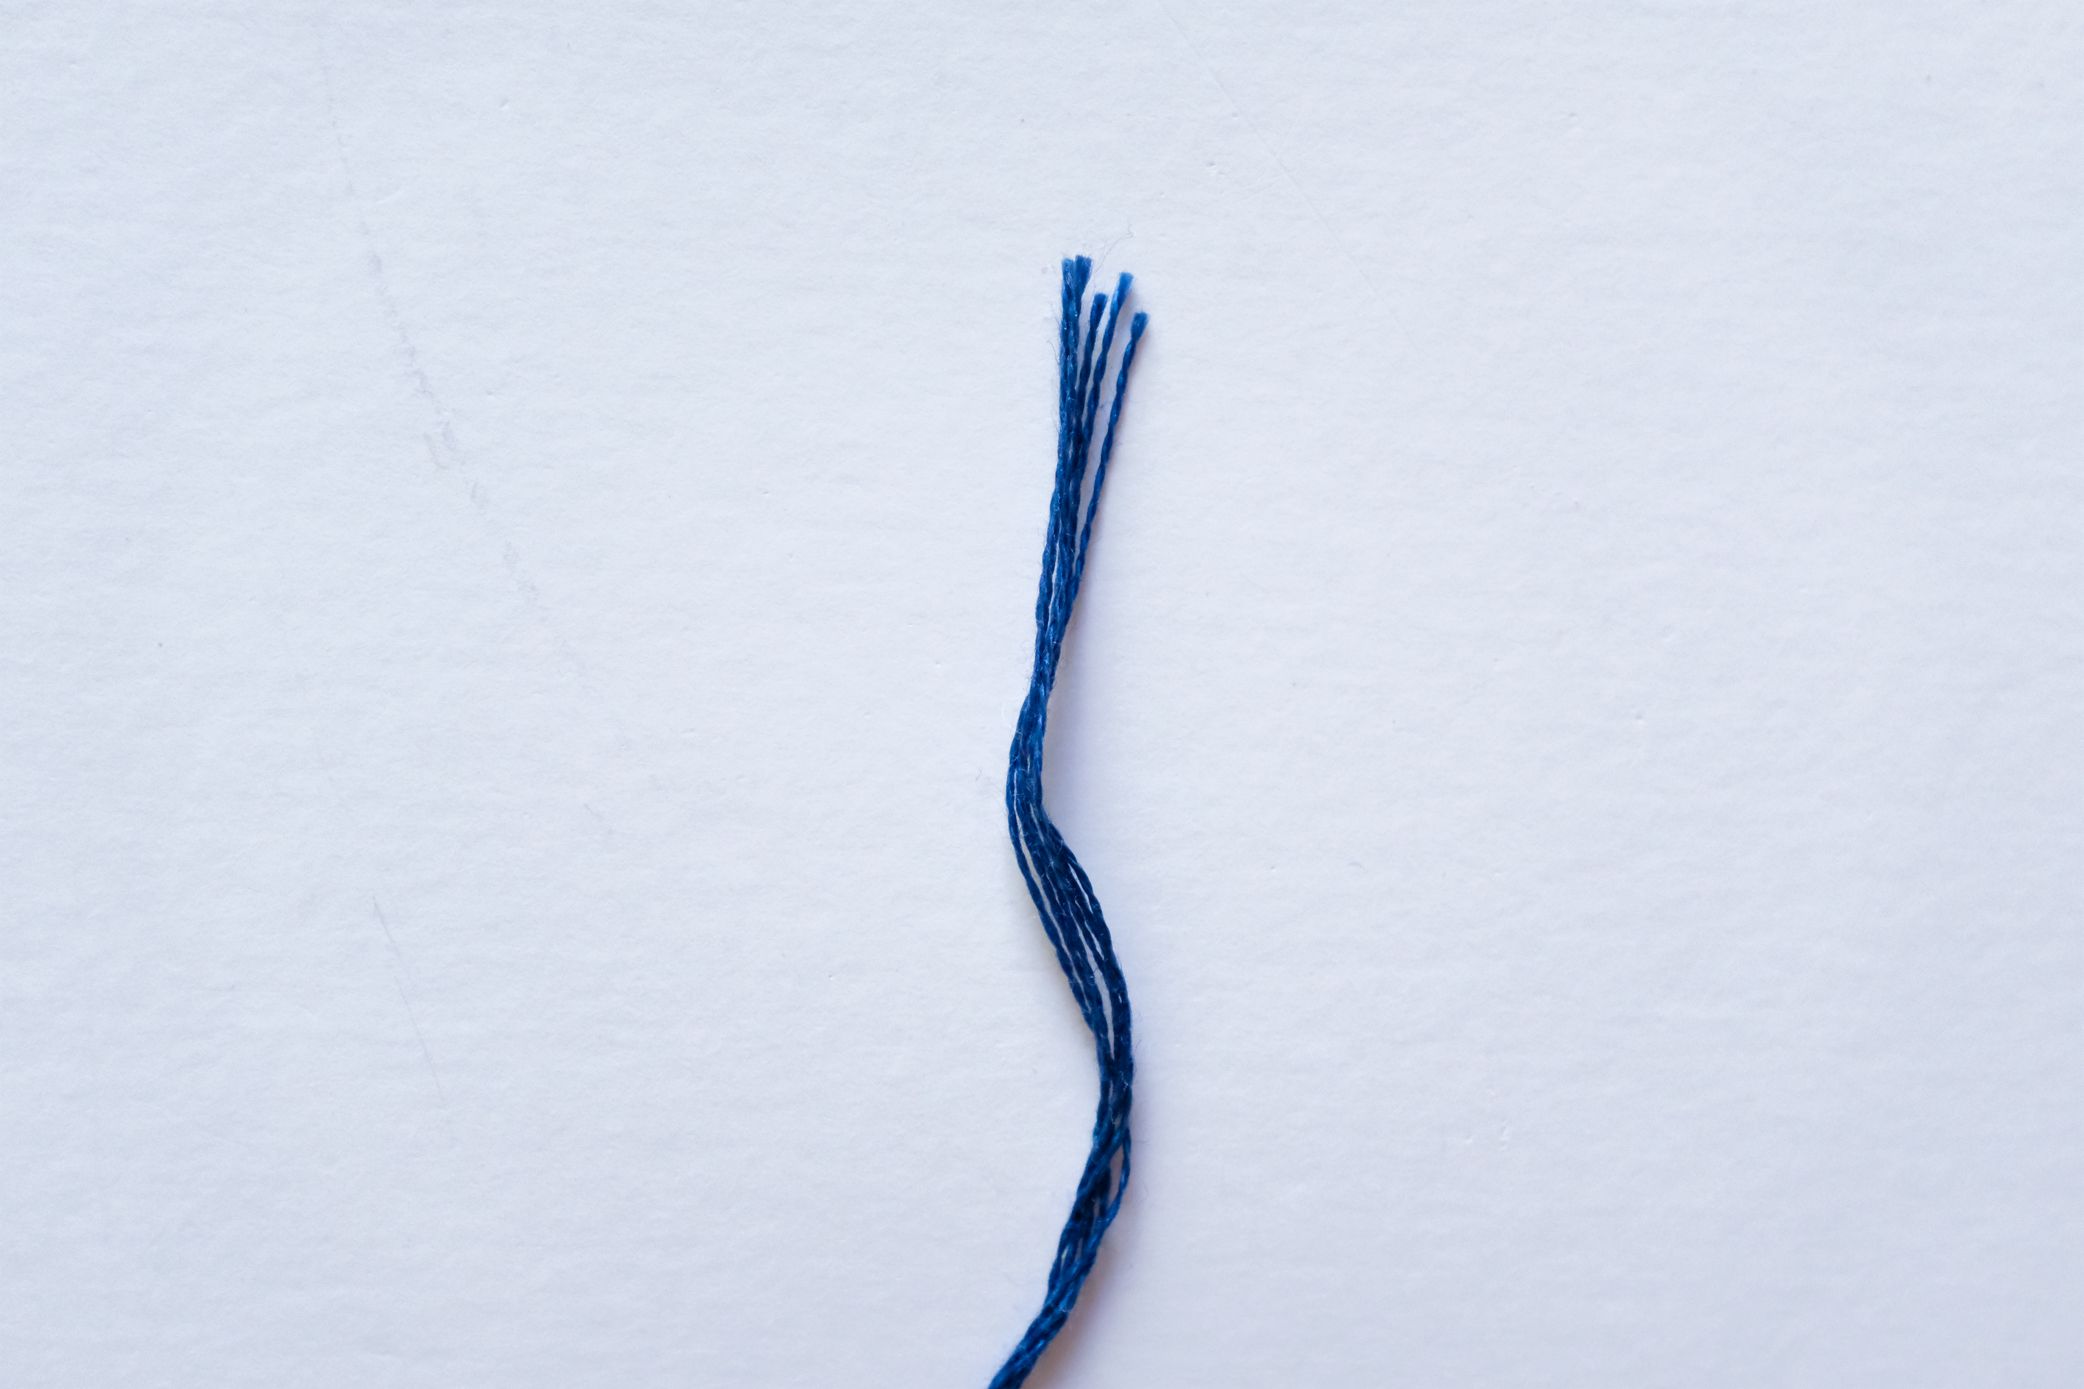
Embroidery floss is made up of 6 strands.
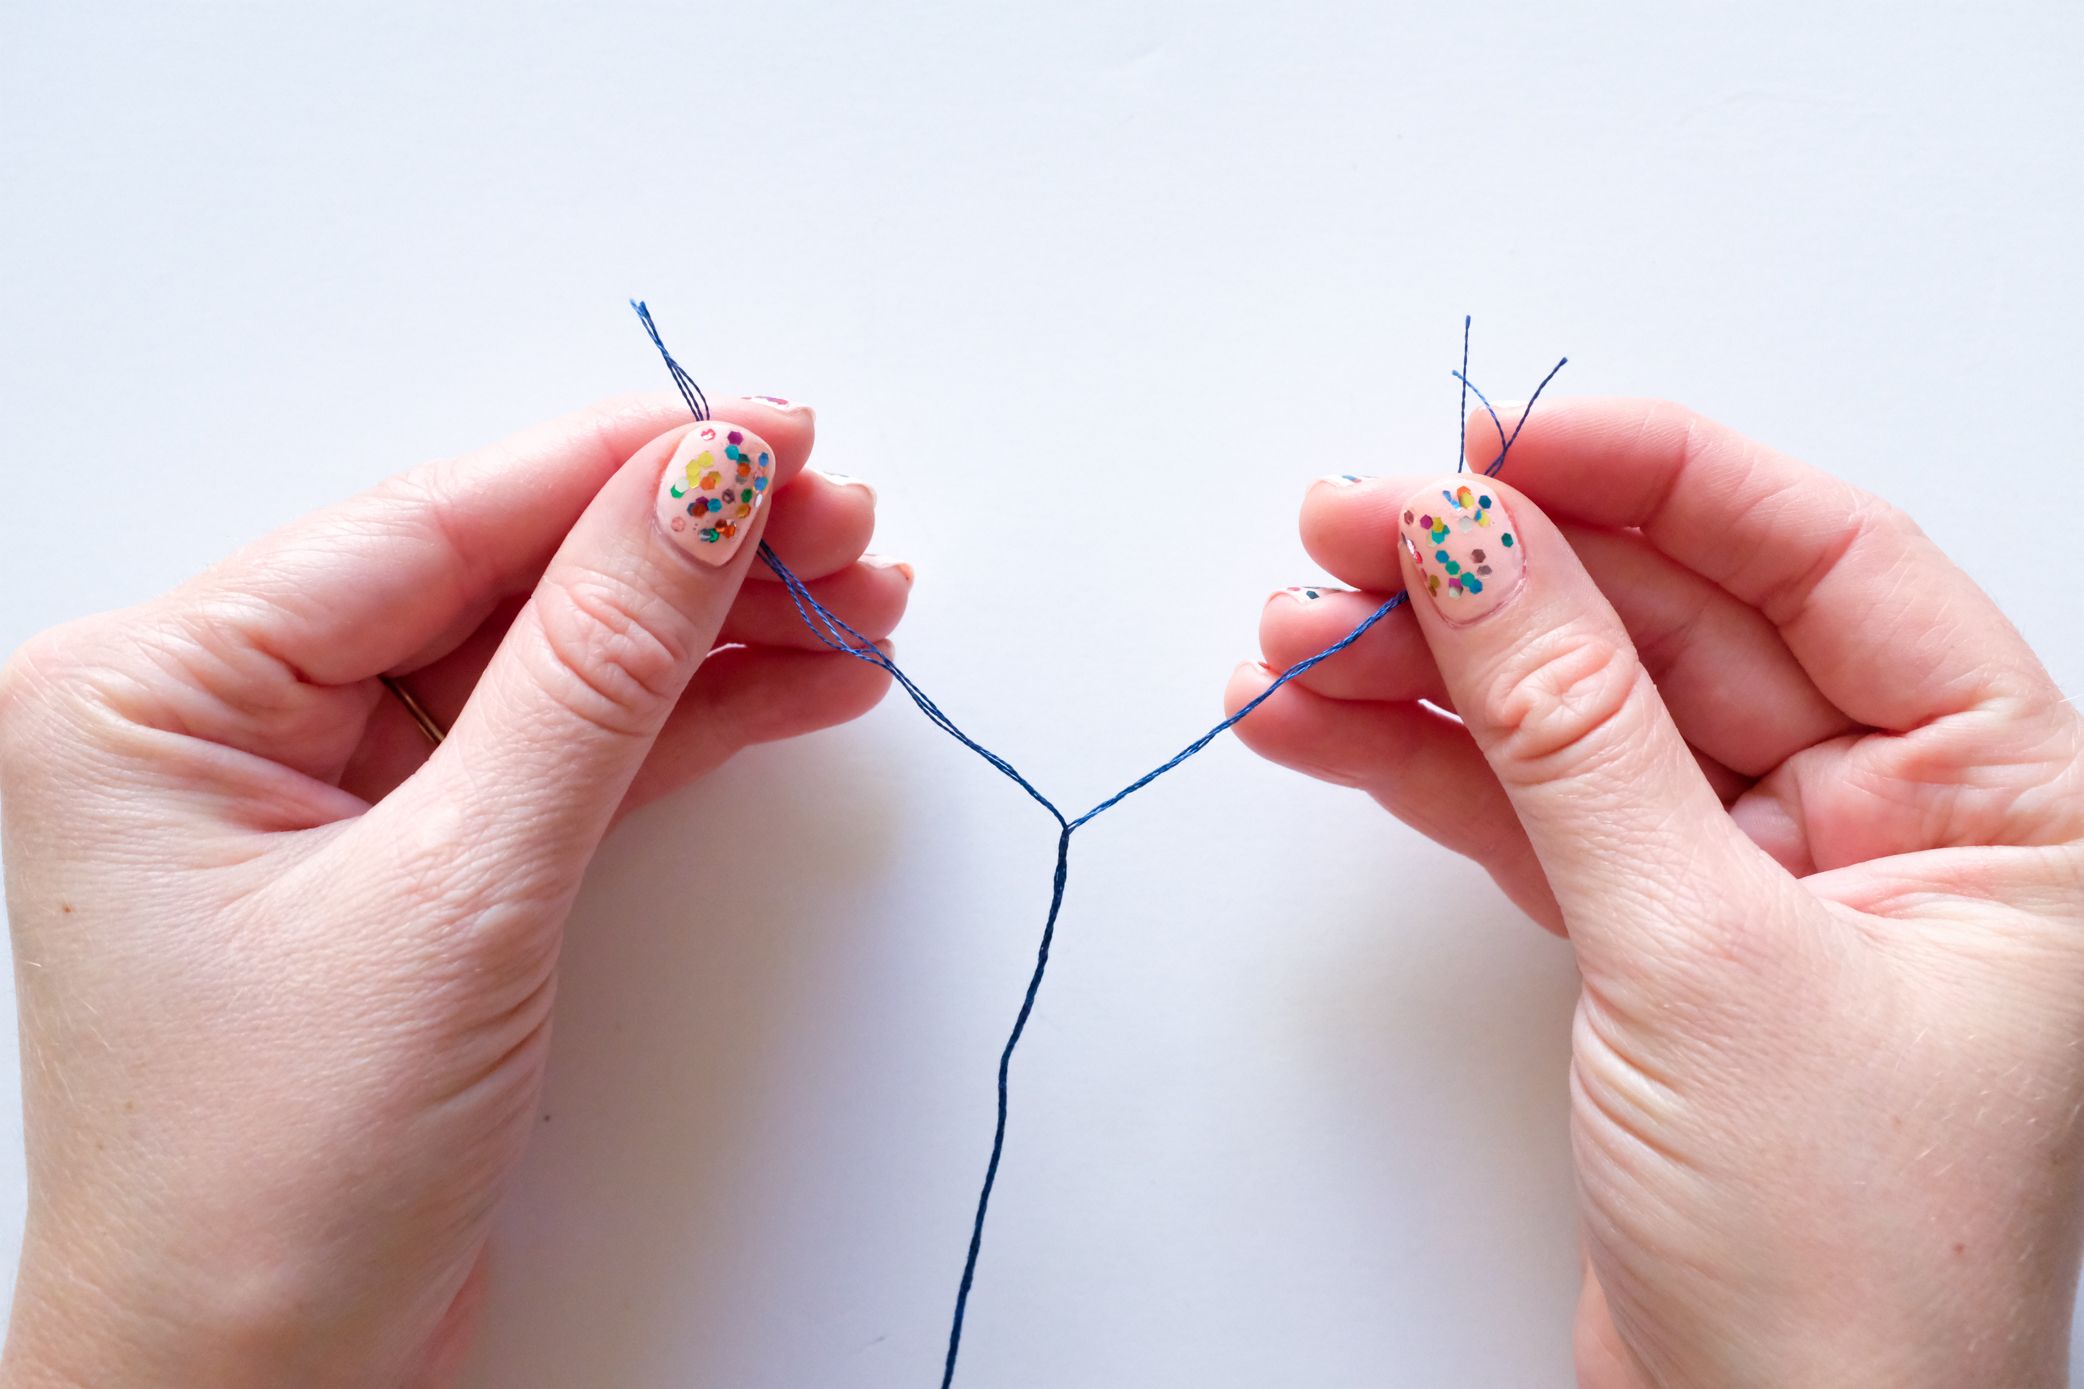
Grab 3 strands in each hand and gently separate. If the threads become twisted as you go, stop, smooth the thread, and continue splitting.
Step 3: Thread your needle
Threading a needle can be challenging! My technique is a little different than the way most people are taught to thread, but it is easy and effective!

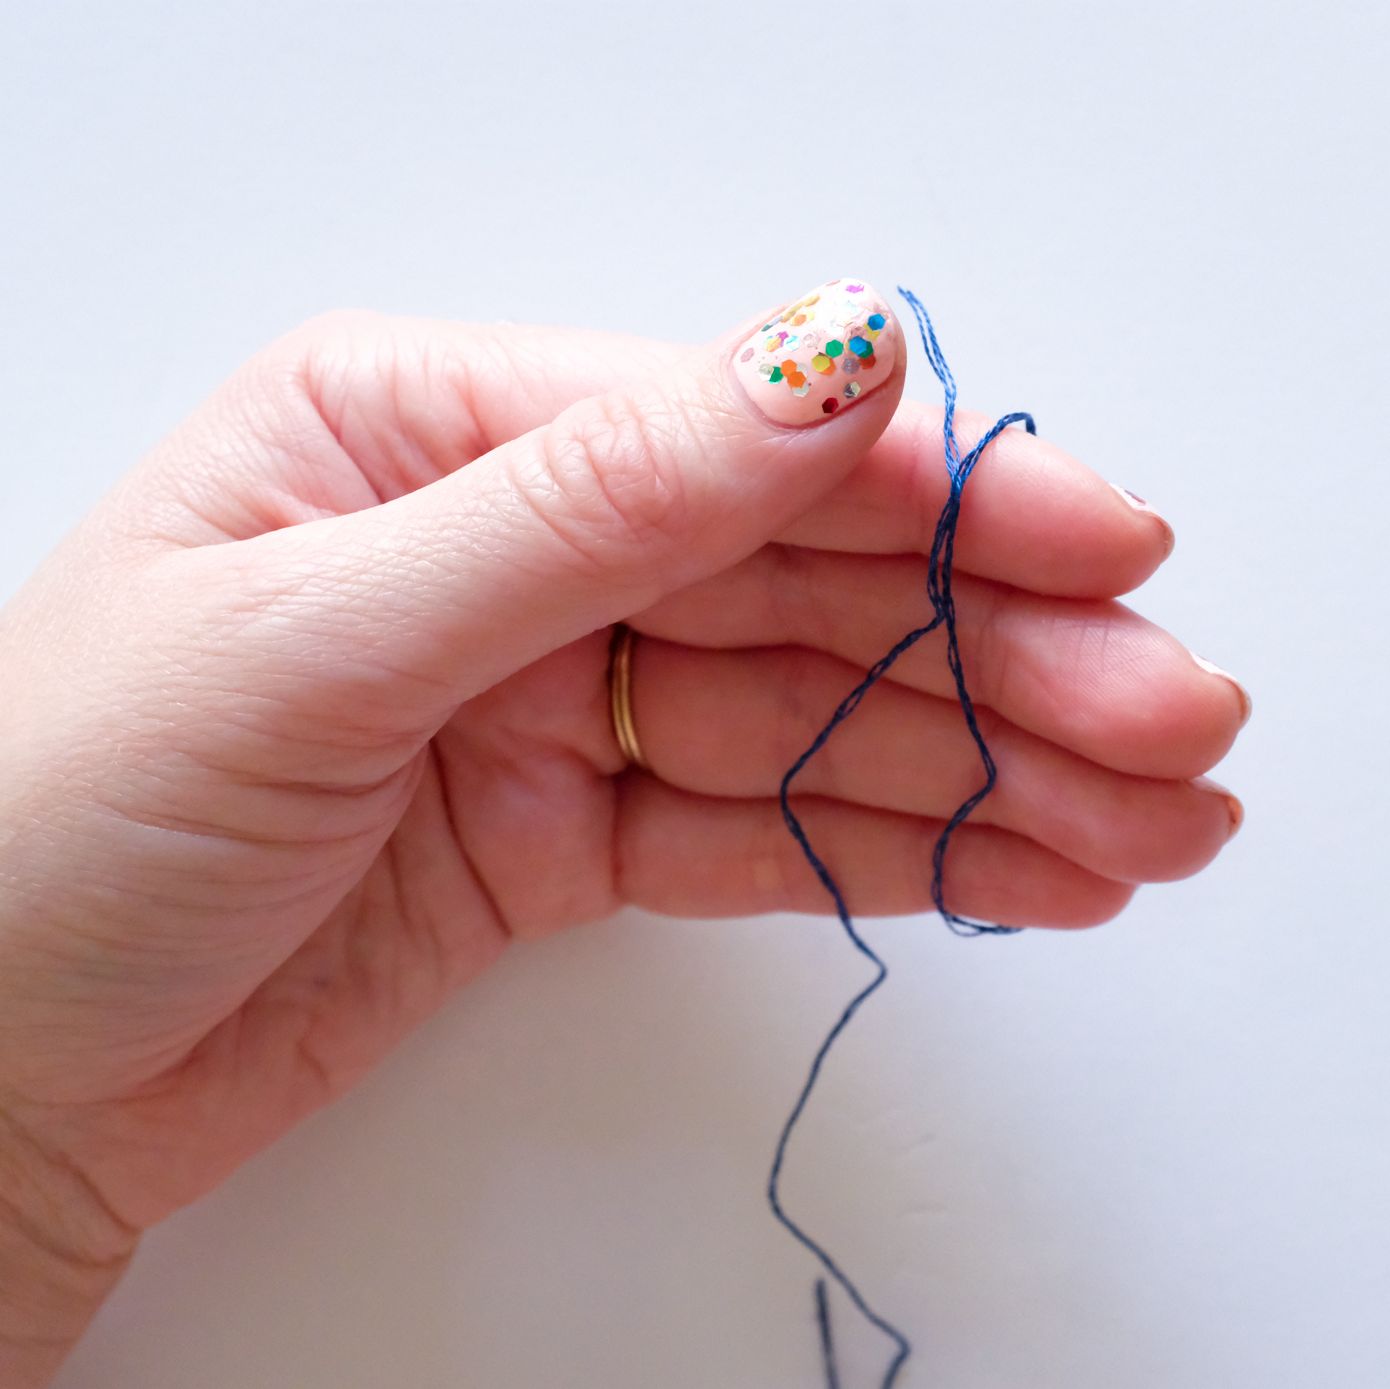
Lick the end of your thread and snip off the scraggly end with your scissors. This will stiffen your thread.

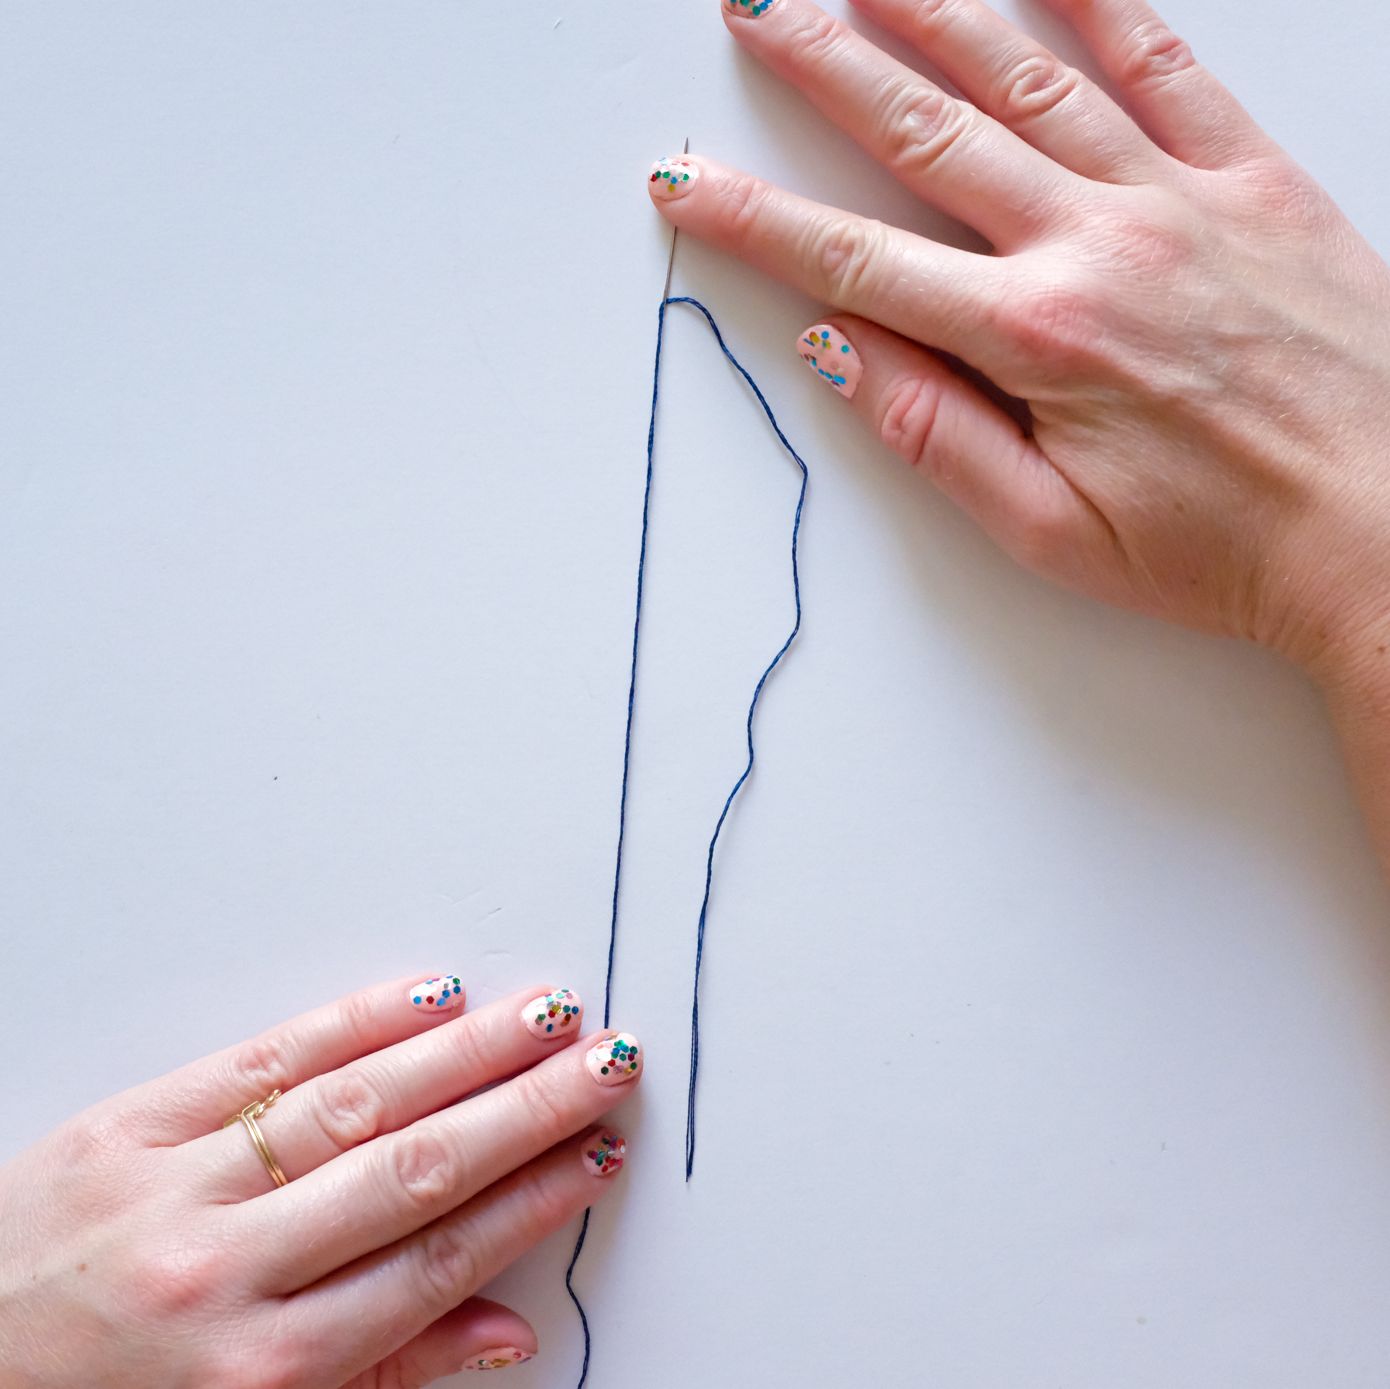
Pull the thread back so it is very short and supported between your thumb and forefinger.
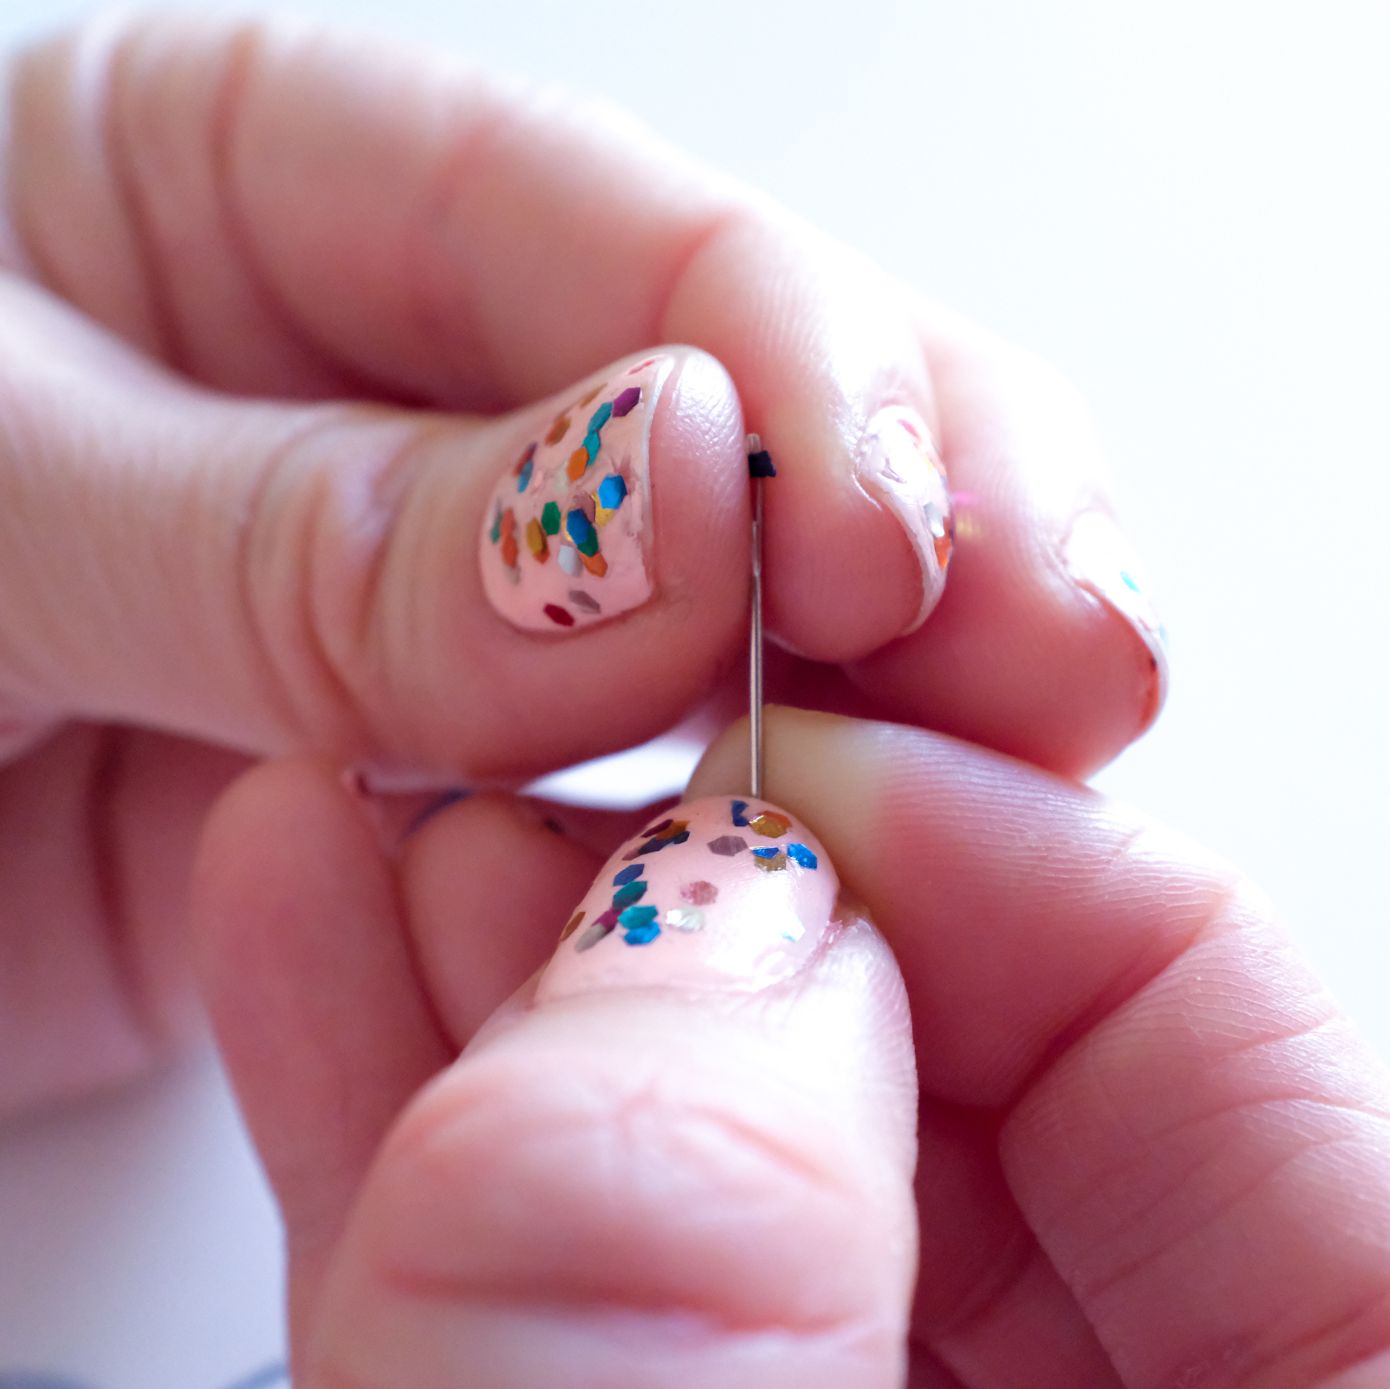
Place your needle on top of your tiny thread end.
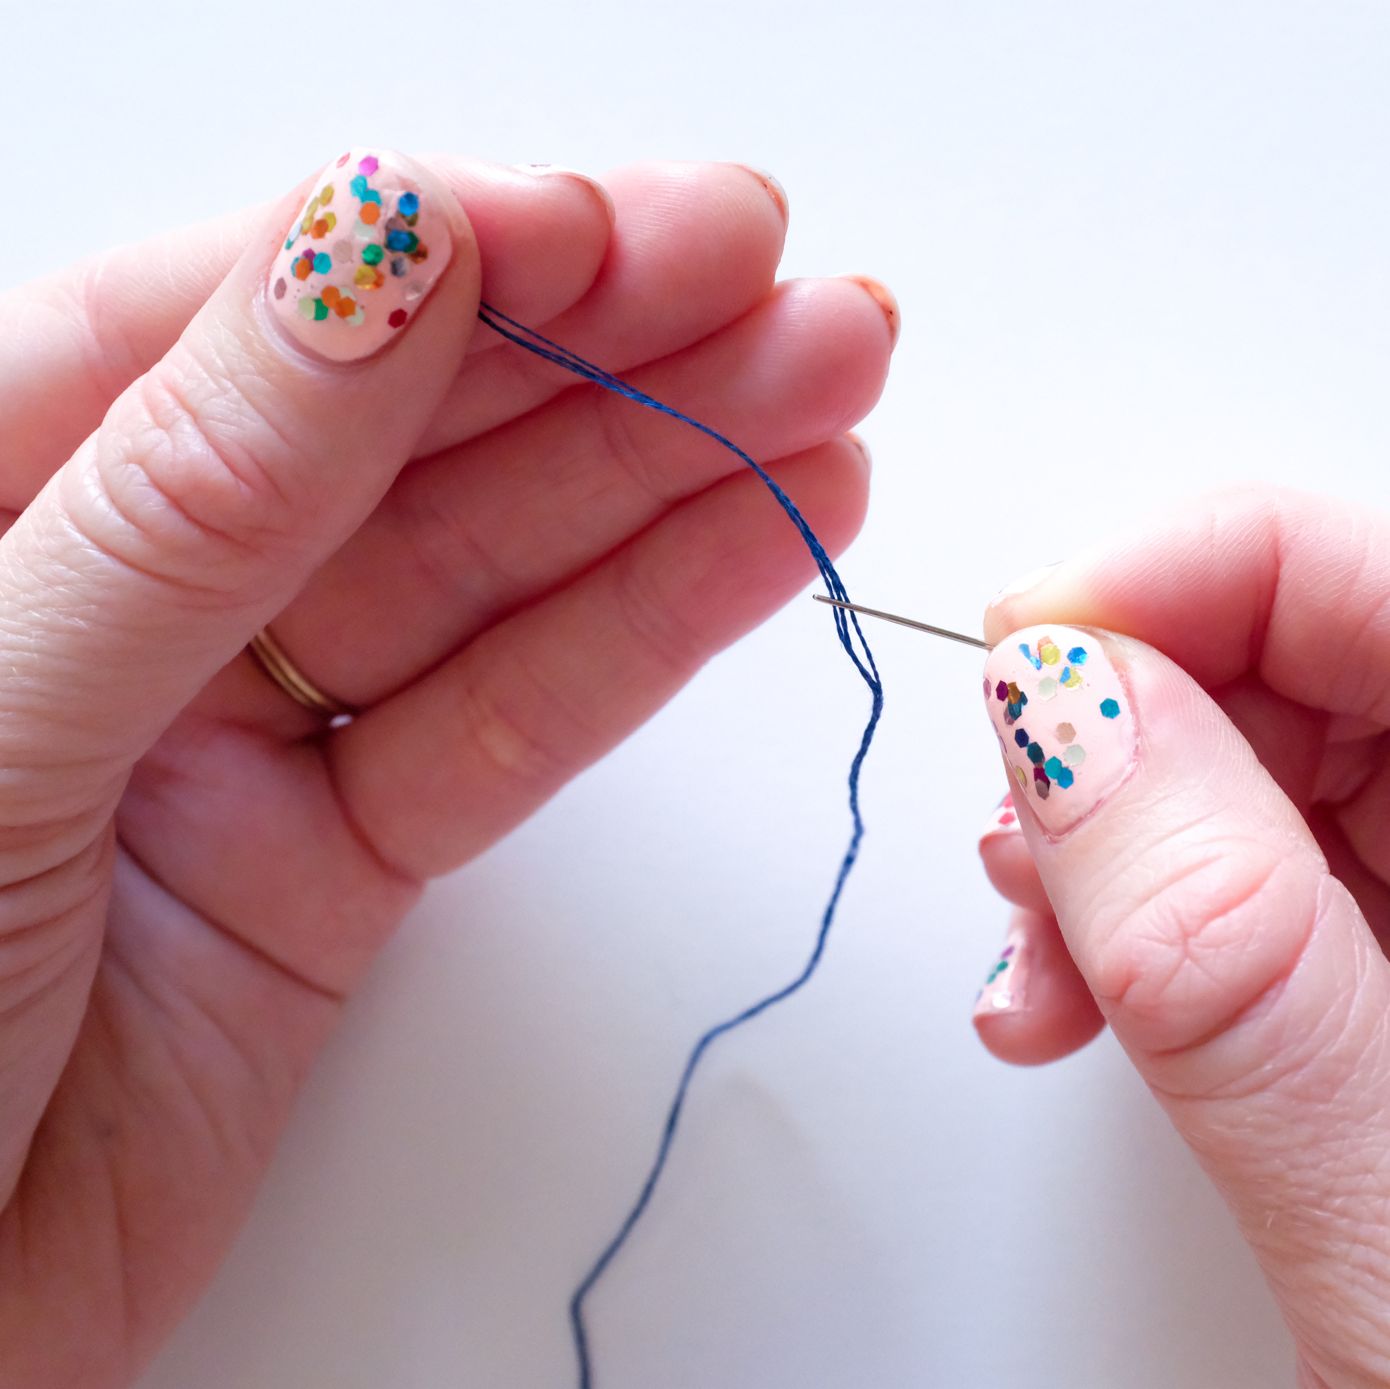
Slide the tread through your needle.
In embroidery our thread is loose. We do this to make it easier to remove our needle if we run into any problems while stitching.
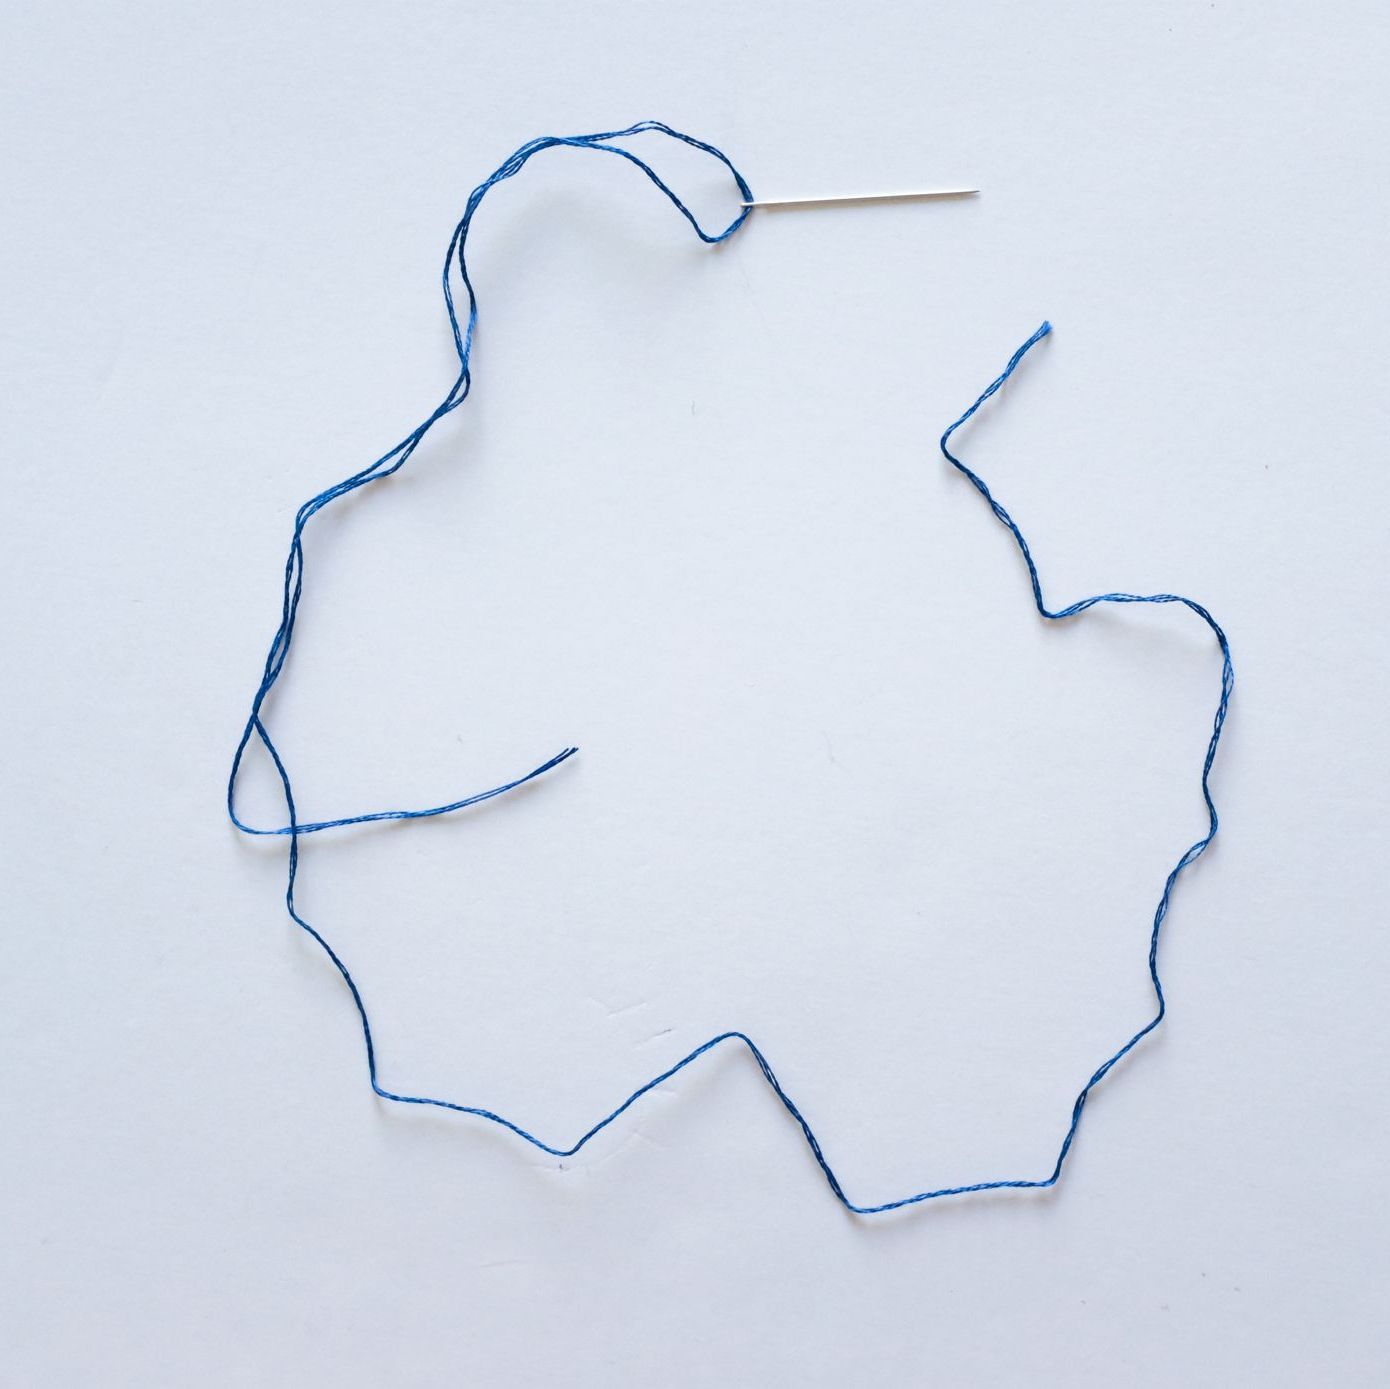
Pull your thread tail so it is about 1/3 of the total length.
Step 4: Tie a stop knot
Finally! An easy knot for hand sewing! This knot is big enough so it will not pull through the fabric while stitching.
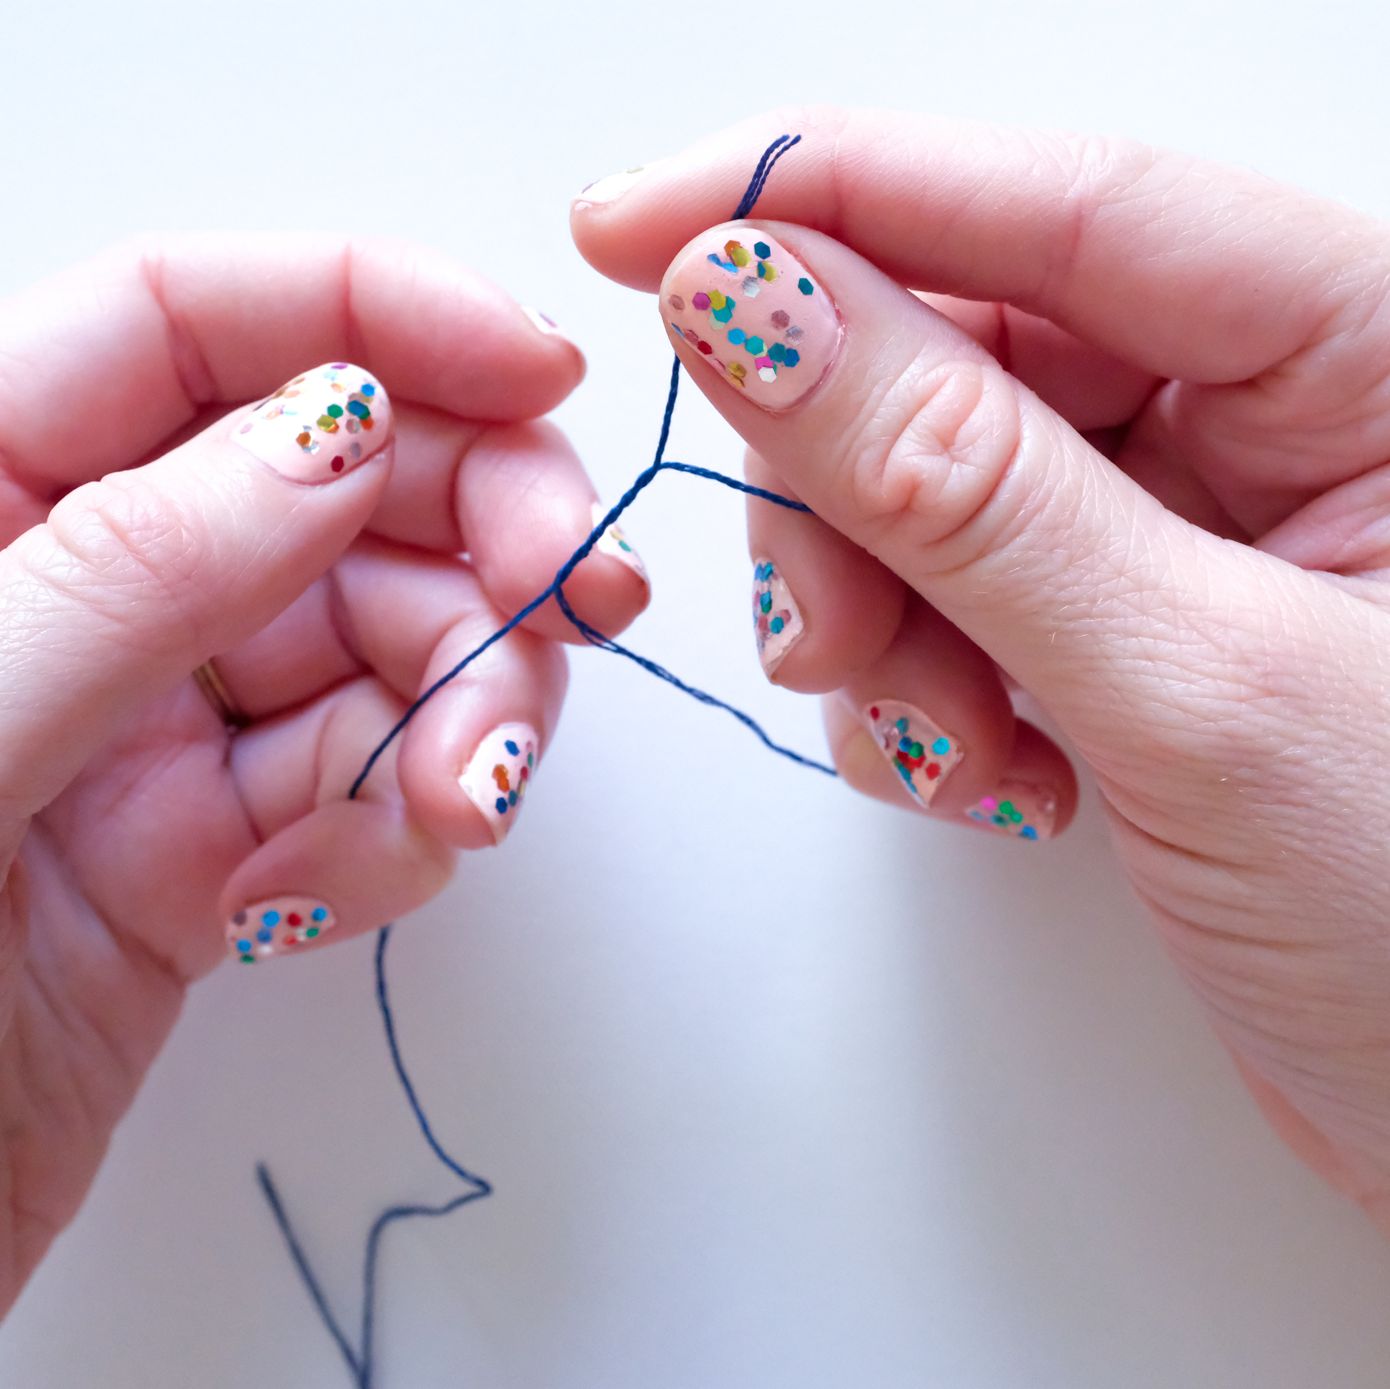
Start by wrapping the thread around your hand.

Remove the thread from your hand and twist the tail inside the loop. This is called an overhand knot.
Before you pull the thread tight, wrap the tail around the loop several times.
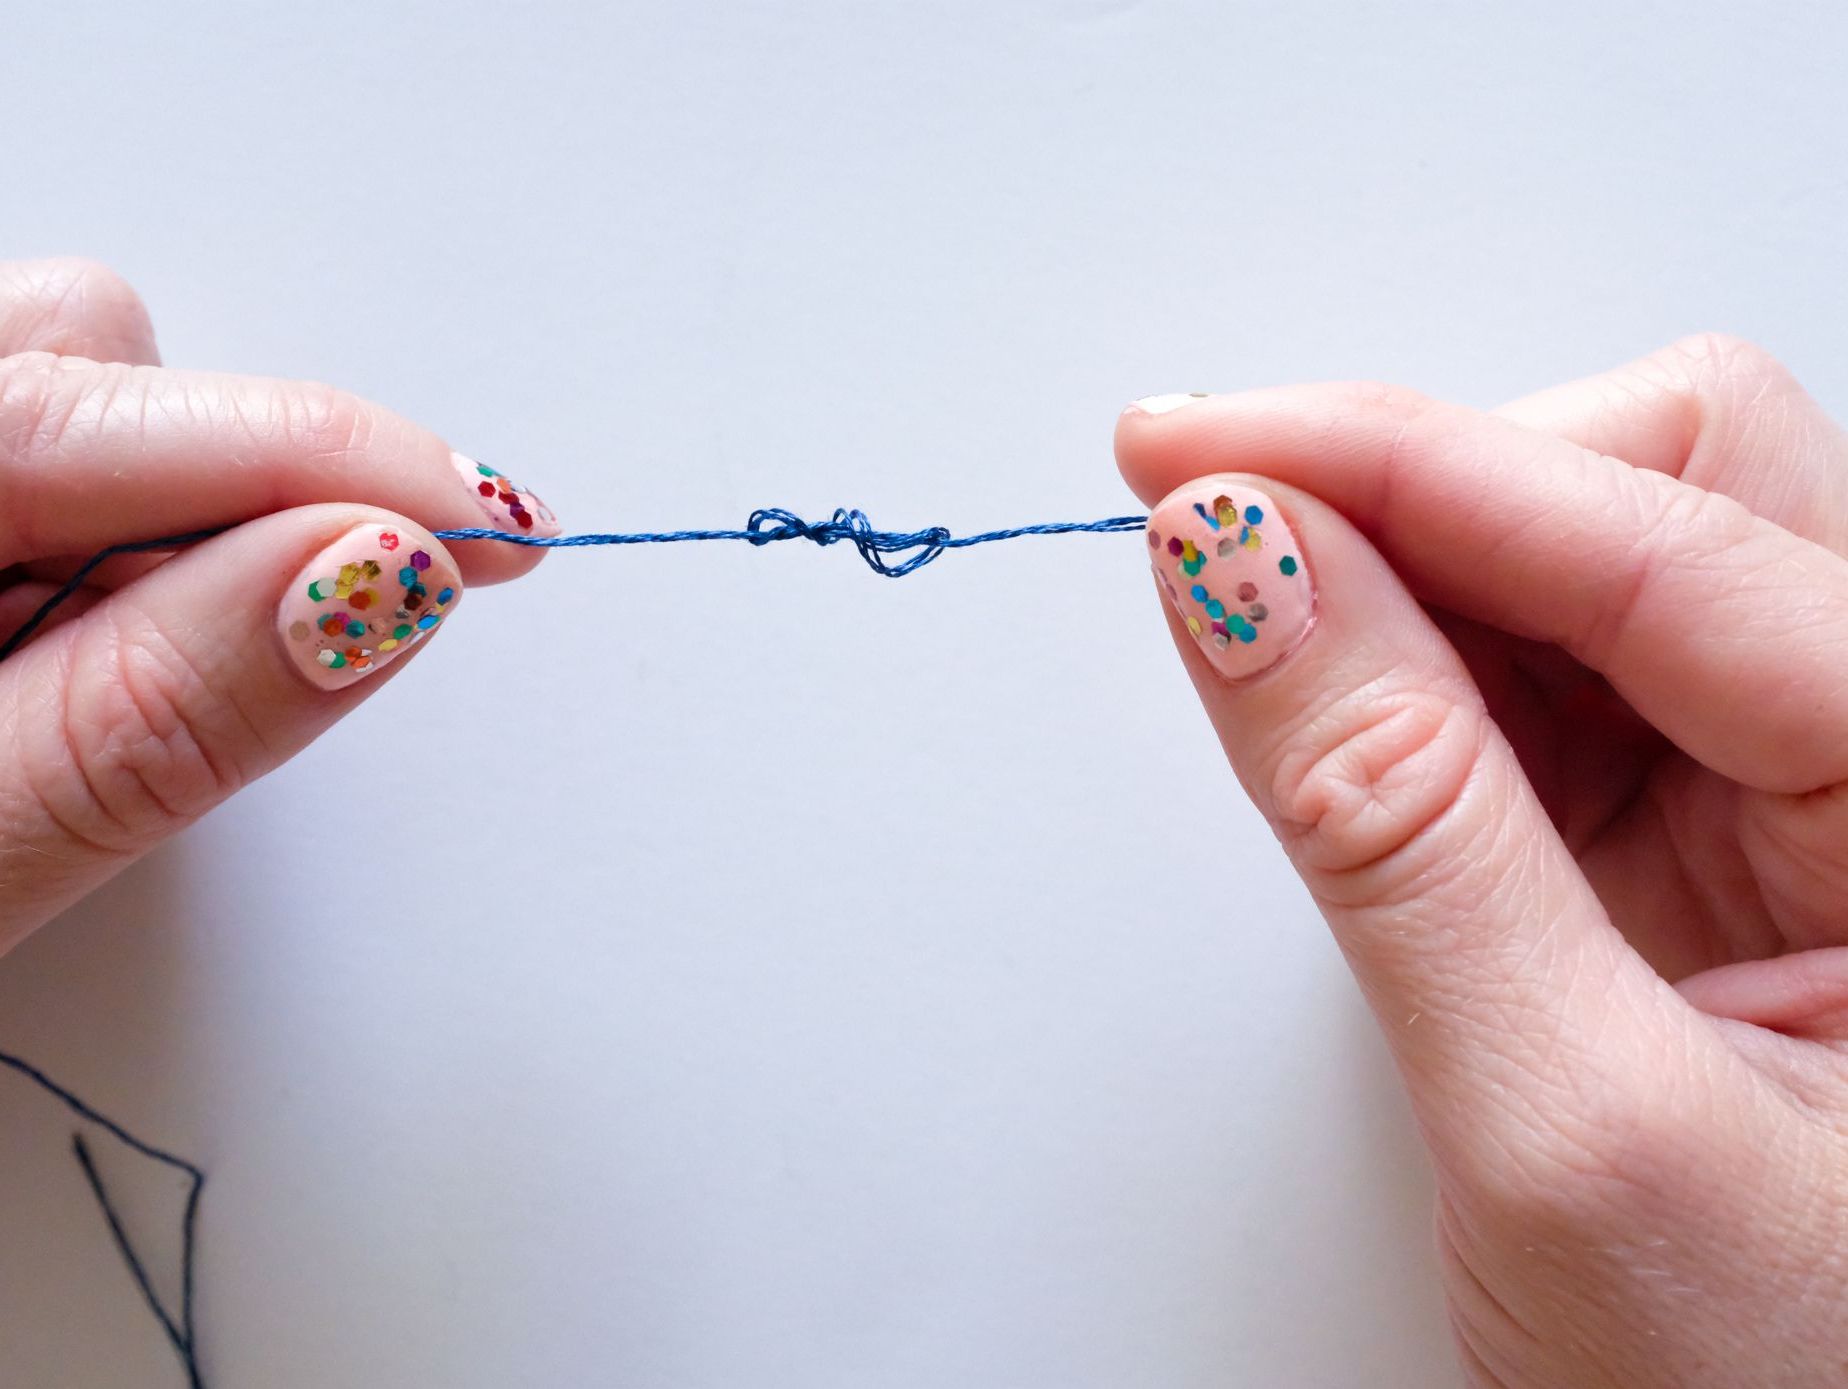
Slowly pull your knot tight.

Revel in the glory that is your great big stop knot!
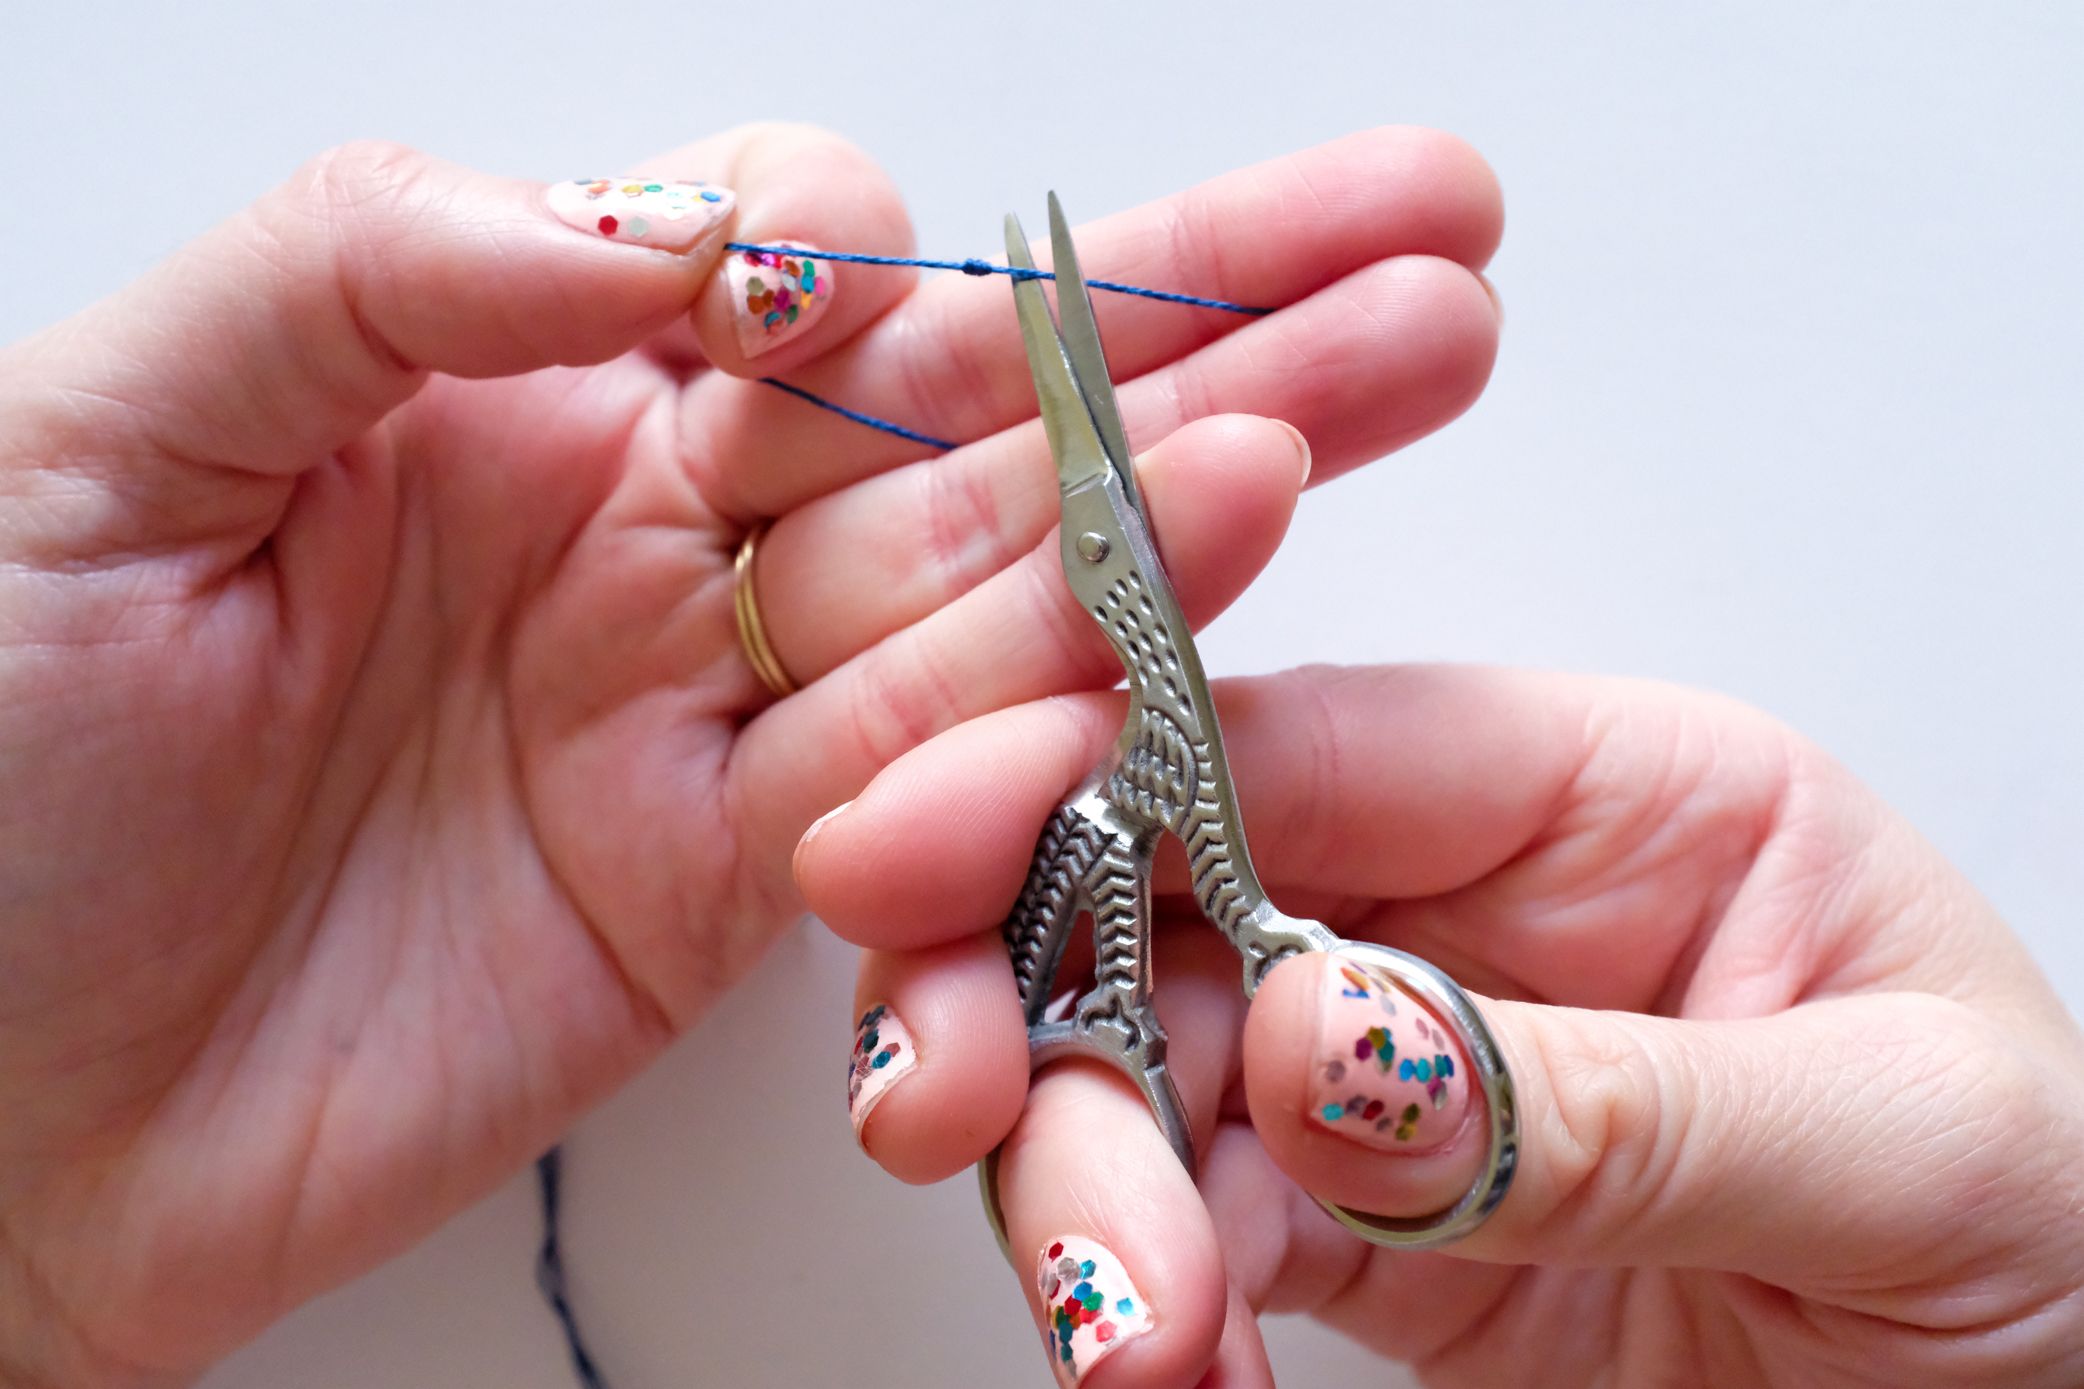
Snip your tails!
Each time you tie a knot, it's good practice to snip your tails to about 1/2 inch. Having a short tail prevents tangles on the back of your work.
You're now ready to learn some stitches! I hope you enjoy embroidery as much as I do!

By Jennie Lennick
Designer, entrepreneur, and lover of crafts! Boss Lady at Jenny Lemons in San Francisco

Comments
Matey said:
I love your nails first and foremost, thanks for showing this to us, I am new to this and I really want to learn so i can teach my granddaughter! shes 5