


Learn Running Stitch for Embroidery and Hand Sewing

My Friend, Running Stitch
Running stitch is the simplest embroidery stitch of them all and is an important one to learn. By practicing it, you will master proper needle handling and learn to make your stitches more uniform.
I love the running stitch because of it's playful simplicity. It's as utilitarian as it is beautiful. Use it as decoration or to simply sew two pieces of fabric together. The choice is yours!
Shop Embroidery Supplies


Gather your materials
- Embroidery hoop
- Embroidery floss
- Woven fabric
- Embroidery needles
- Scissors
- Water erasable marker
- Needle threader
As an Amazon Associate I earn from qualifying purchases. Thank you for clicking on our recommendations!

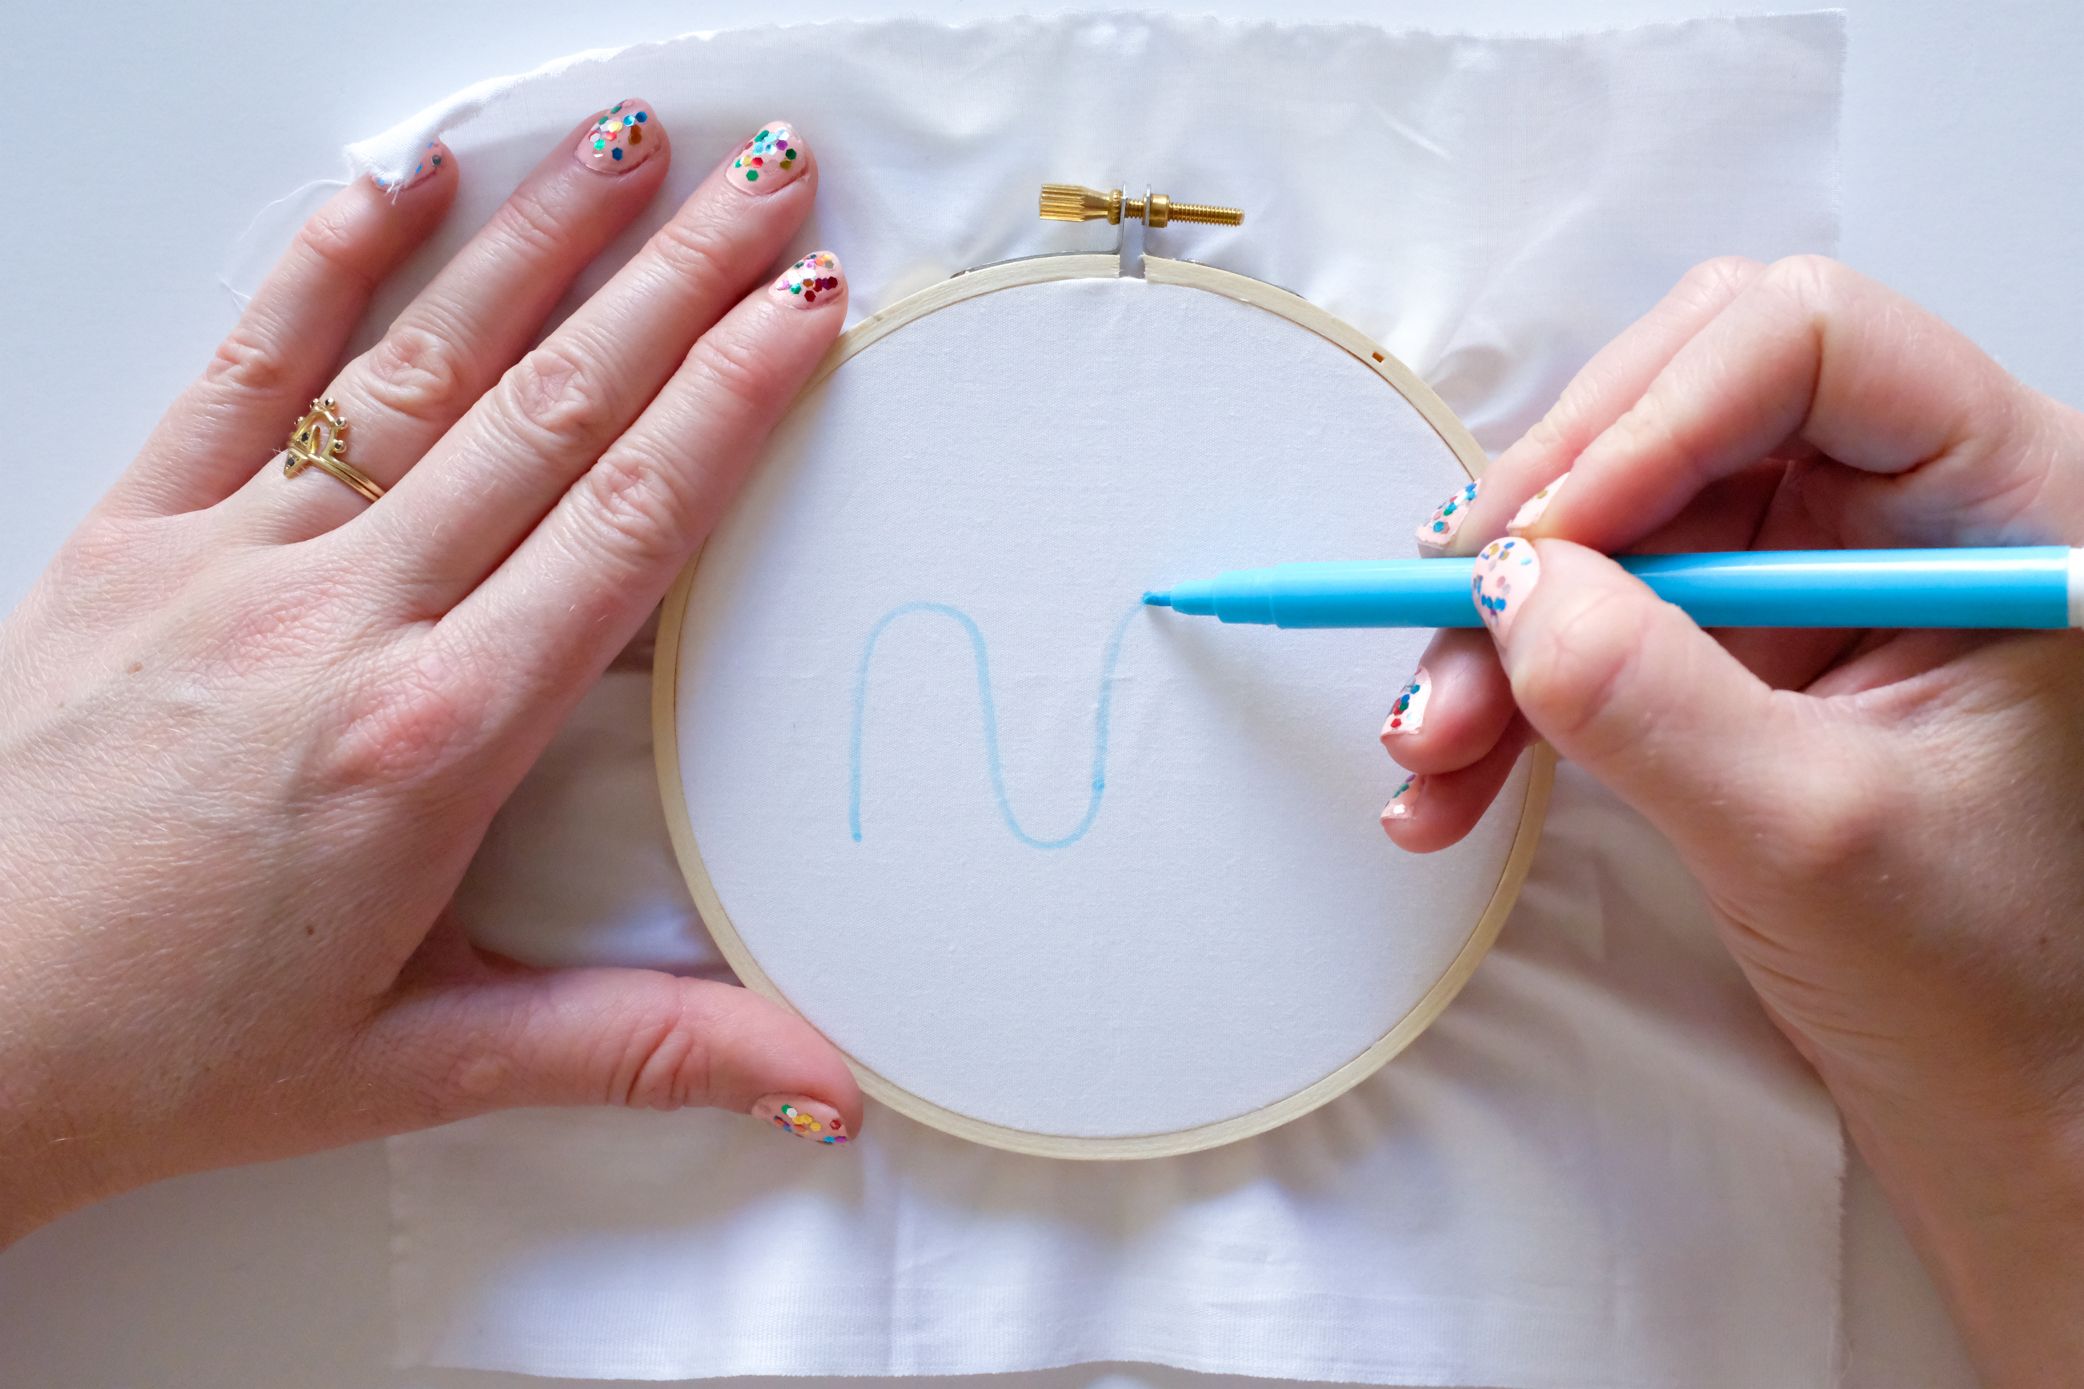
Step 1: Draw Your Design
Before you begin, split your thread, thread your needle, and stretch your fabric. If you need help, refer to my blog post here about getting started with embroidery!
I always recommend drawing out your design prior to stitching. It is so helpful to have a guide line to follow as you work. I use a water erasable fabric pen to mark out my drawing. This pen is amazing! With just a little bit of water, your marks will disappear completely.
Step 2: Begin Your Running Stitch
Once your design is drawn, you're ready to start stitching! Thread your needle with three strands of embroidery floss. Don't forget to knot the end of the floss!

From the back of your work, begin by poking the needle through your fabric at the beginning of your drawn line.
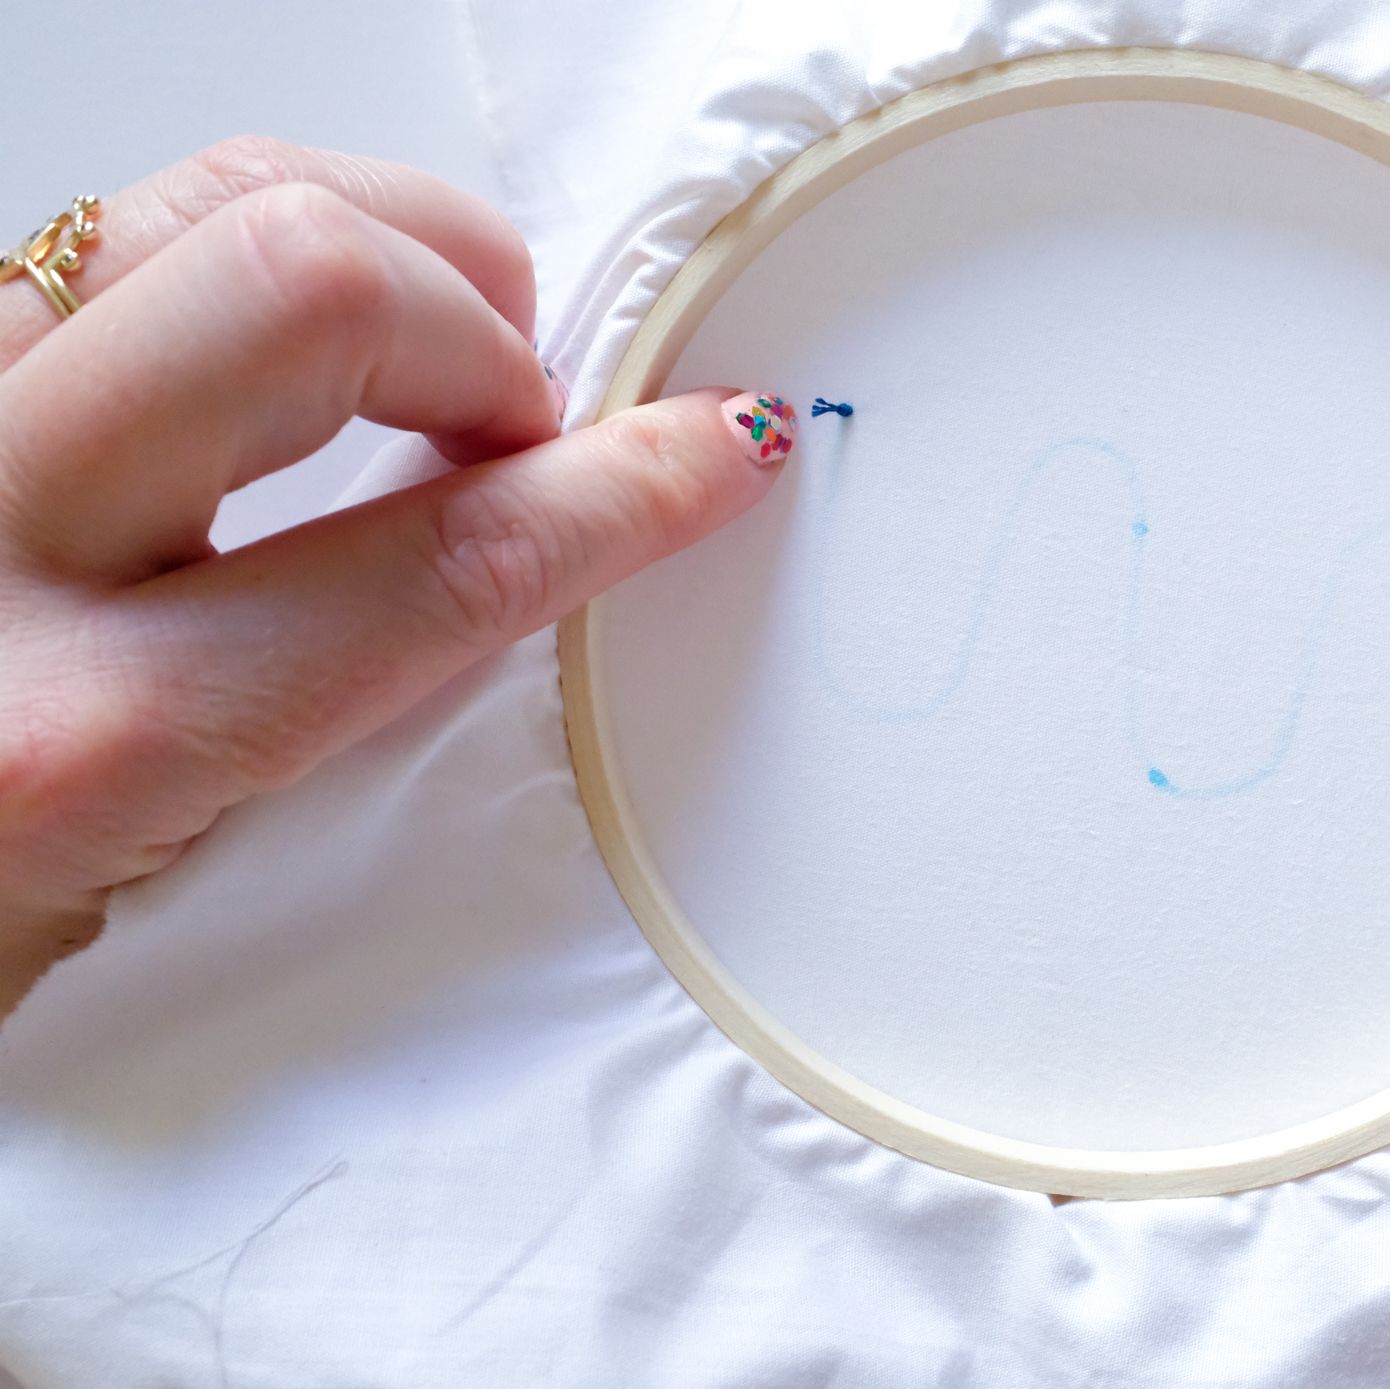
Pull the thread through all the way until your stop knot is against the back of your fabric.
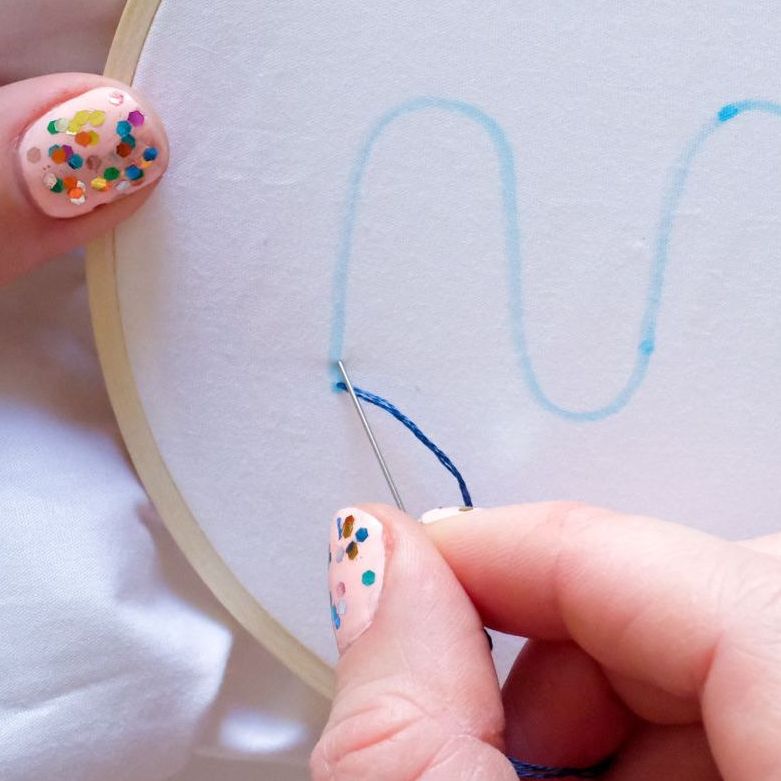
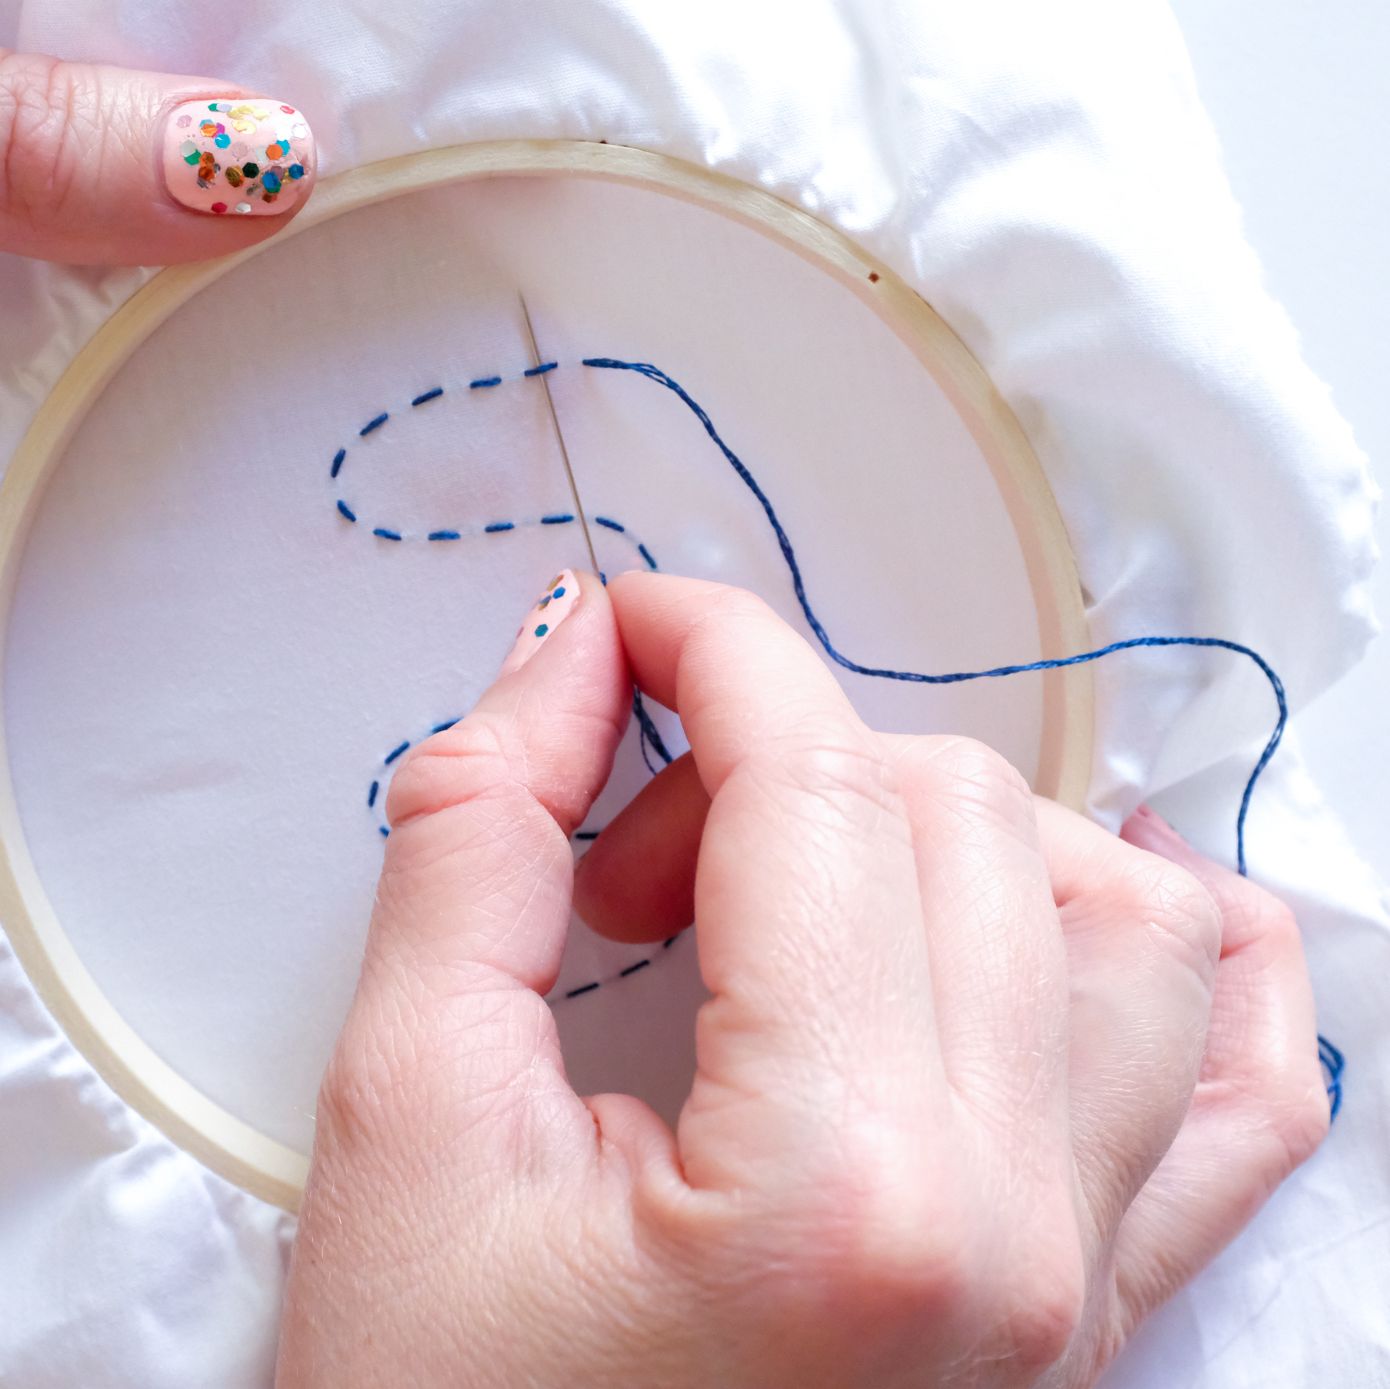
From the front, move your needle forward about 1/4" along your drawn line and scoop up a little bit of fabric.

Use your non dominant hand on the back of your work to help guide your needle forward.

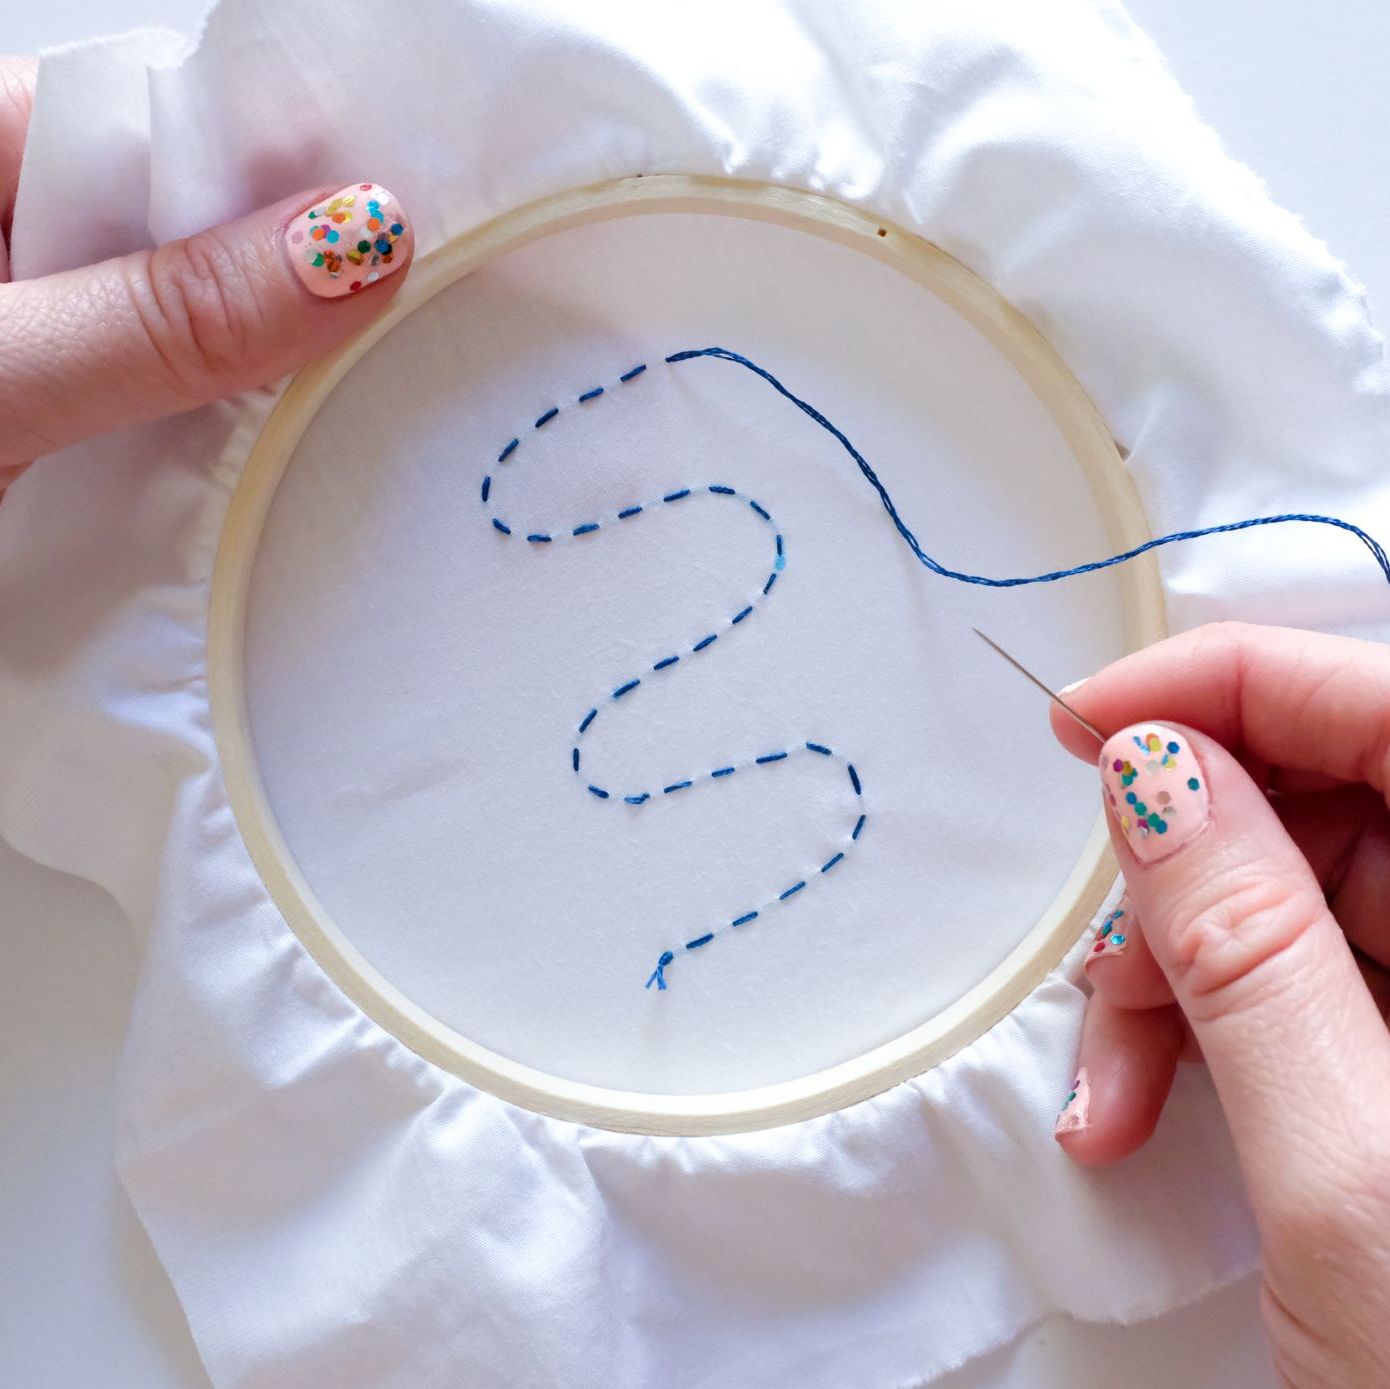
Continue stitching along your line. Your stitches should be the same size as the spaces between them.

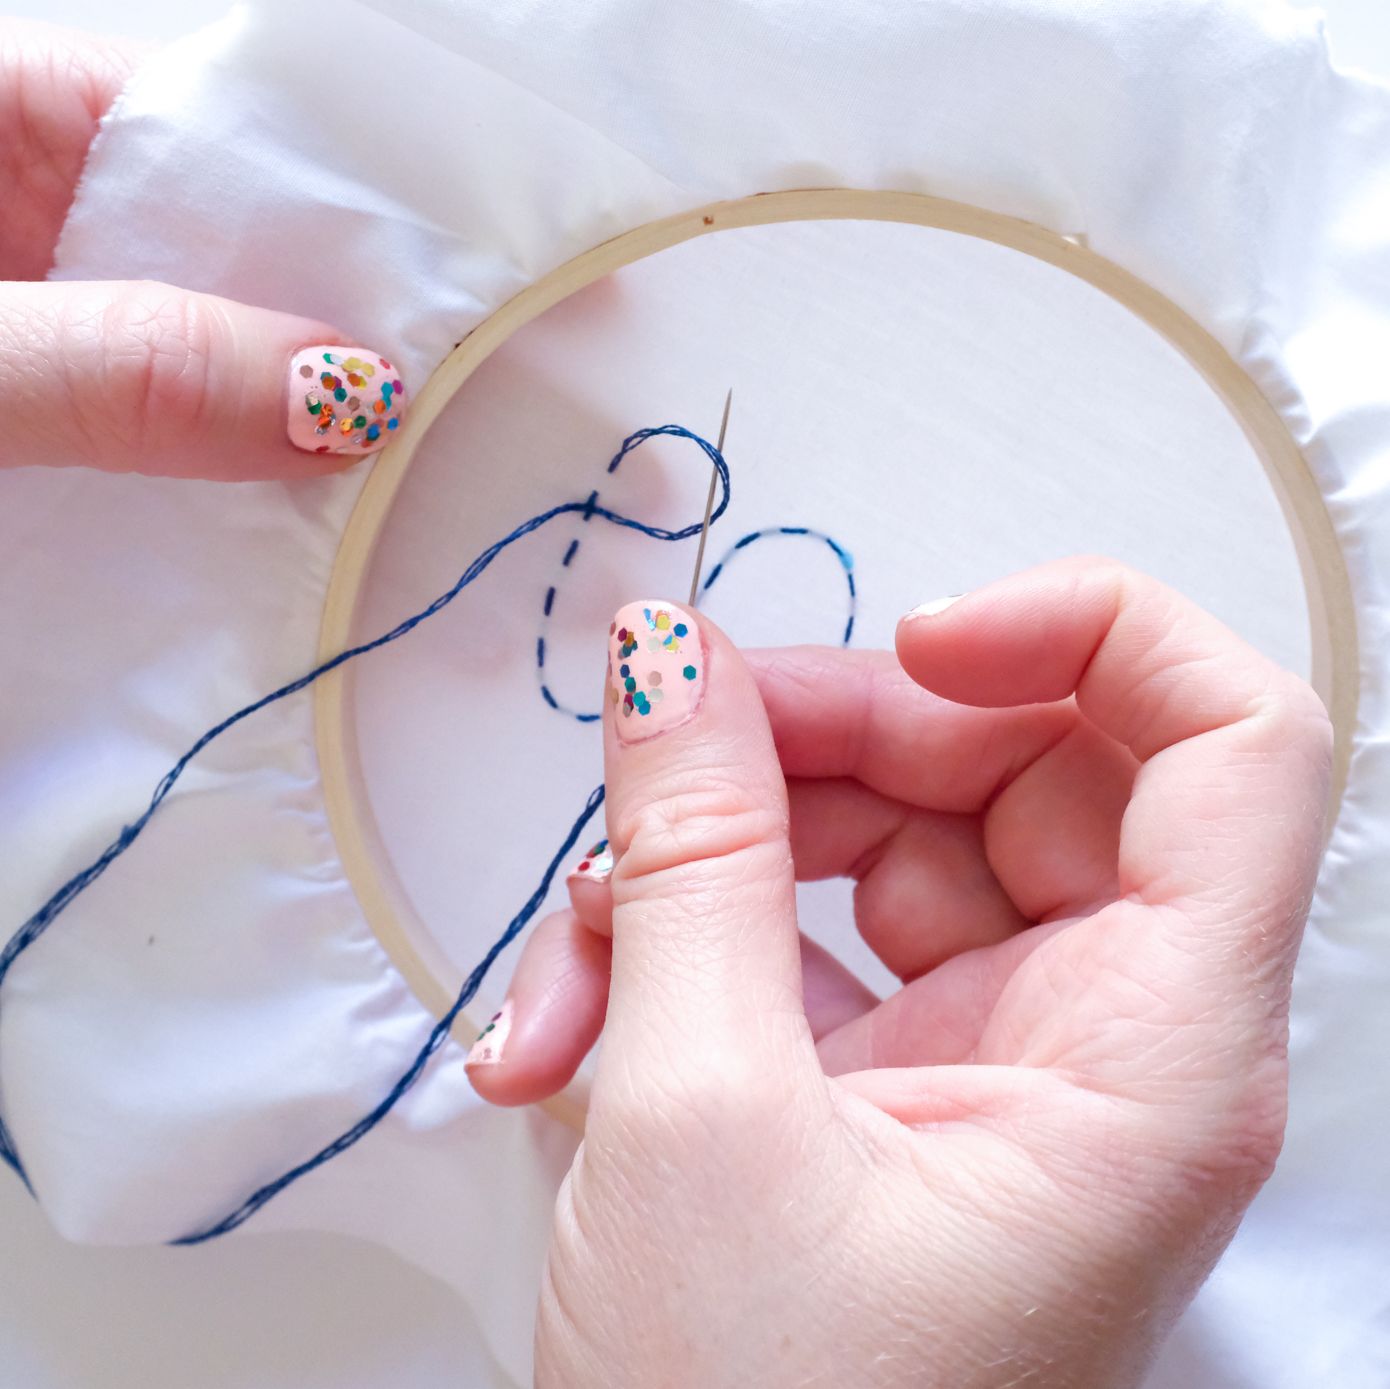
Once you have finished stitching your design, pierce the needle through once more so the thread is coming out the back of your fabric.
Step 3: Tie Your Knot
Flip your work over so you are looking at from the back.
Slide your needle under your last stitch. Be careful not to stitch through the fabric or the fiber of the embroidery floss.

Pull your thread until only a small loop remains.
Place your needle inside the loop
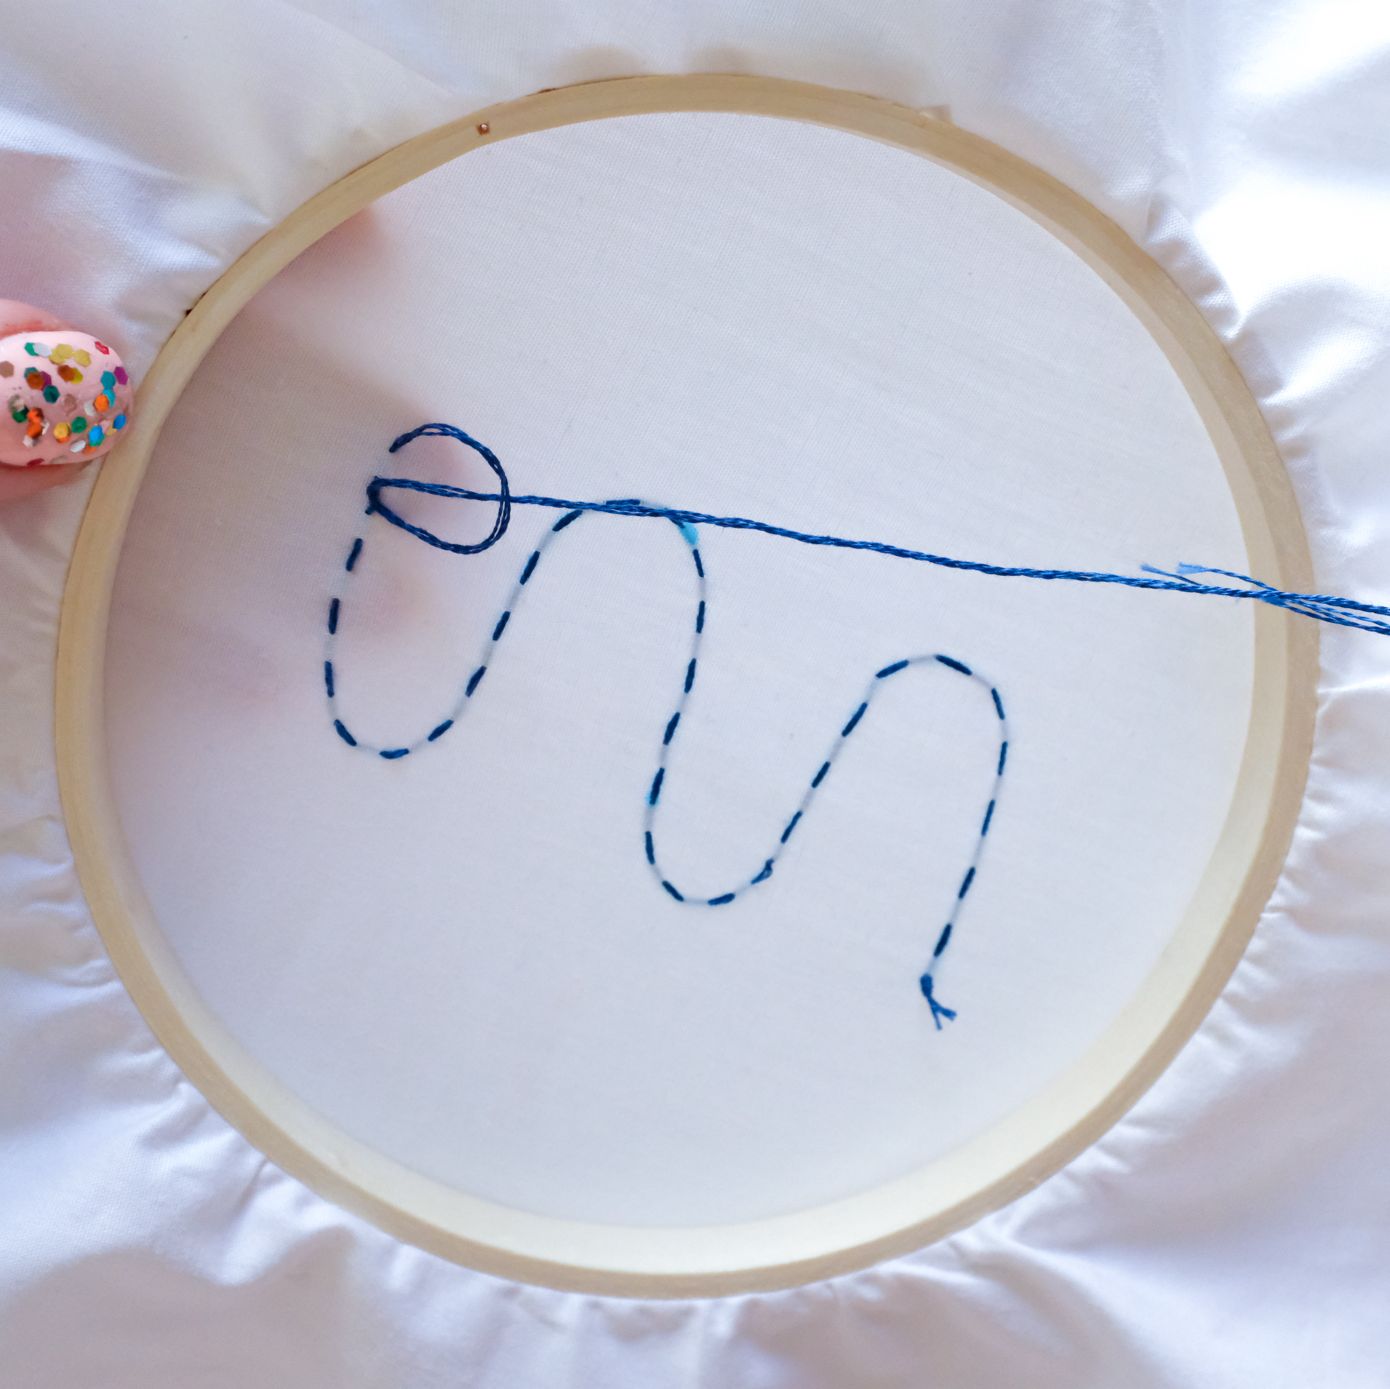
Slowly pull the thread through the loop.
Carefully pull until the thread is tight.

In order to properly secure your knot, you need to repeat this entire process two more times.
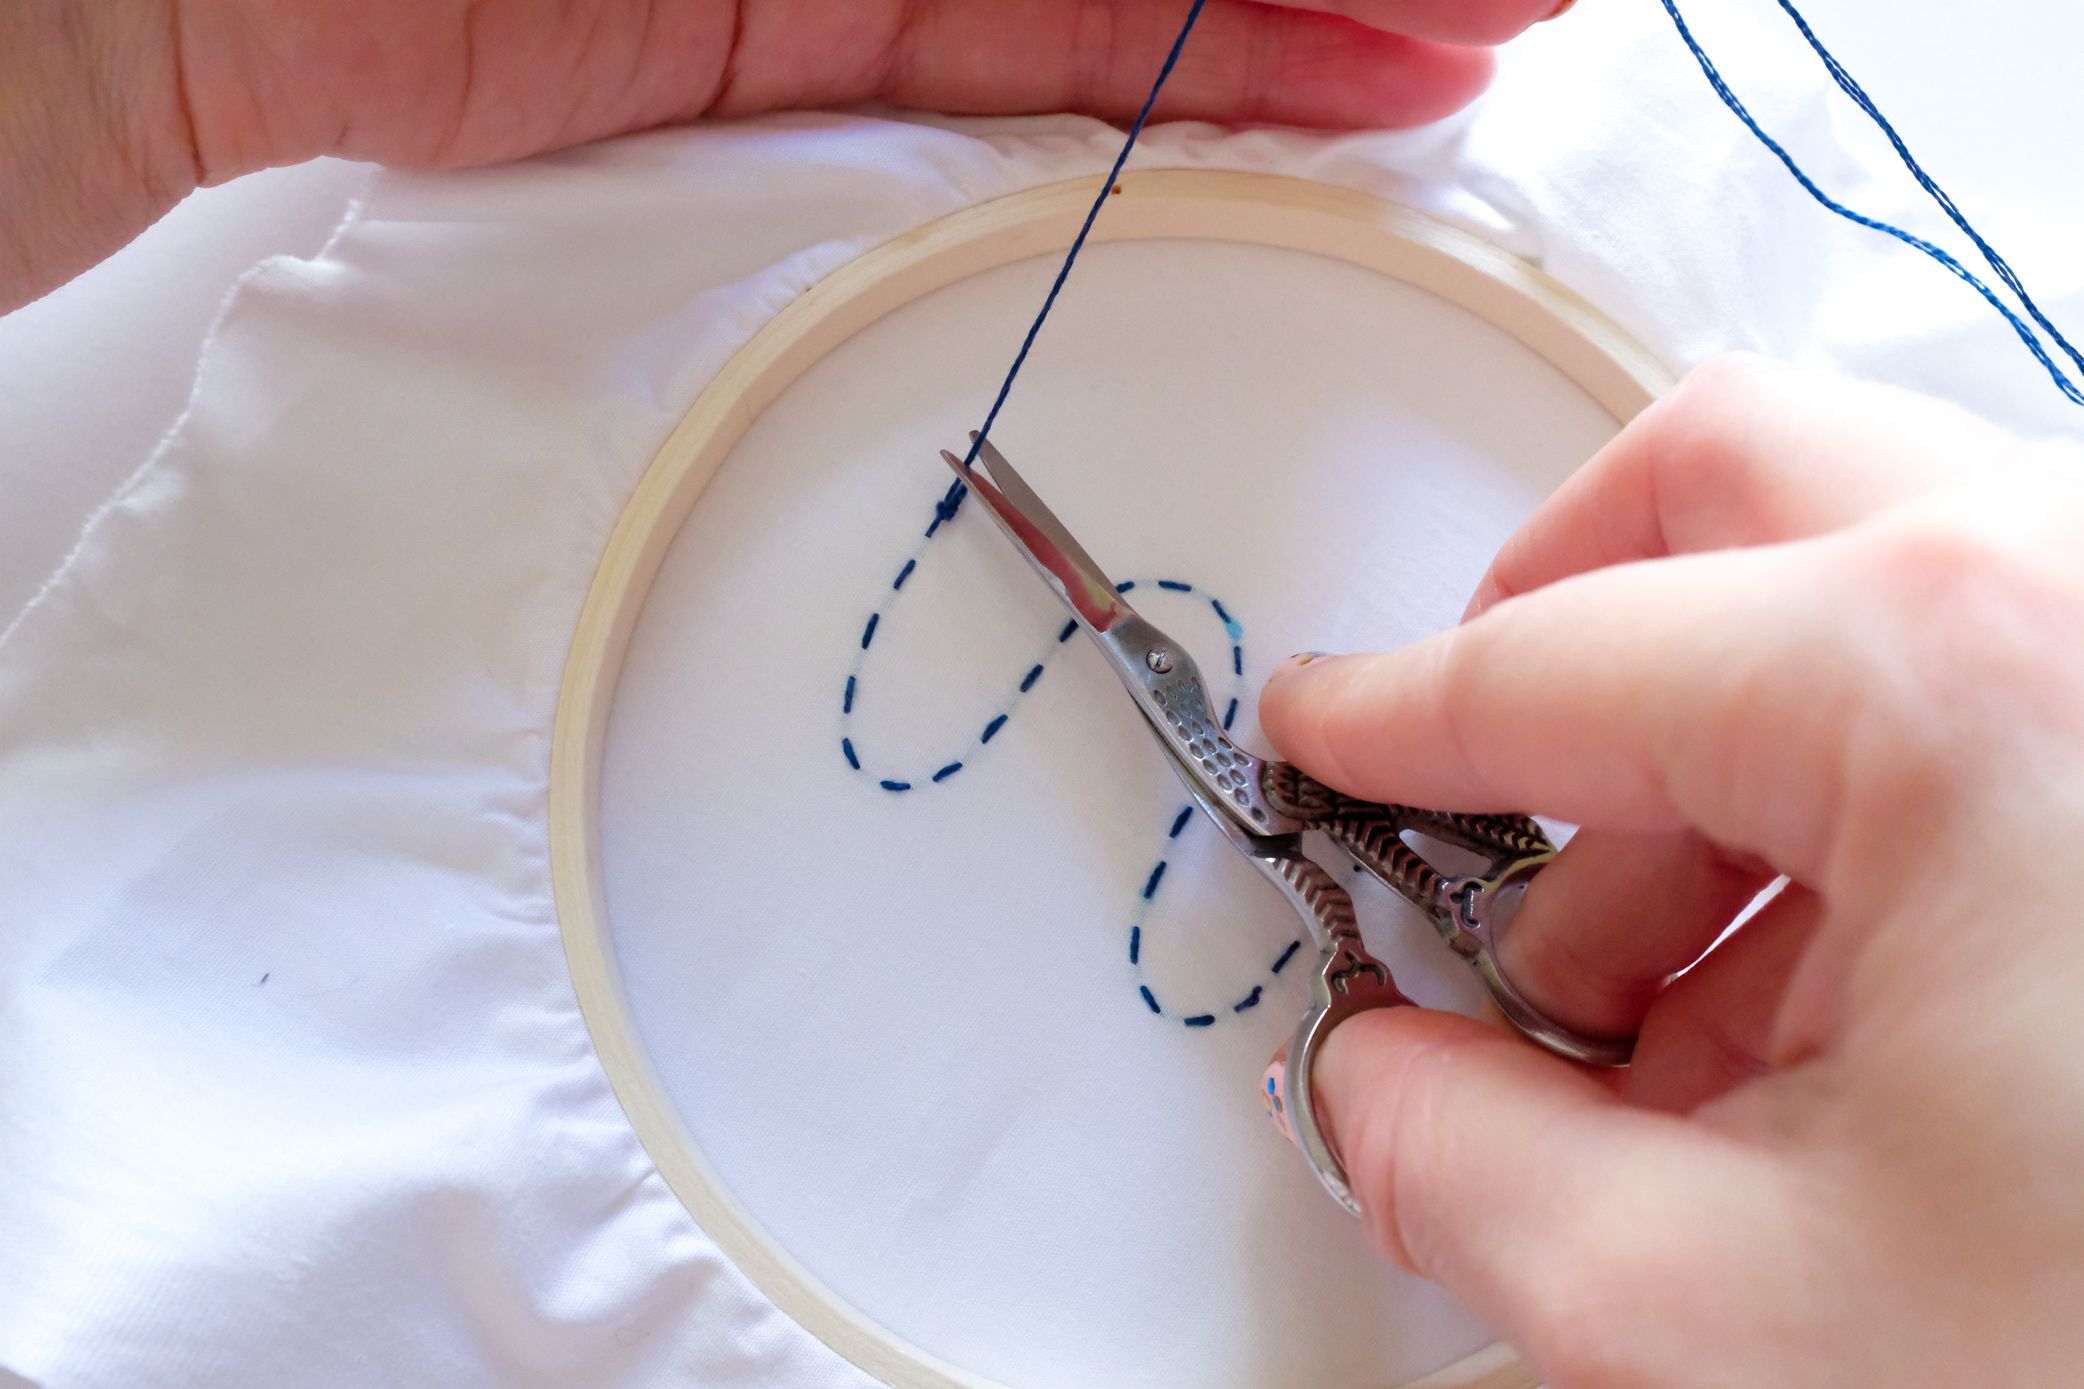
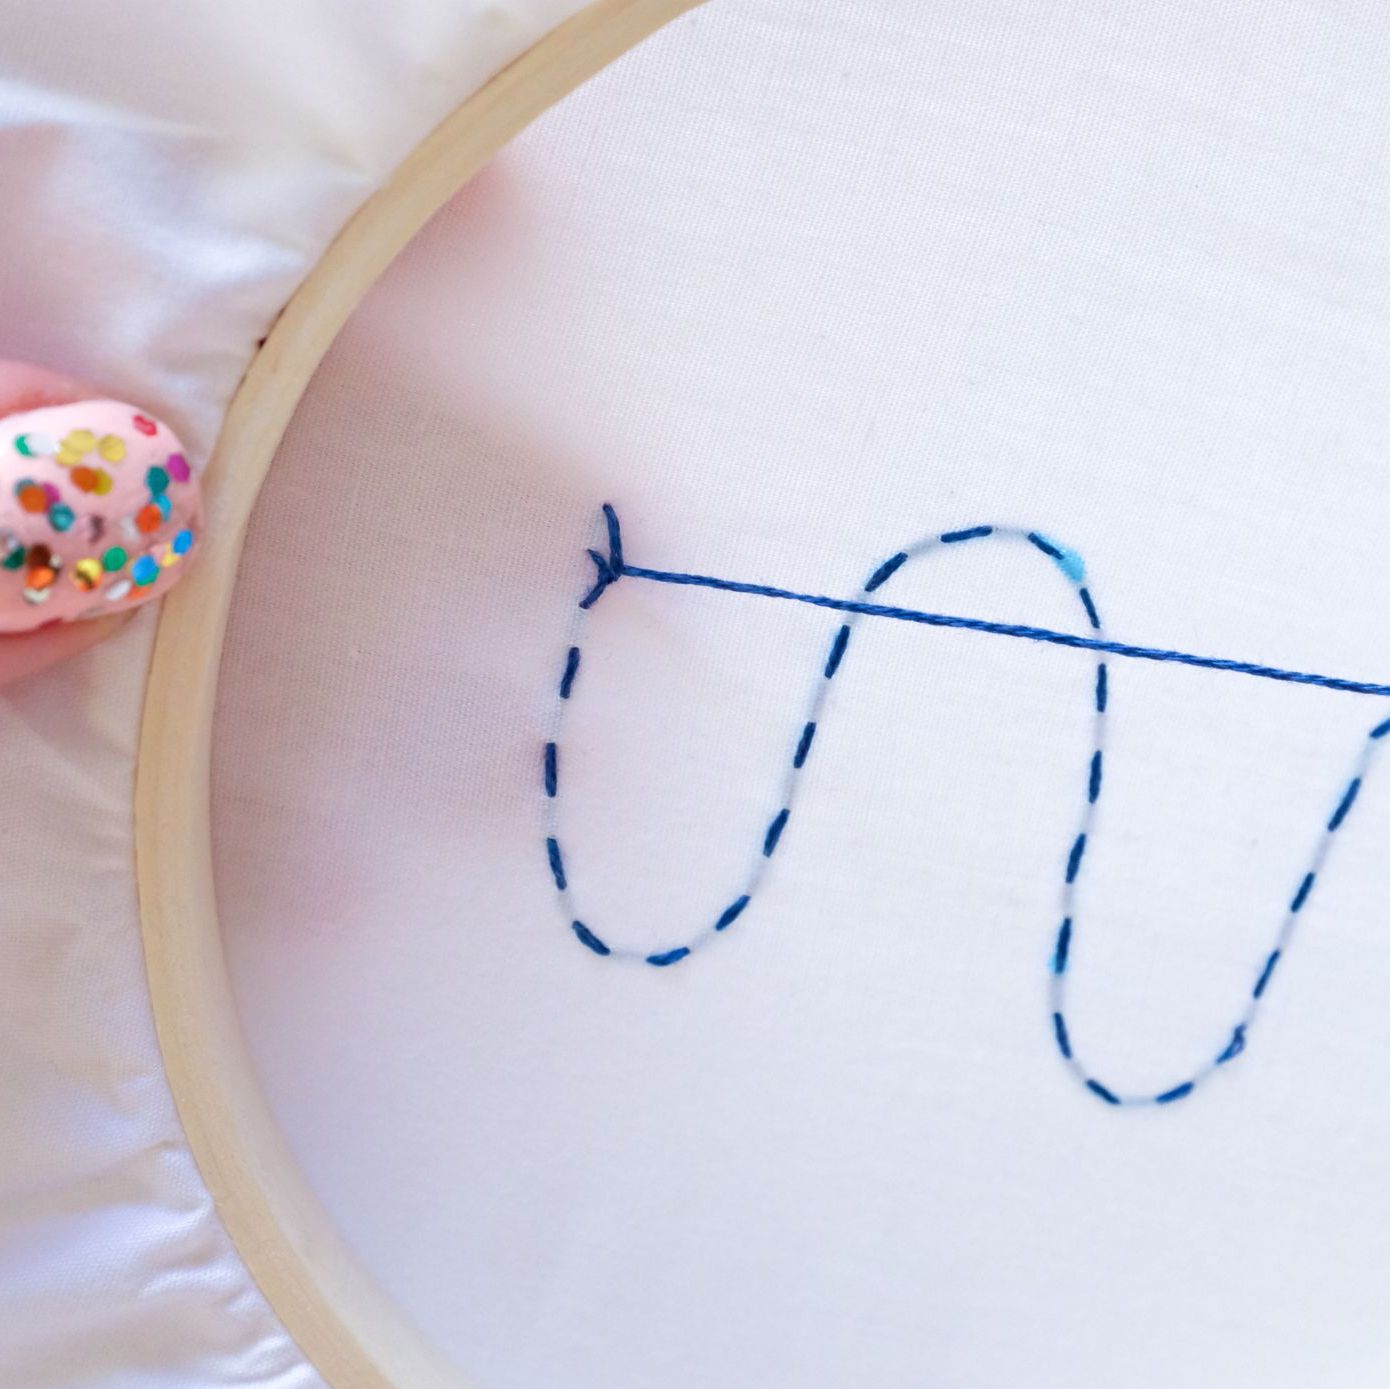
Once your knot is secure, trim your excess thread.
Great Work! You're Ready to Learn More Stitches!


By Jennie Lennick
Designer, entrepreneur, and lover of crafts! Boss Lady at Jenny Lemons in San Francisco


