


Make Your Own Mini Zines!
Make your own ZINE
By Sarah Duyer
Make Your Own Zine in 9 Easy Steps!
A zine is self-published little magazine that can cover a variety of topics from music to art to whatever you like! Typically made in small batches, zines are made by hand and are very easy to DIY. Zines are super quick and fun to make and read. In this tutorial, I'll show you how to make one!
Hi all! My name is Sarah Duyer, I’m a San Francisco-based ceramic artist, illustrator, and zine maker. My love for zines and self-published art books was born from going to zine and indie comic fairs over the years, and my time working for SF-based publisher Silver Sprocket.I started my zine project titled Pot Pals in 2017 as a way to connect and collaborate with artists I admired who were working in comics and illustration. For each issue of the zine I ask contributing artists to draw their interpretation of a pot, then I bring them to life!
Since the prompt is so open ended I’ve gotten a wide range of submissions in different styles and degrees of difficulty. The fun challenge of the project is in figuring out how to translate the 2-dimensional drawing into a physical 3D piece and I see each submission as an opportunity to inhabit and learn from that artist’s style while creating something that is uniquely a blend of both our artistic viewpoints.
Materials List

Instructions
1. Start with your sheet of paper laid flat and bring the long edges together to create a “hot dog” fold. Unfold and fold backward along the same line to define the crease. Smooth with a bone folder.

2. Next, bring the short sides of the paper together and create a “hamburger” style fold. Unfold, fold backward along the same crease, and smooth with a bone folder.


3. Next, bring the short edge of the top layer of paper to meet the middle fold and create a crease halfway between the outer edge and fold. Smooth with a bone folder.


4. Flip paper over and repeat the same fold on the other side of your paper and smooth.

5. You should be left with 4 creases in your paper that create a “w” shape.


6. Fold in half so that the short sides are together (“hamburger” style) and make a cut from the center fold to where the two creased lines intersect. This will create a slit down the center of the paper. Make sure not to cut all the way to the edge of your paper!

7. Once your slit is cut fold paper in half with long edges together (“hotdog” style). Hold the folded edges and bring them together, collapsing the sheet in on itself and creating an “x” with the paper.


8. Collapse and fold in half, bringing the sheet together to create a booklet. Smooth all creases with a bone folder and your basic template is complete!


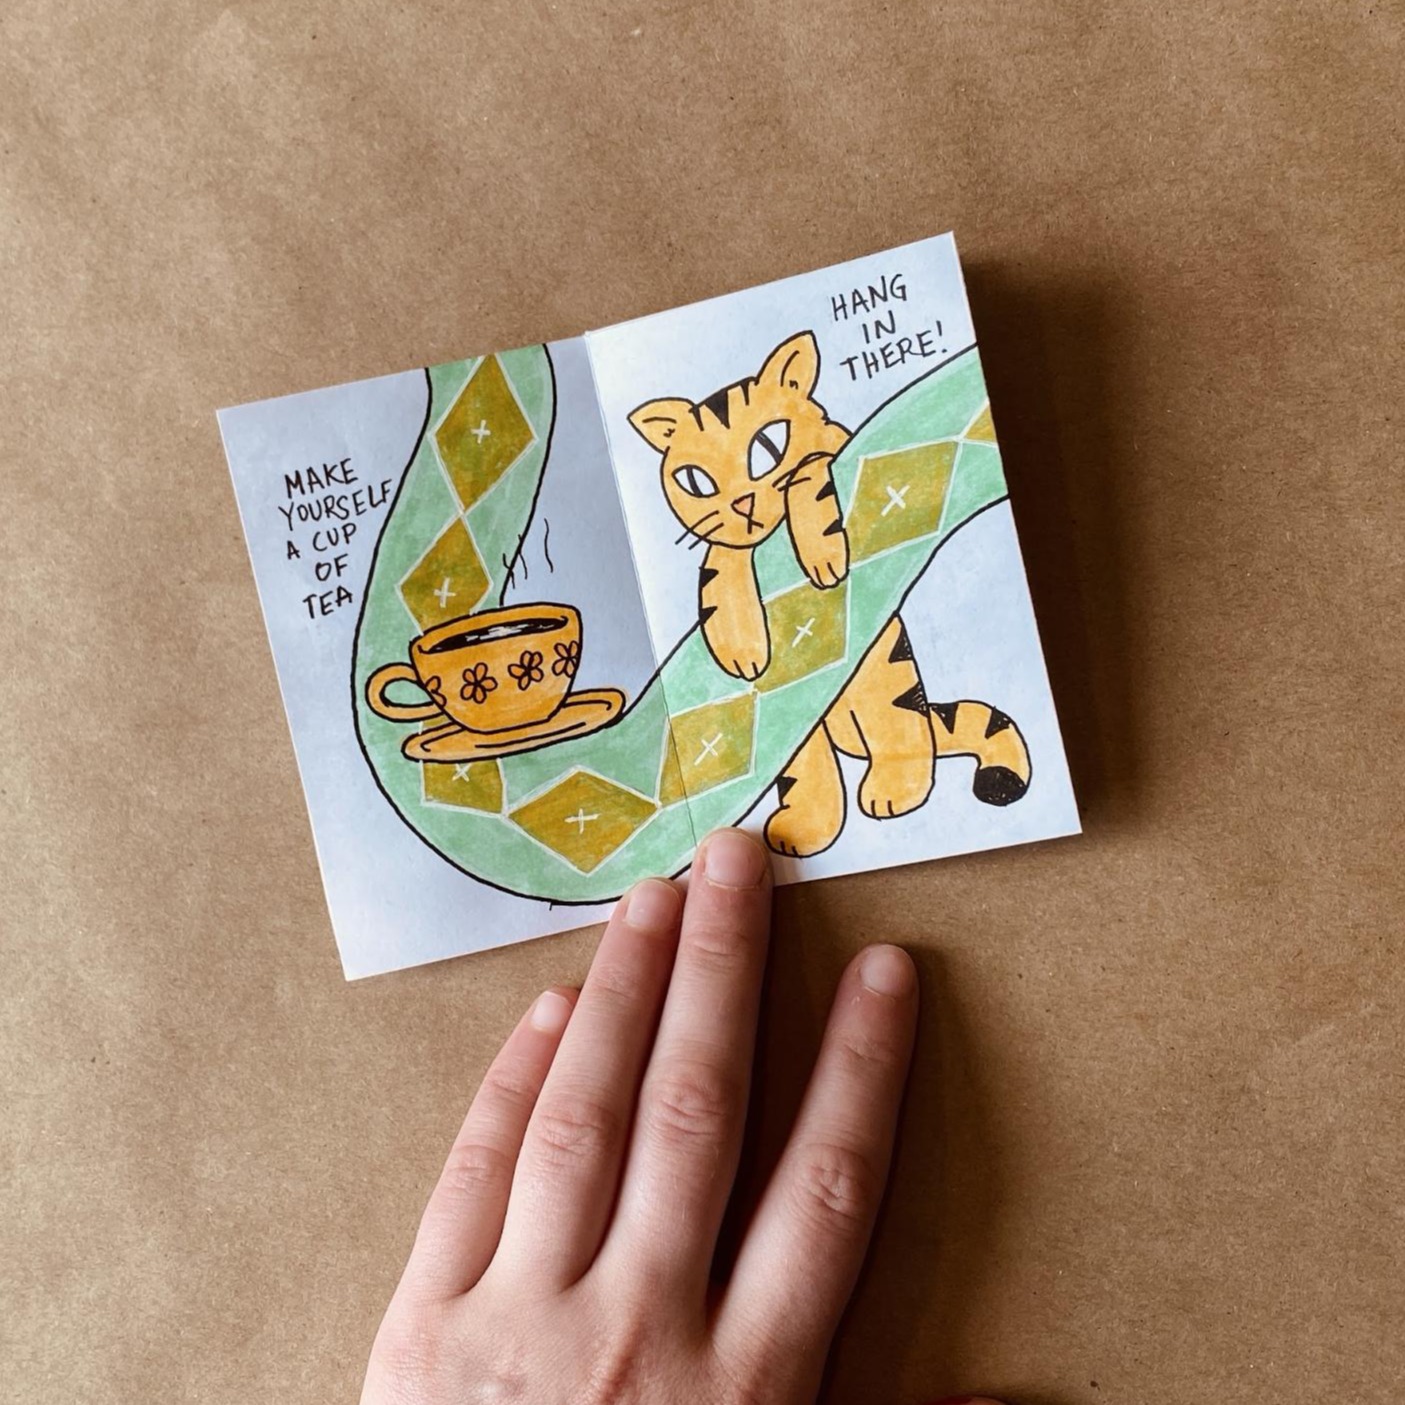
9. Now it’s time to fill your zine with content! Open your booklet and get creative, you can draw or write in your zine or collage image and text together. Go nuts, there are no rules!


A few things to remember when laying out your zine:
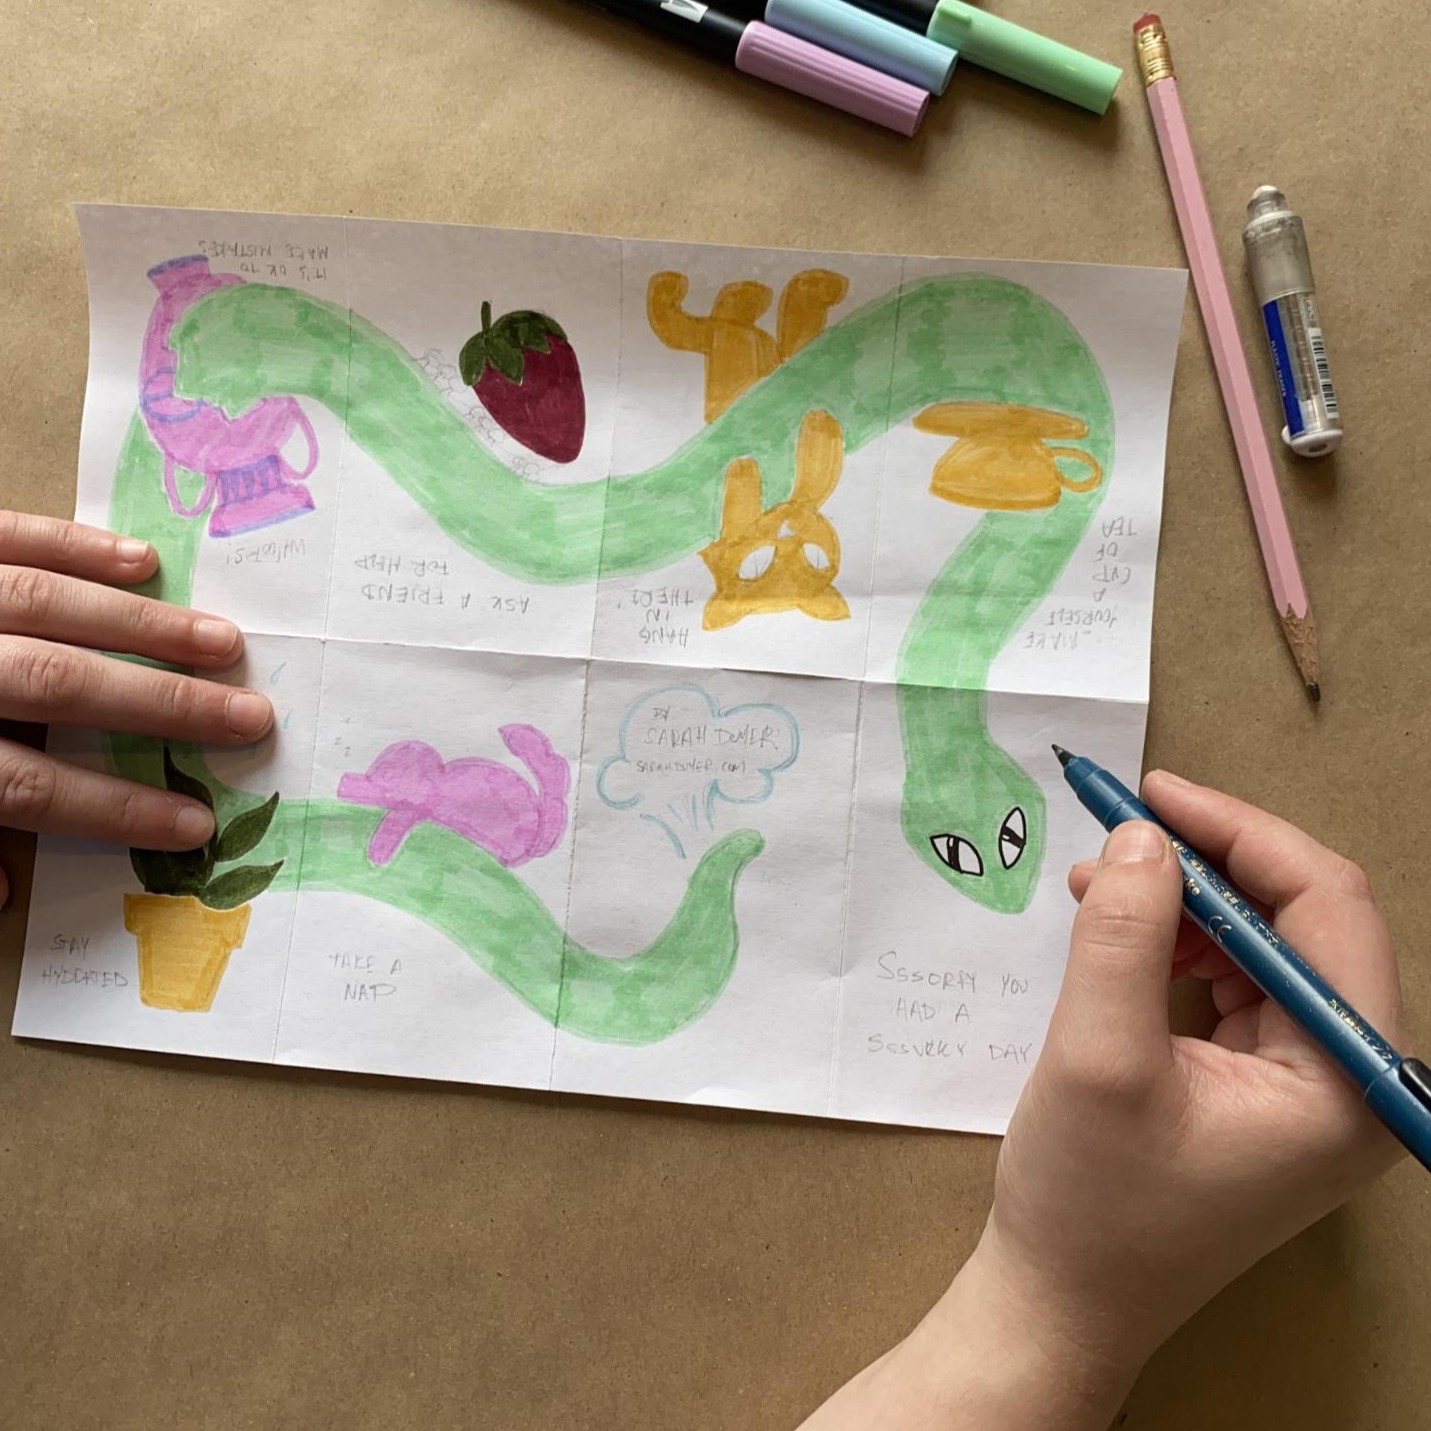
Start designing your layout from the top left corner, working counter clockwise. When I'm working on a layout, I like to have a second "dummy" or mockup booklet that I have labeled with page numbers to make it easier to plan when laid flat. Keep in mind the orientation of the pages, especially when adding text.

- When adding your images and text keep in mind how the piece will look when it’s reproduced. The easiest and cheapest way to distribute your zine is to simply photocopy, so if your copies are going to be black and white you want your art to have enough contrast to translate.
- Make sure to leave about ⅛” around the edges of the paper for copying. Most printers won’t allow for a full bleed so keep all important text or images away from the very edge off the paper
- Not into drawing? Collage is a great alternative! Many zine makers will type out their text and print it to collage over found images. Thrift stores are great places to find paper ephemera, such as old art books and magazines, maps, patterned paper, and more!
- If you don’t have access to a printer at home, the local library is a great resource!
- If you prefer to work digitally you can use the template attached to draw your design and print directly or send to friends to print and fold their own at home.
- If you’re able to print or copy double sided try adding a design on the opposite side of the paper that can be a full sheet poster or drawing when the zine is unfolded.
- And most importantly: have fun! Zines are a low-cost way to distribute your artwork or writing and you can make them about whatever you want!

Once you’re finished you can copy and share with friends or leave them around town for people to find. Going to your local zine fest is a great way to meet other zine makers and see the range of possibilities for what you could make.
If you’re local to San Francisco, Silver Sprocket is an excellent place to check out! Their shop at 1018 Valencia st. is a great spot to find zines and comics by local artists, as well as books published in-house and from other independent presses around the world. Silver Sprocket also does wholesale and consignment for locally made zines so bring your own by the shop if you’d like to try and sell them!
Make a Zine with Sarah at our free Virtual Craft Night on October 29th! Register here.


