


Backyard Shibori Dyeing

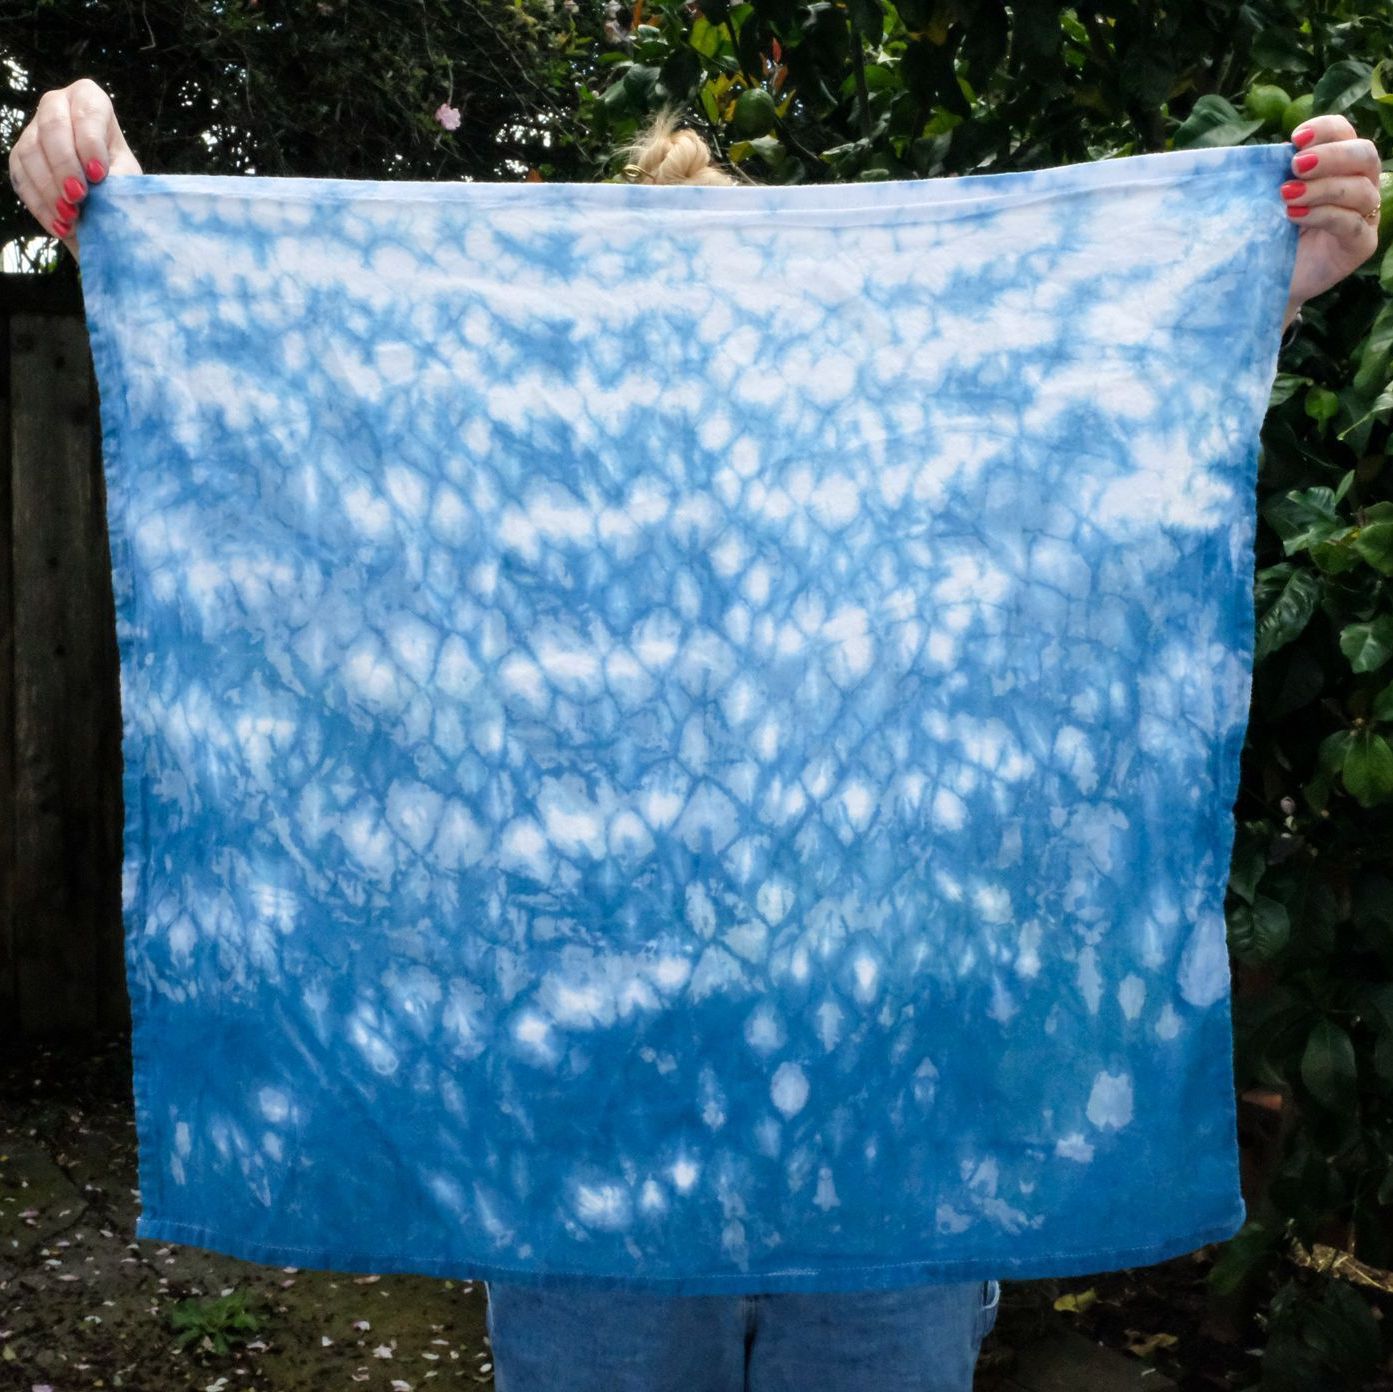
Shibori is the Japanese art of binding and folding fabric in different patterns before dyeing. It is the perfect technique to use when naturally dyeing with indigo because all of the folded areas remain bright white.
My husband and I spent a lazy Sunday in our backyard dyeing some tea towels and a new apron for our kitchen. We live in a small apartment in San Francisco and don’t have extra room for a lot of equipment, so we used this Indigo Shibori Tie Dye Kit. I love this kit because it has everything you need to dye over 15 yards of natural fiber fabric. Indigo dye only works with fibers made of protein (wool or silk) or cellulose (cotton, linen, rayon, hemp, etc). Don't use synthetic fabrics for this project!
Included in this kit:
- 20 g Pre-reduced Indigo Dye
- 100 g Soda Ash
- 50 g Sodium Hydrosulfite (“Hydro”)
- 1 pair of gloves
- Wood pieces
- Rubber bands (2 sizes)
- Instructions
You will also need:
- Natural fiber items to dye
- A 5 gallon bucket
- 1 yard of rope
- A tarp or table cloth to protect your surfaces
- A drying rack or clothesline to hang wet things
- Optional (but helpful): a small tray to transport wet dyed things
- Optional (but also helpful): clothespins
Step 1: Bind your fabric
There are so many different options to create resist patterns on your fabric! Below are a few of our favorites. Try them out or mix and match! It's easy to do multiple techniques on one piece of fabric.
*TIP* Once you're done wrapping and binding your fabric, soak it in water until it's fully saturated. This will help prepare the fabric to fully accept the dye.
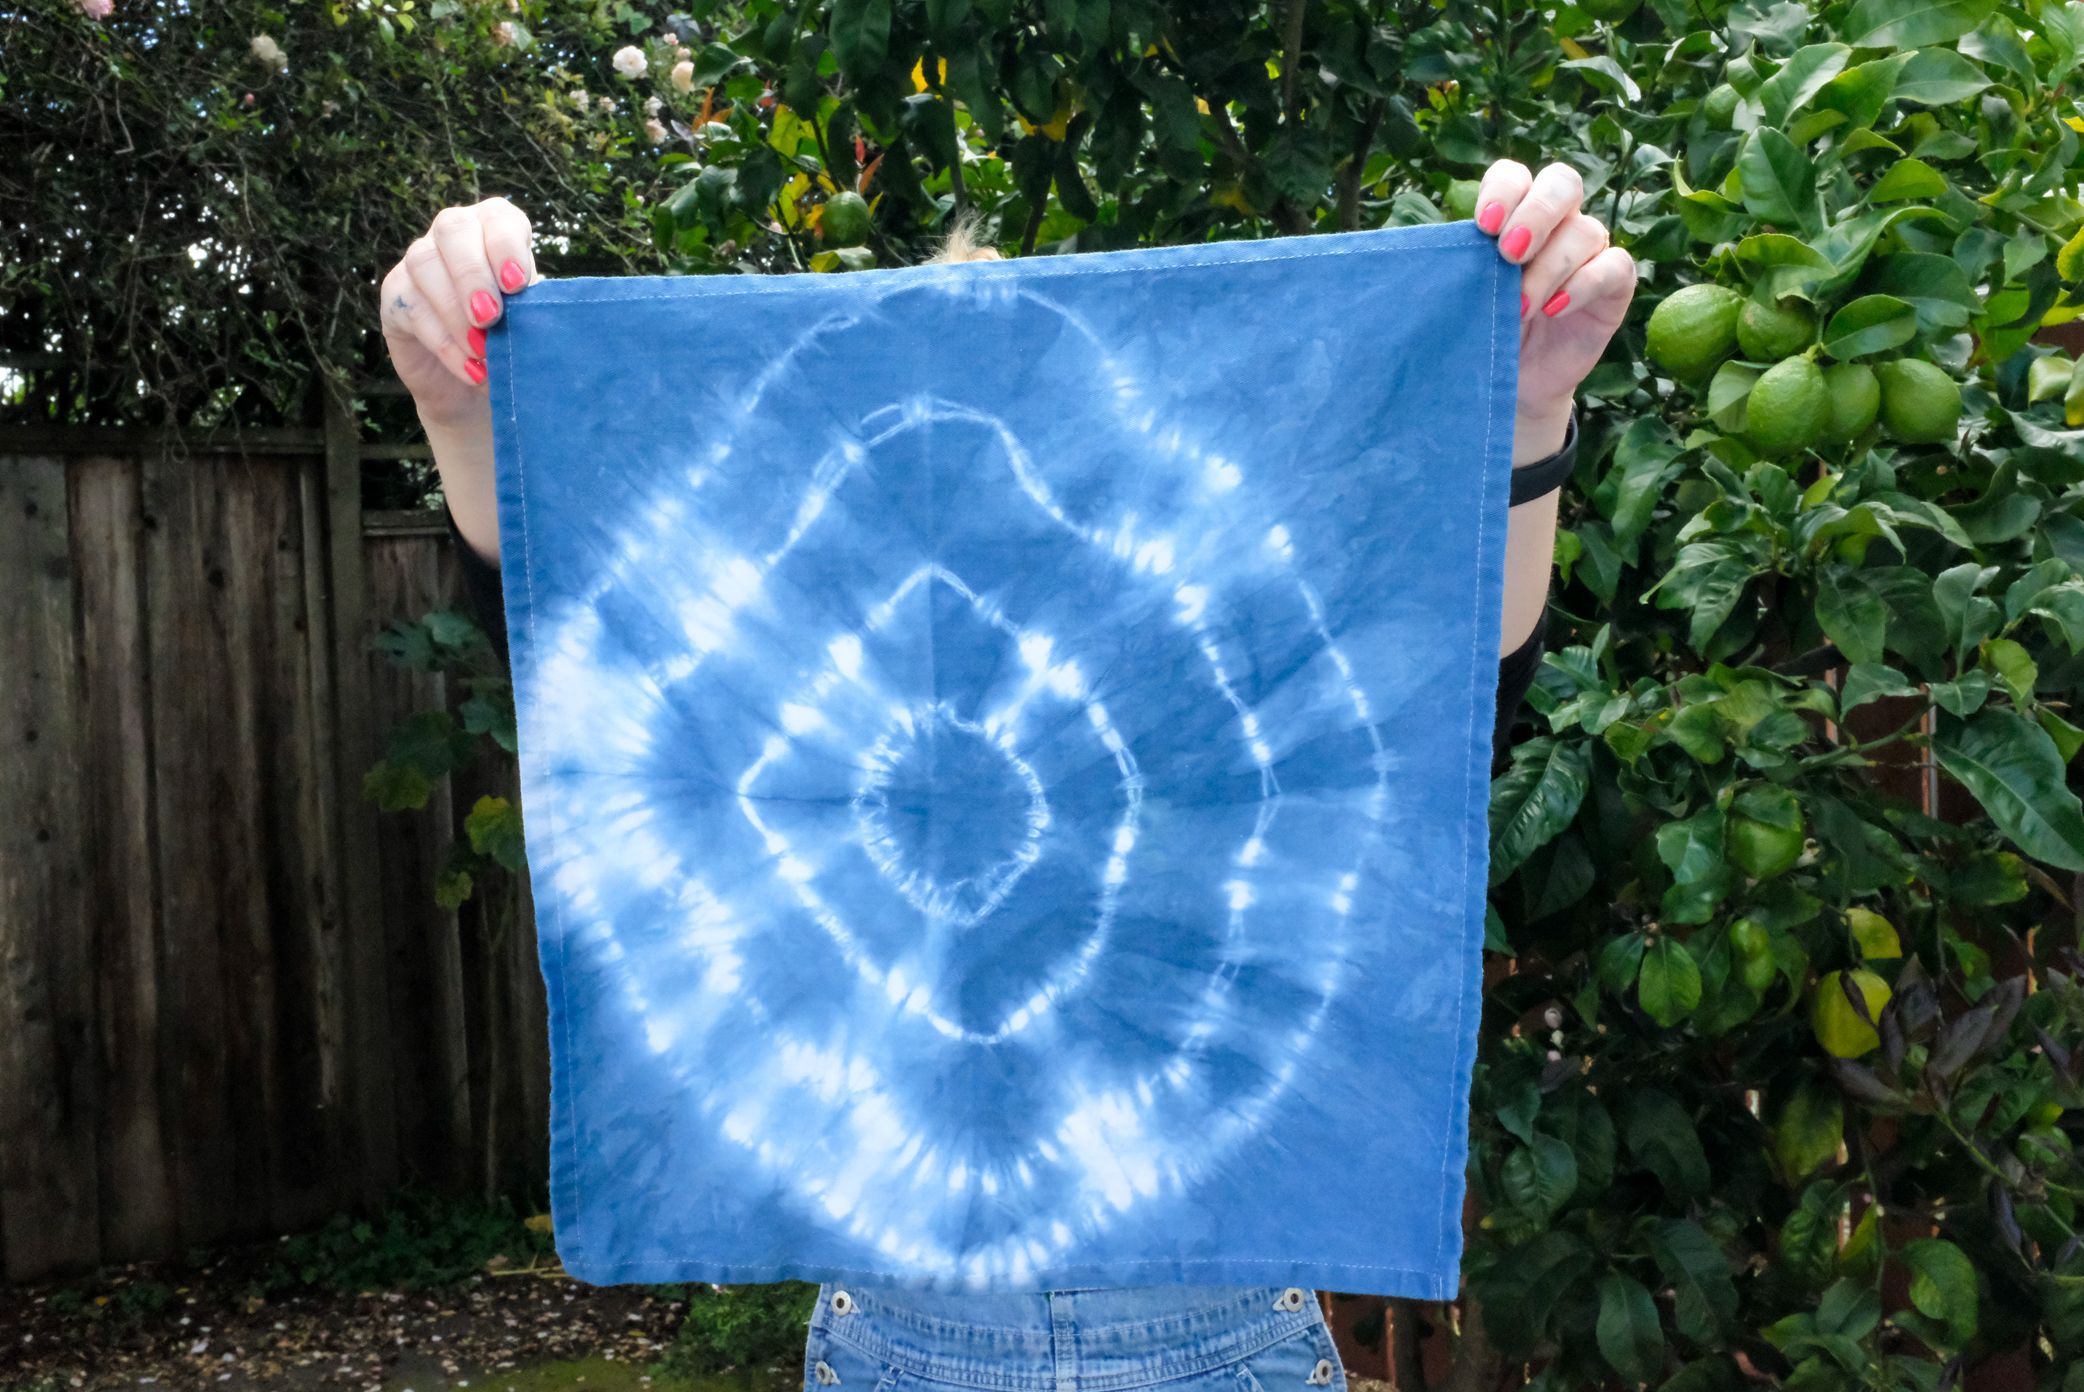
Circles/Rings
Tie little bits of fabric up with the rubber bands in a random pattern. Wherever a rubber band is, the fabric will remain white underneath. This will create a ring or circle pattern.


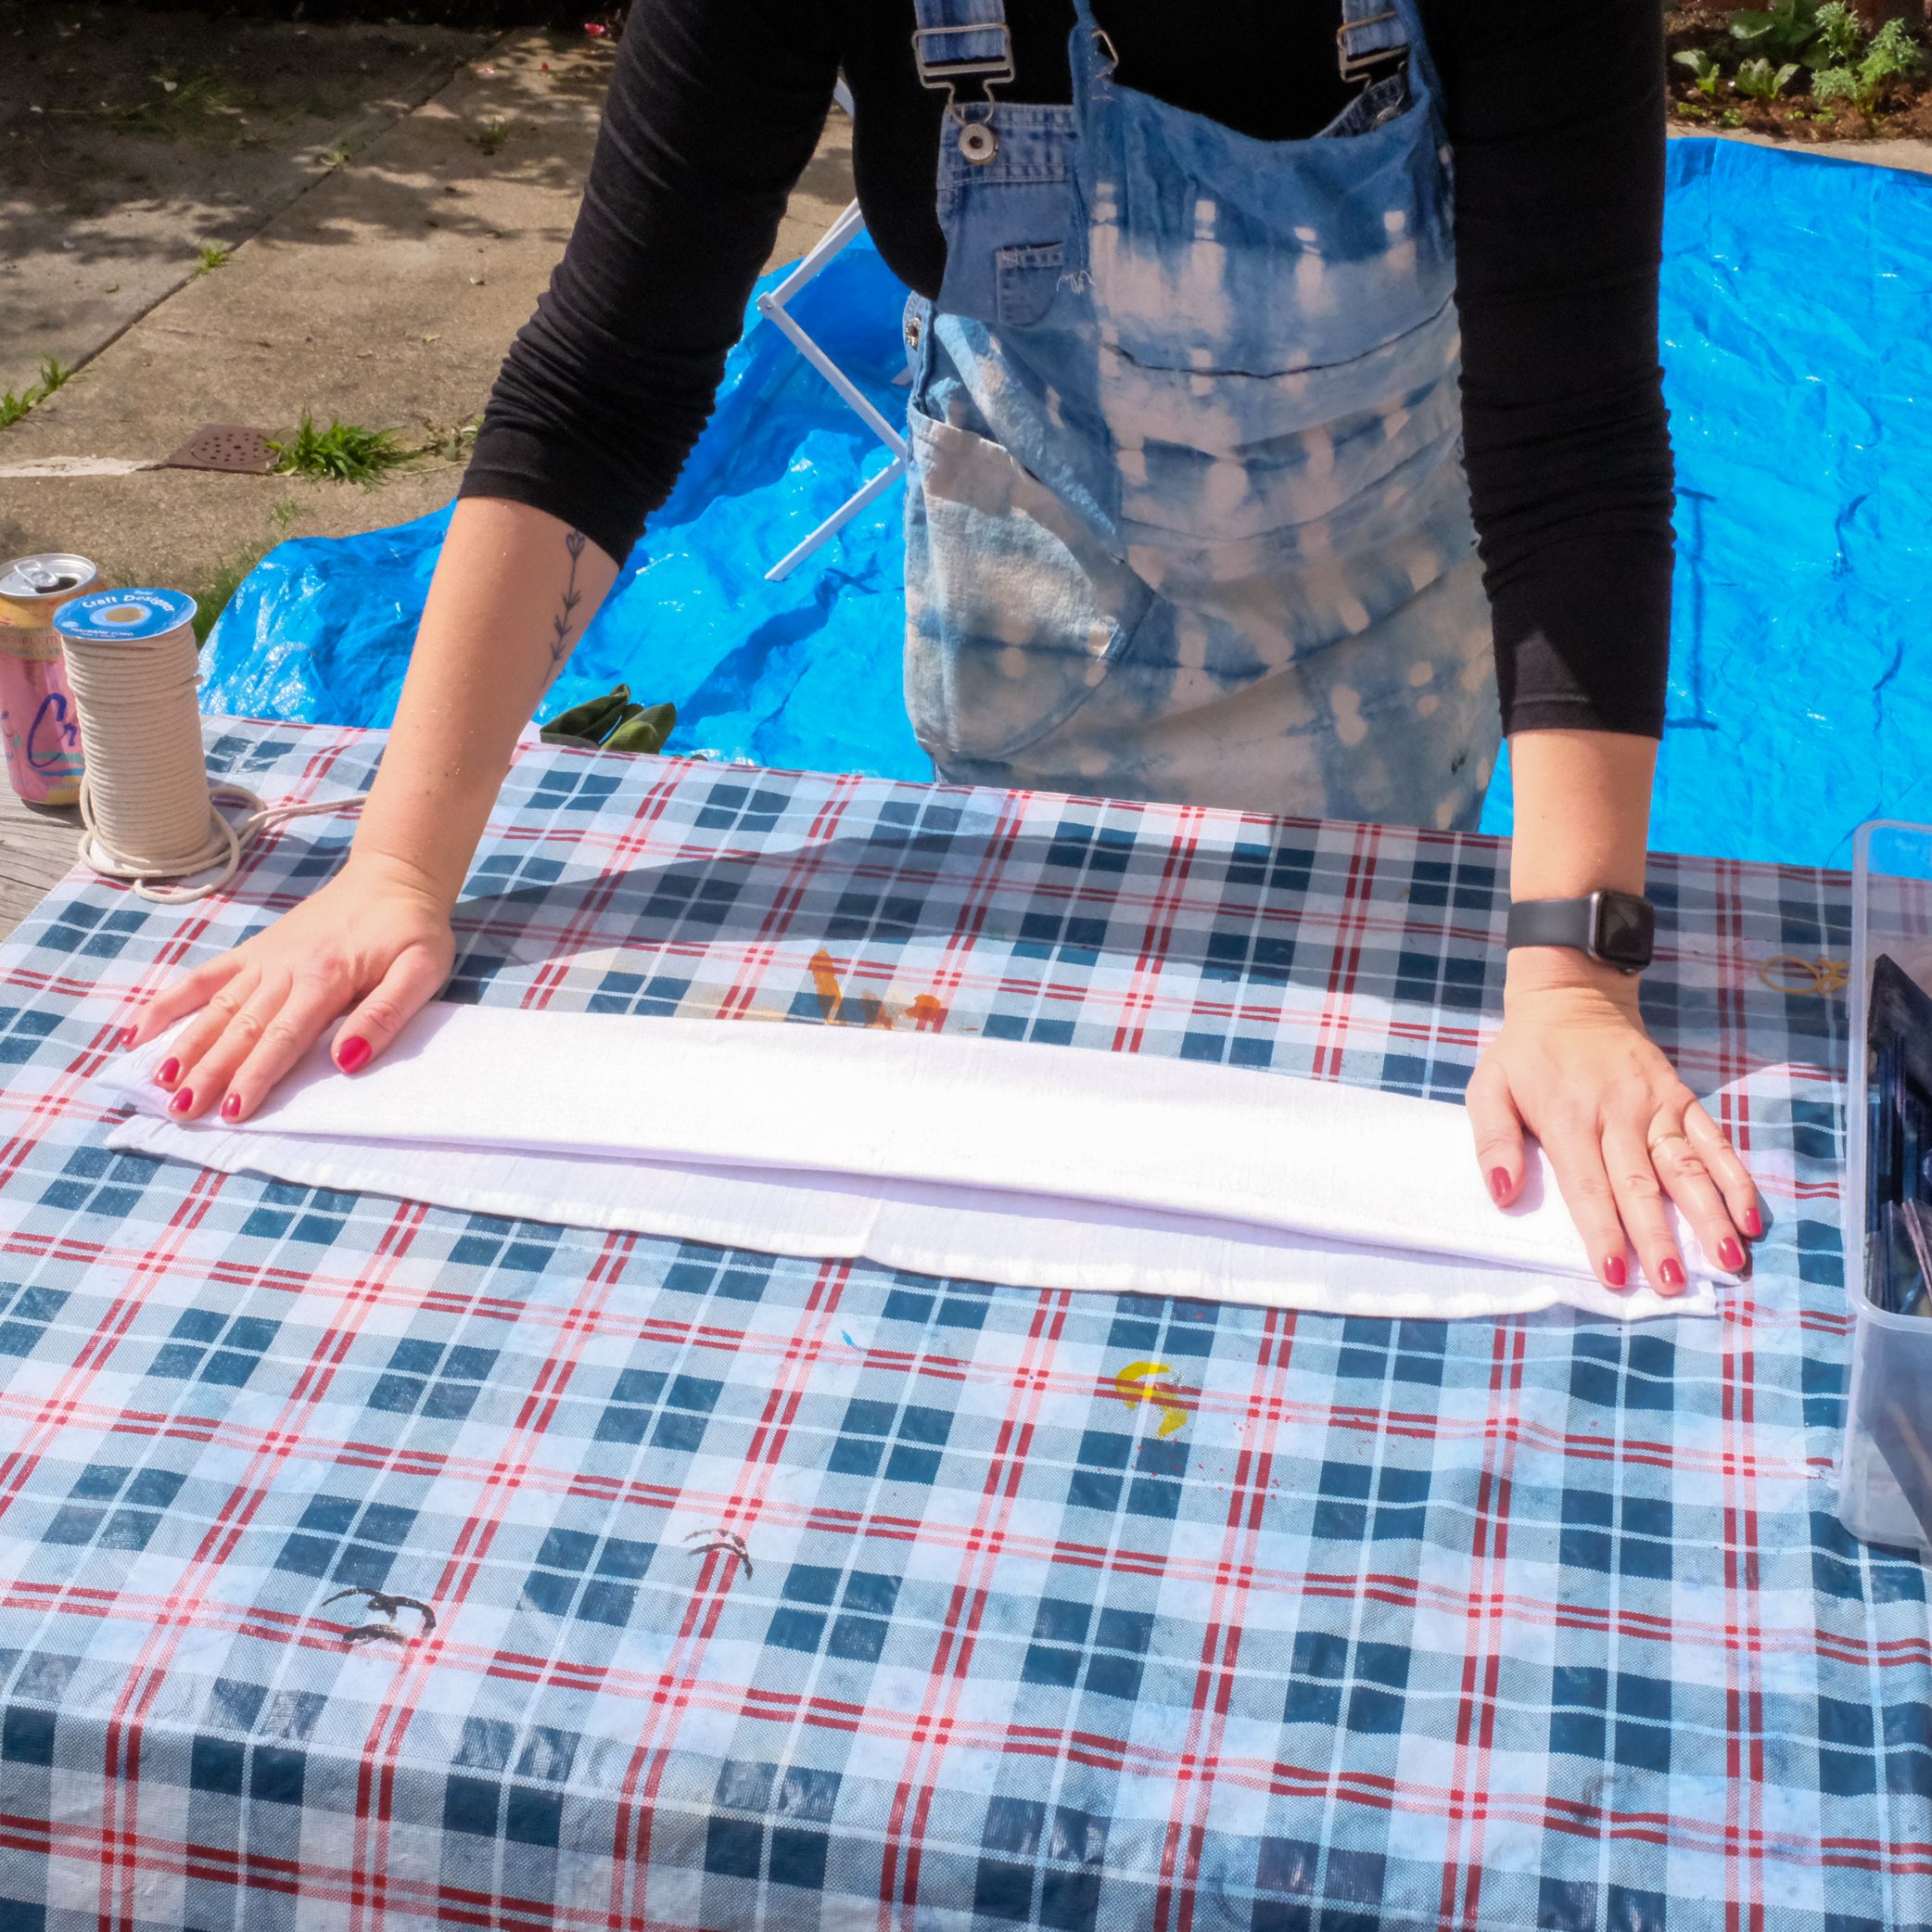
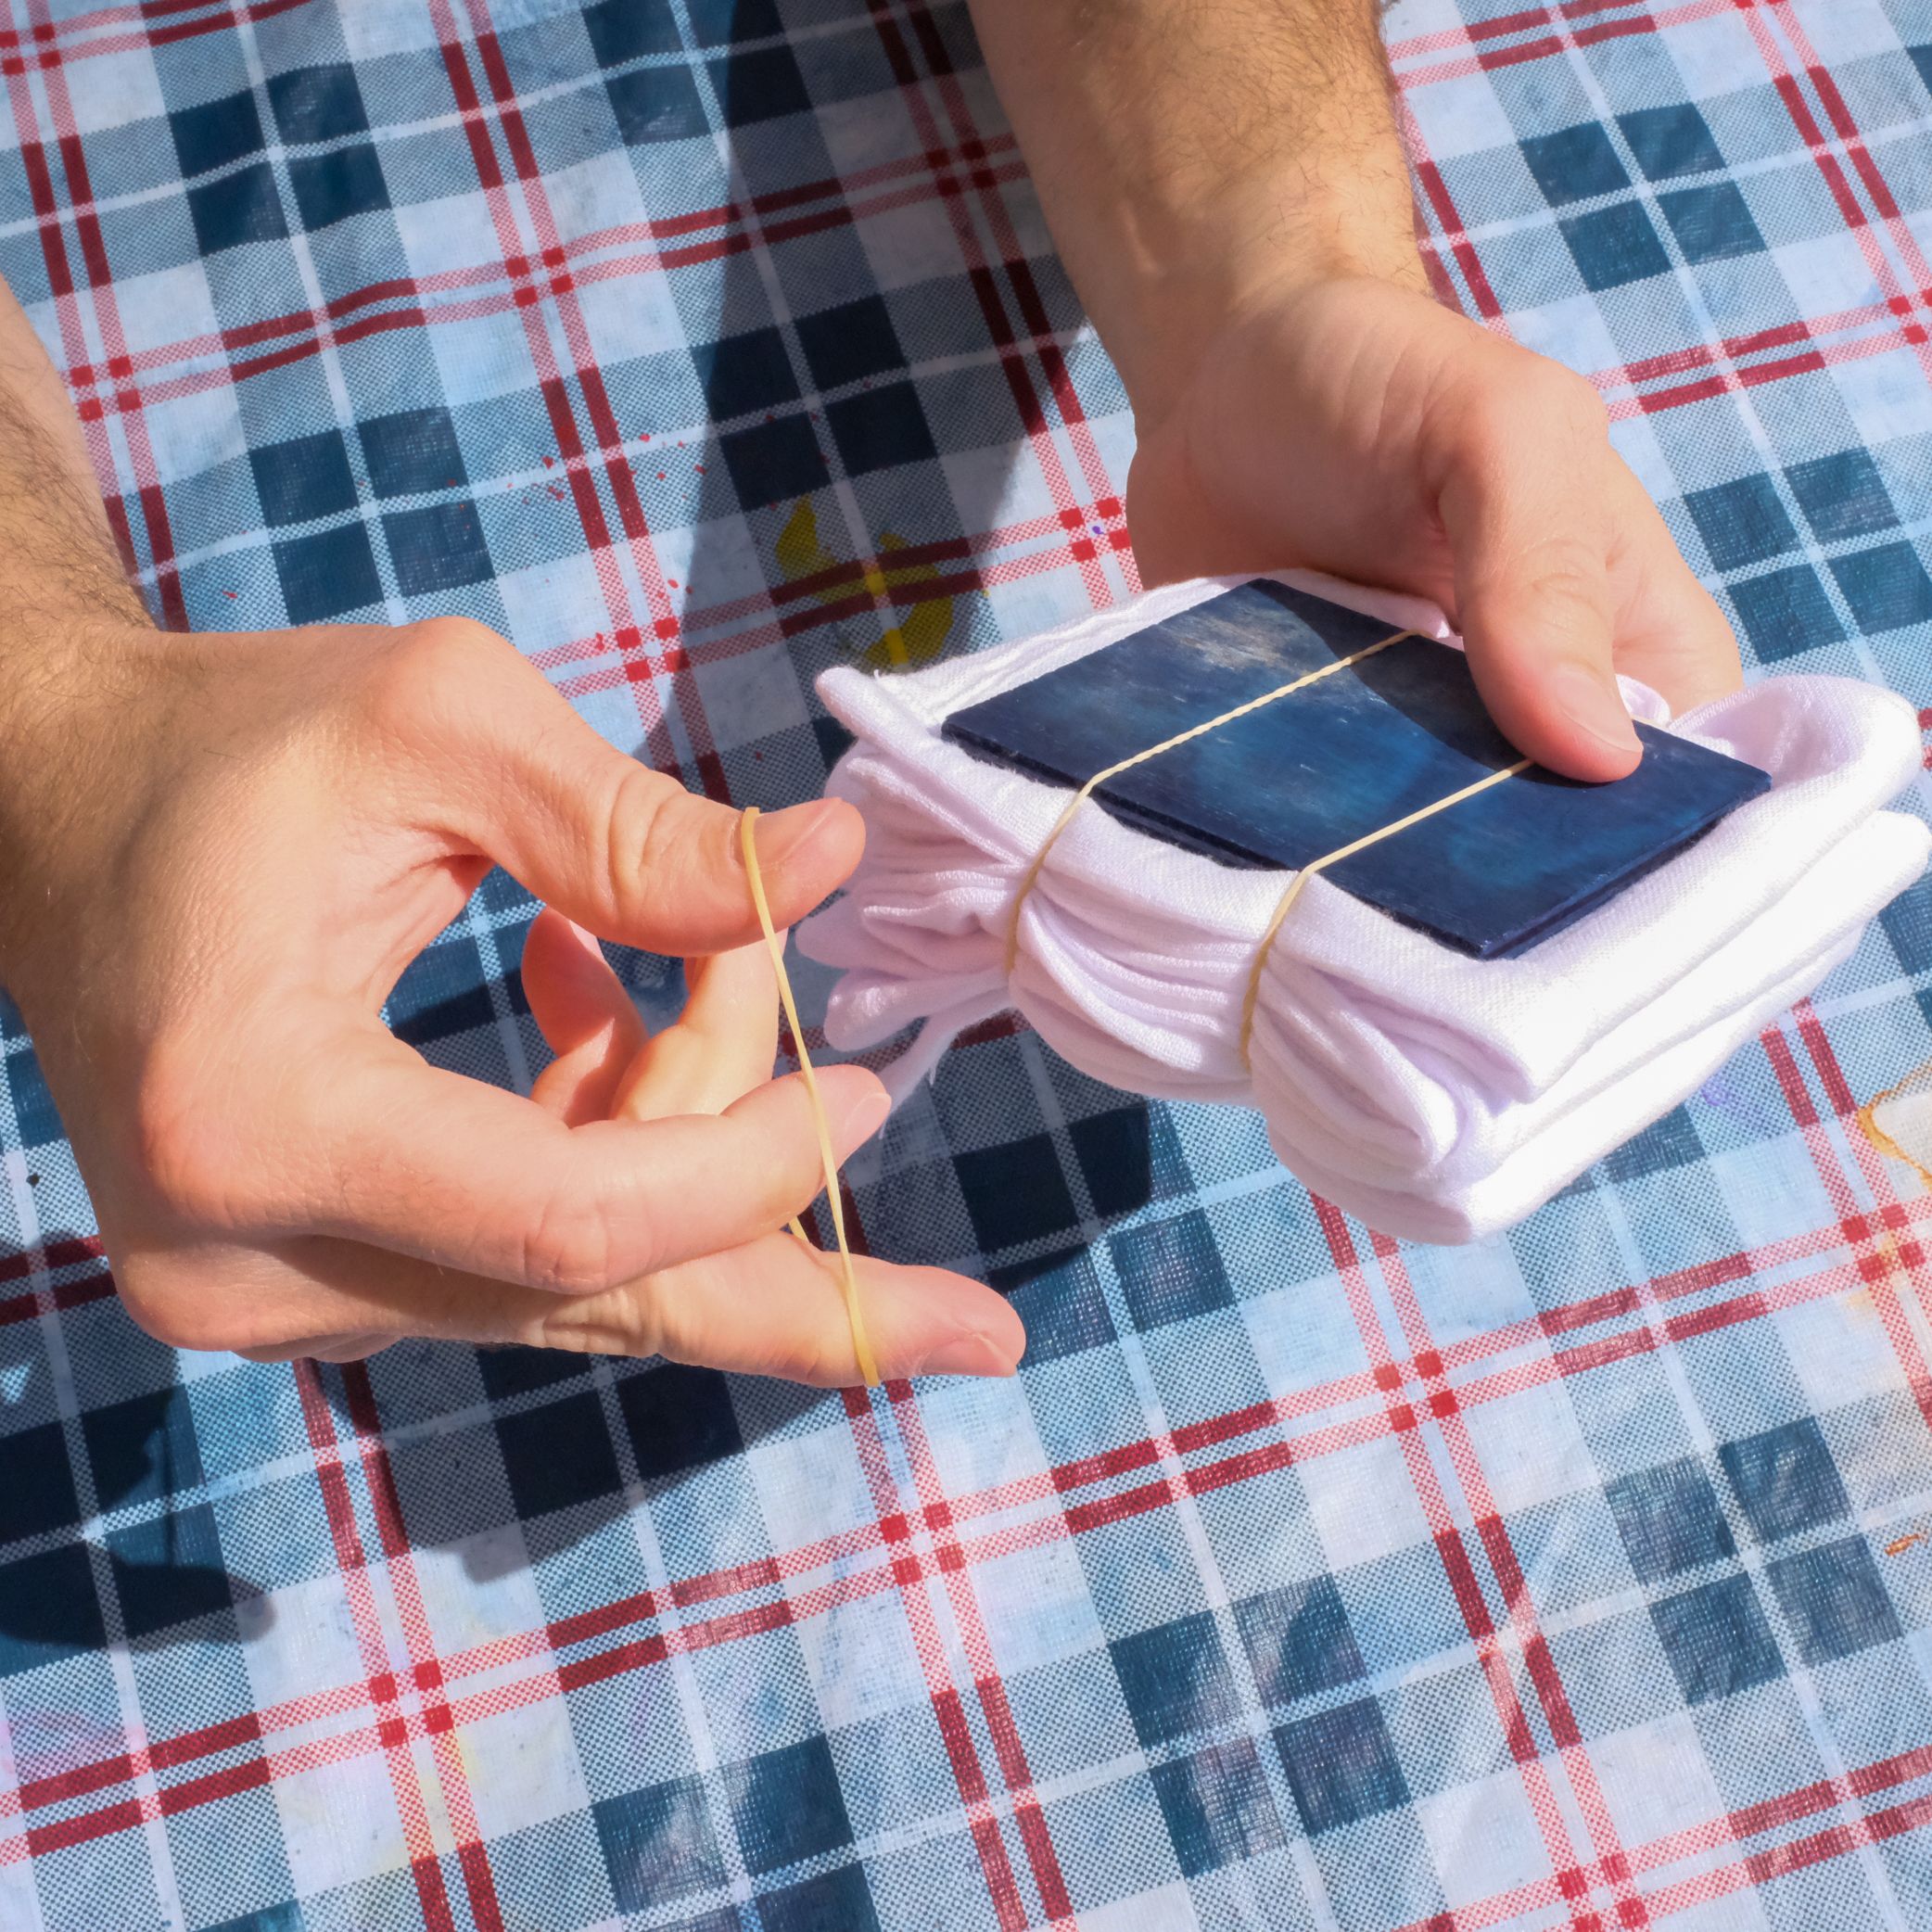
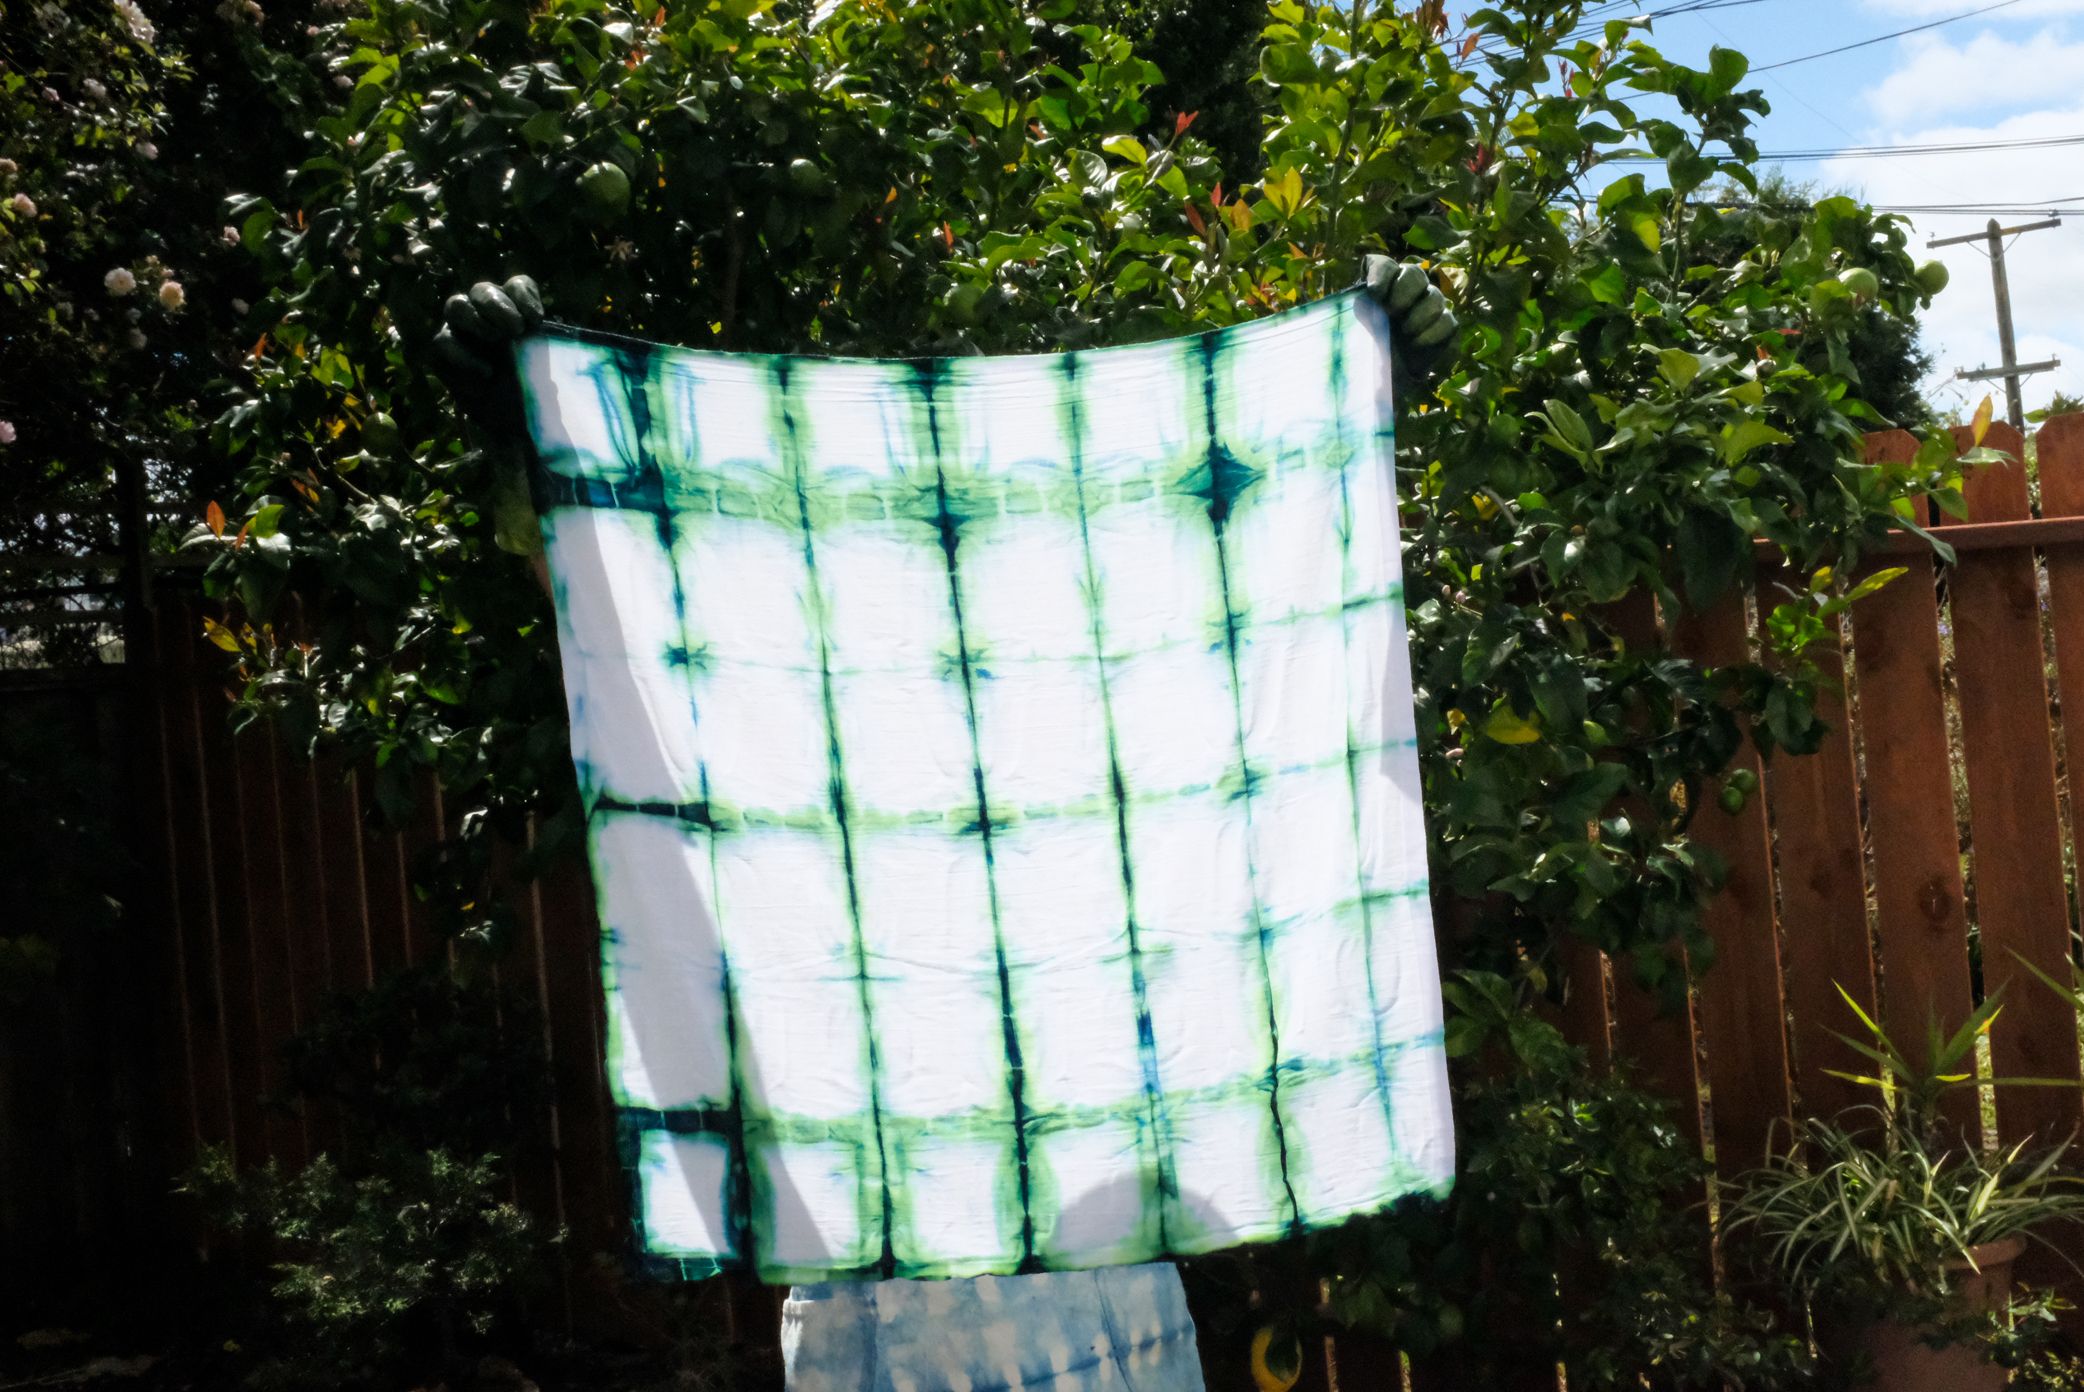
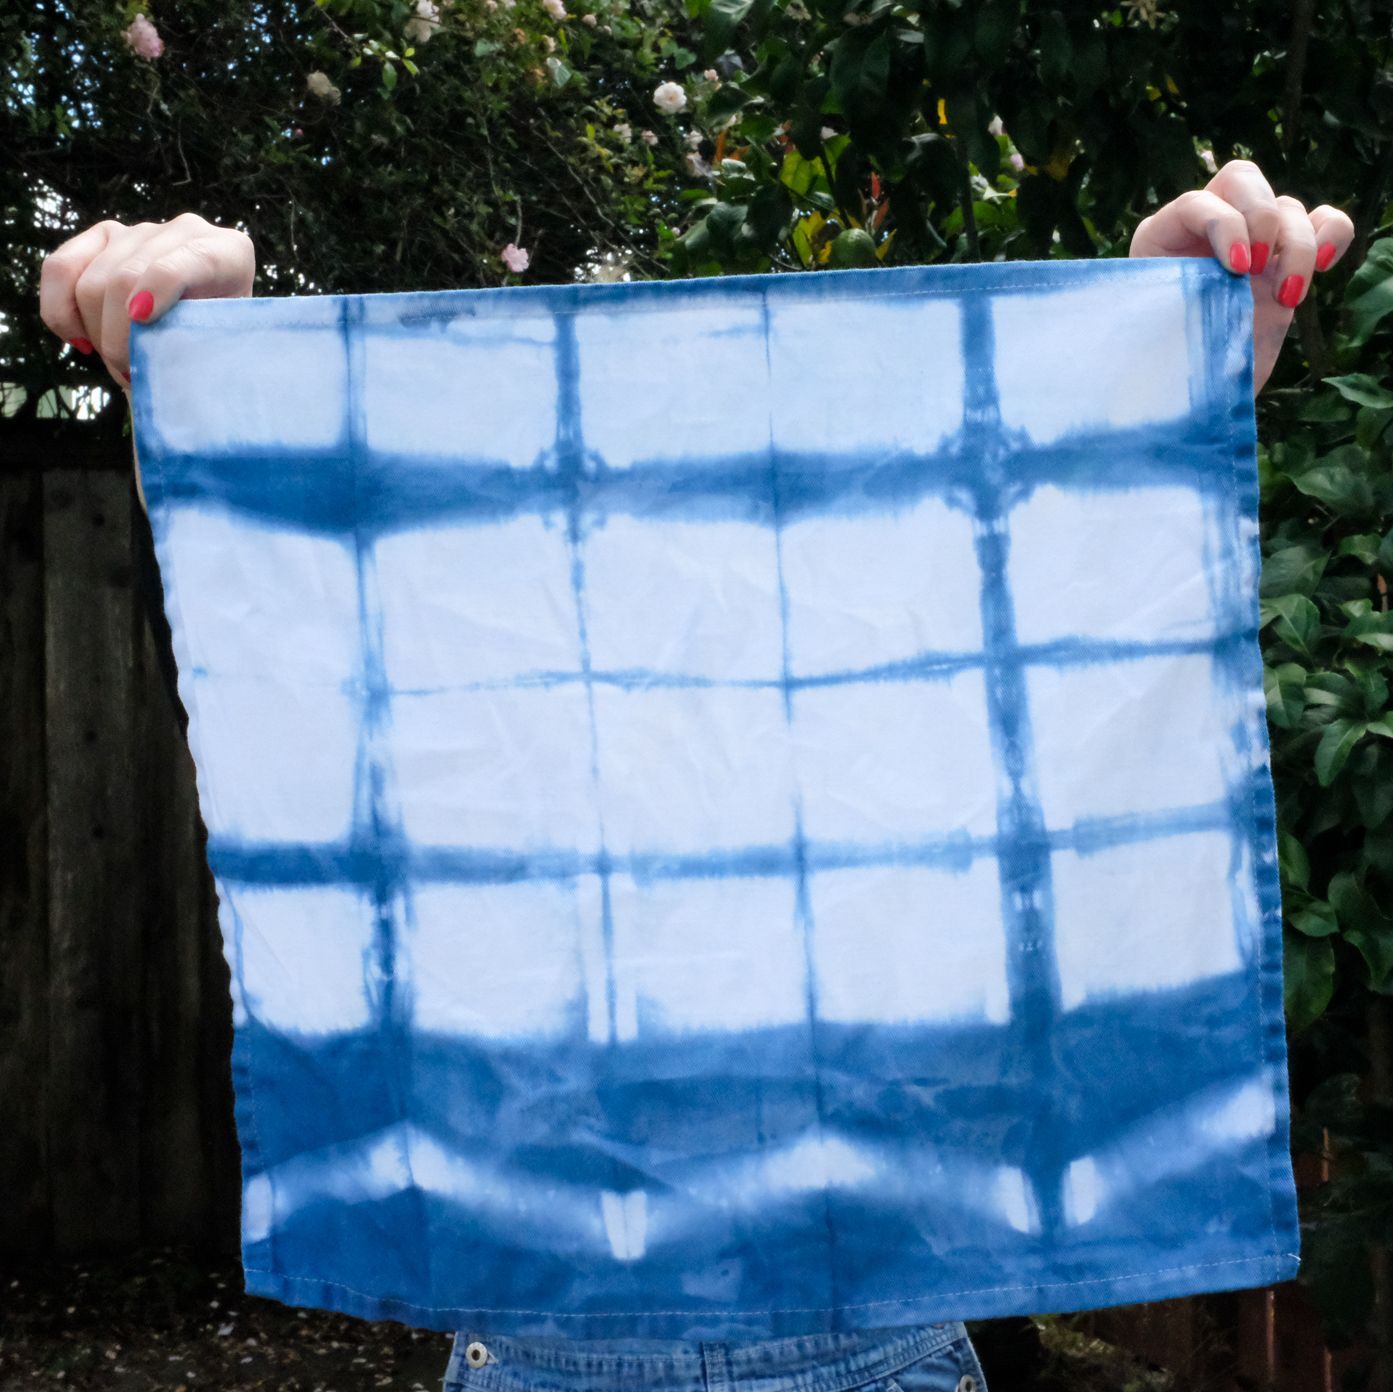
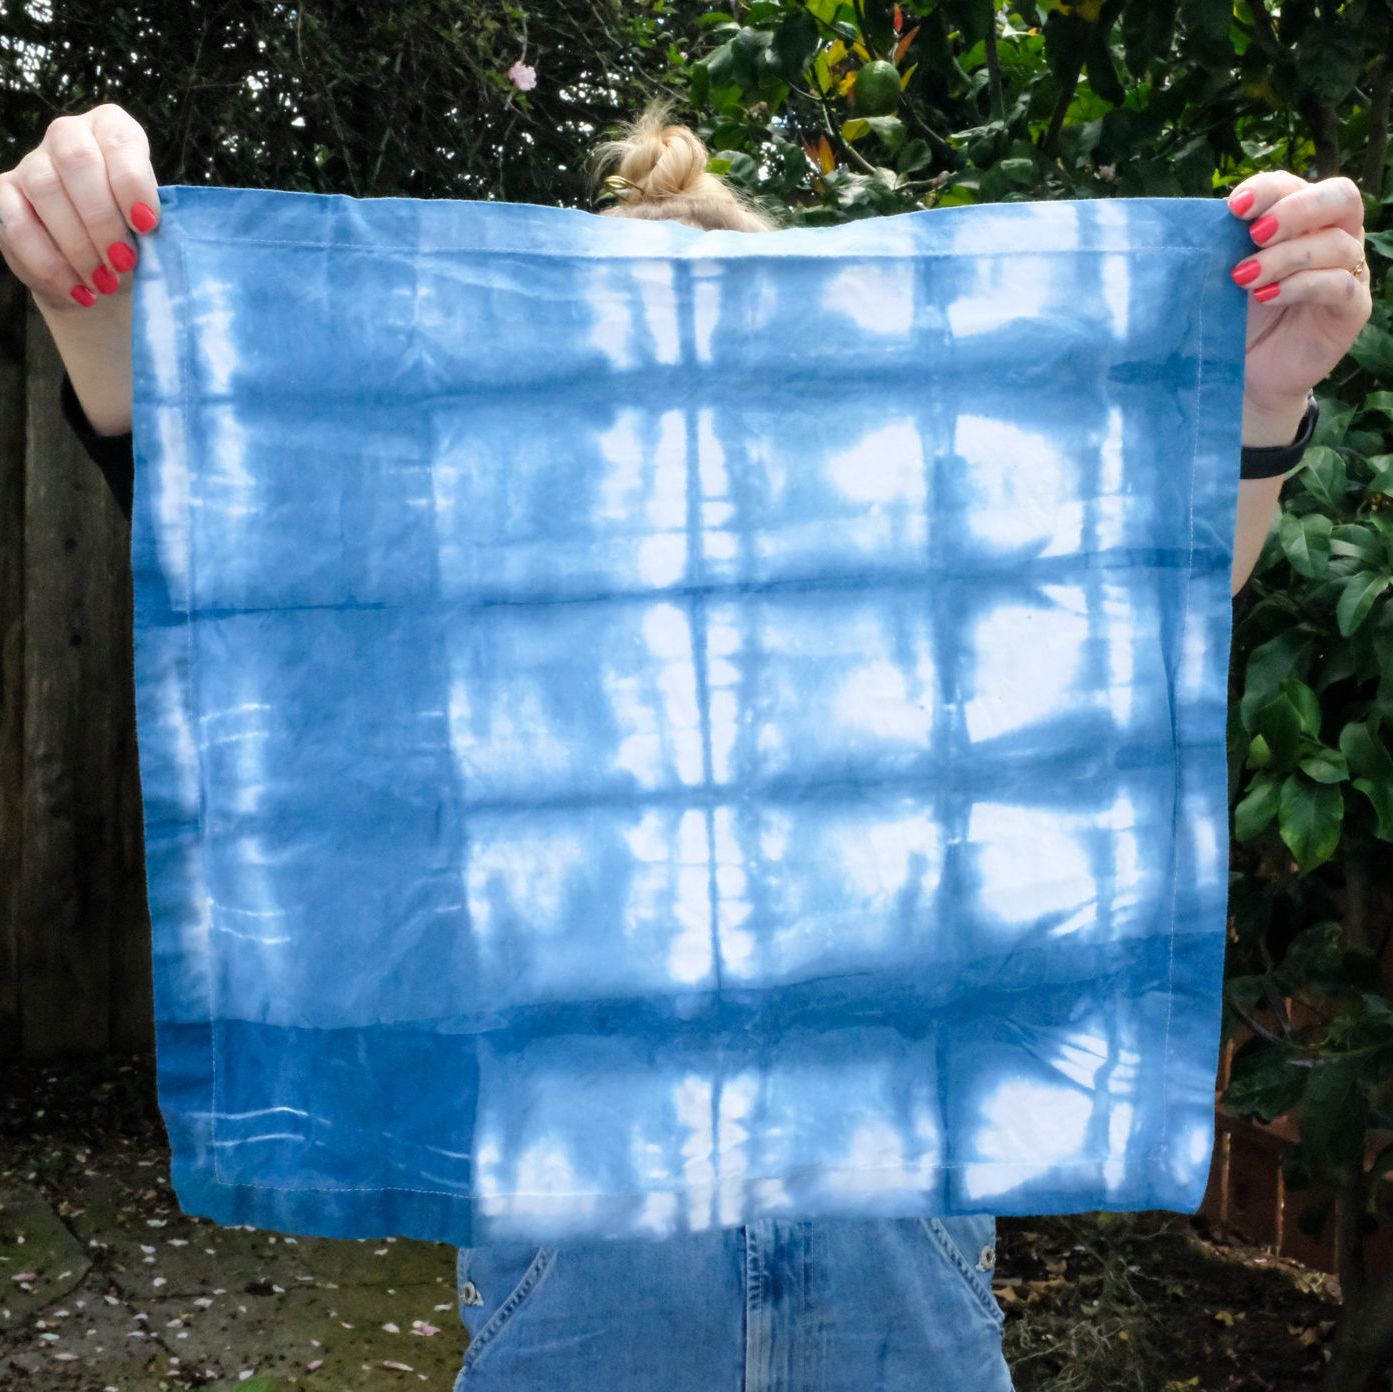
Window Pane Accordion Fold
Fold your fabric back and forth like an accordion. Once you're done, you should have a long skinny strip. Fold that strip like an accordion the other direction. Grab the two wood squares included in the kit and rubber band each side of the fabric bundle

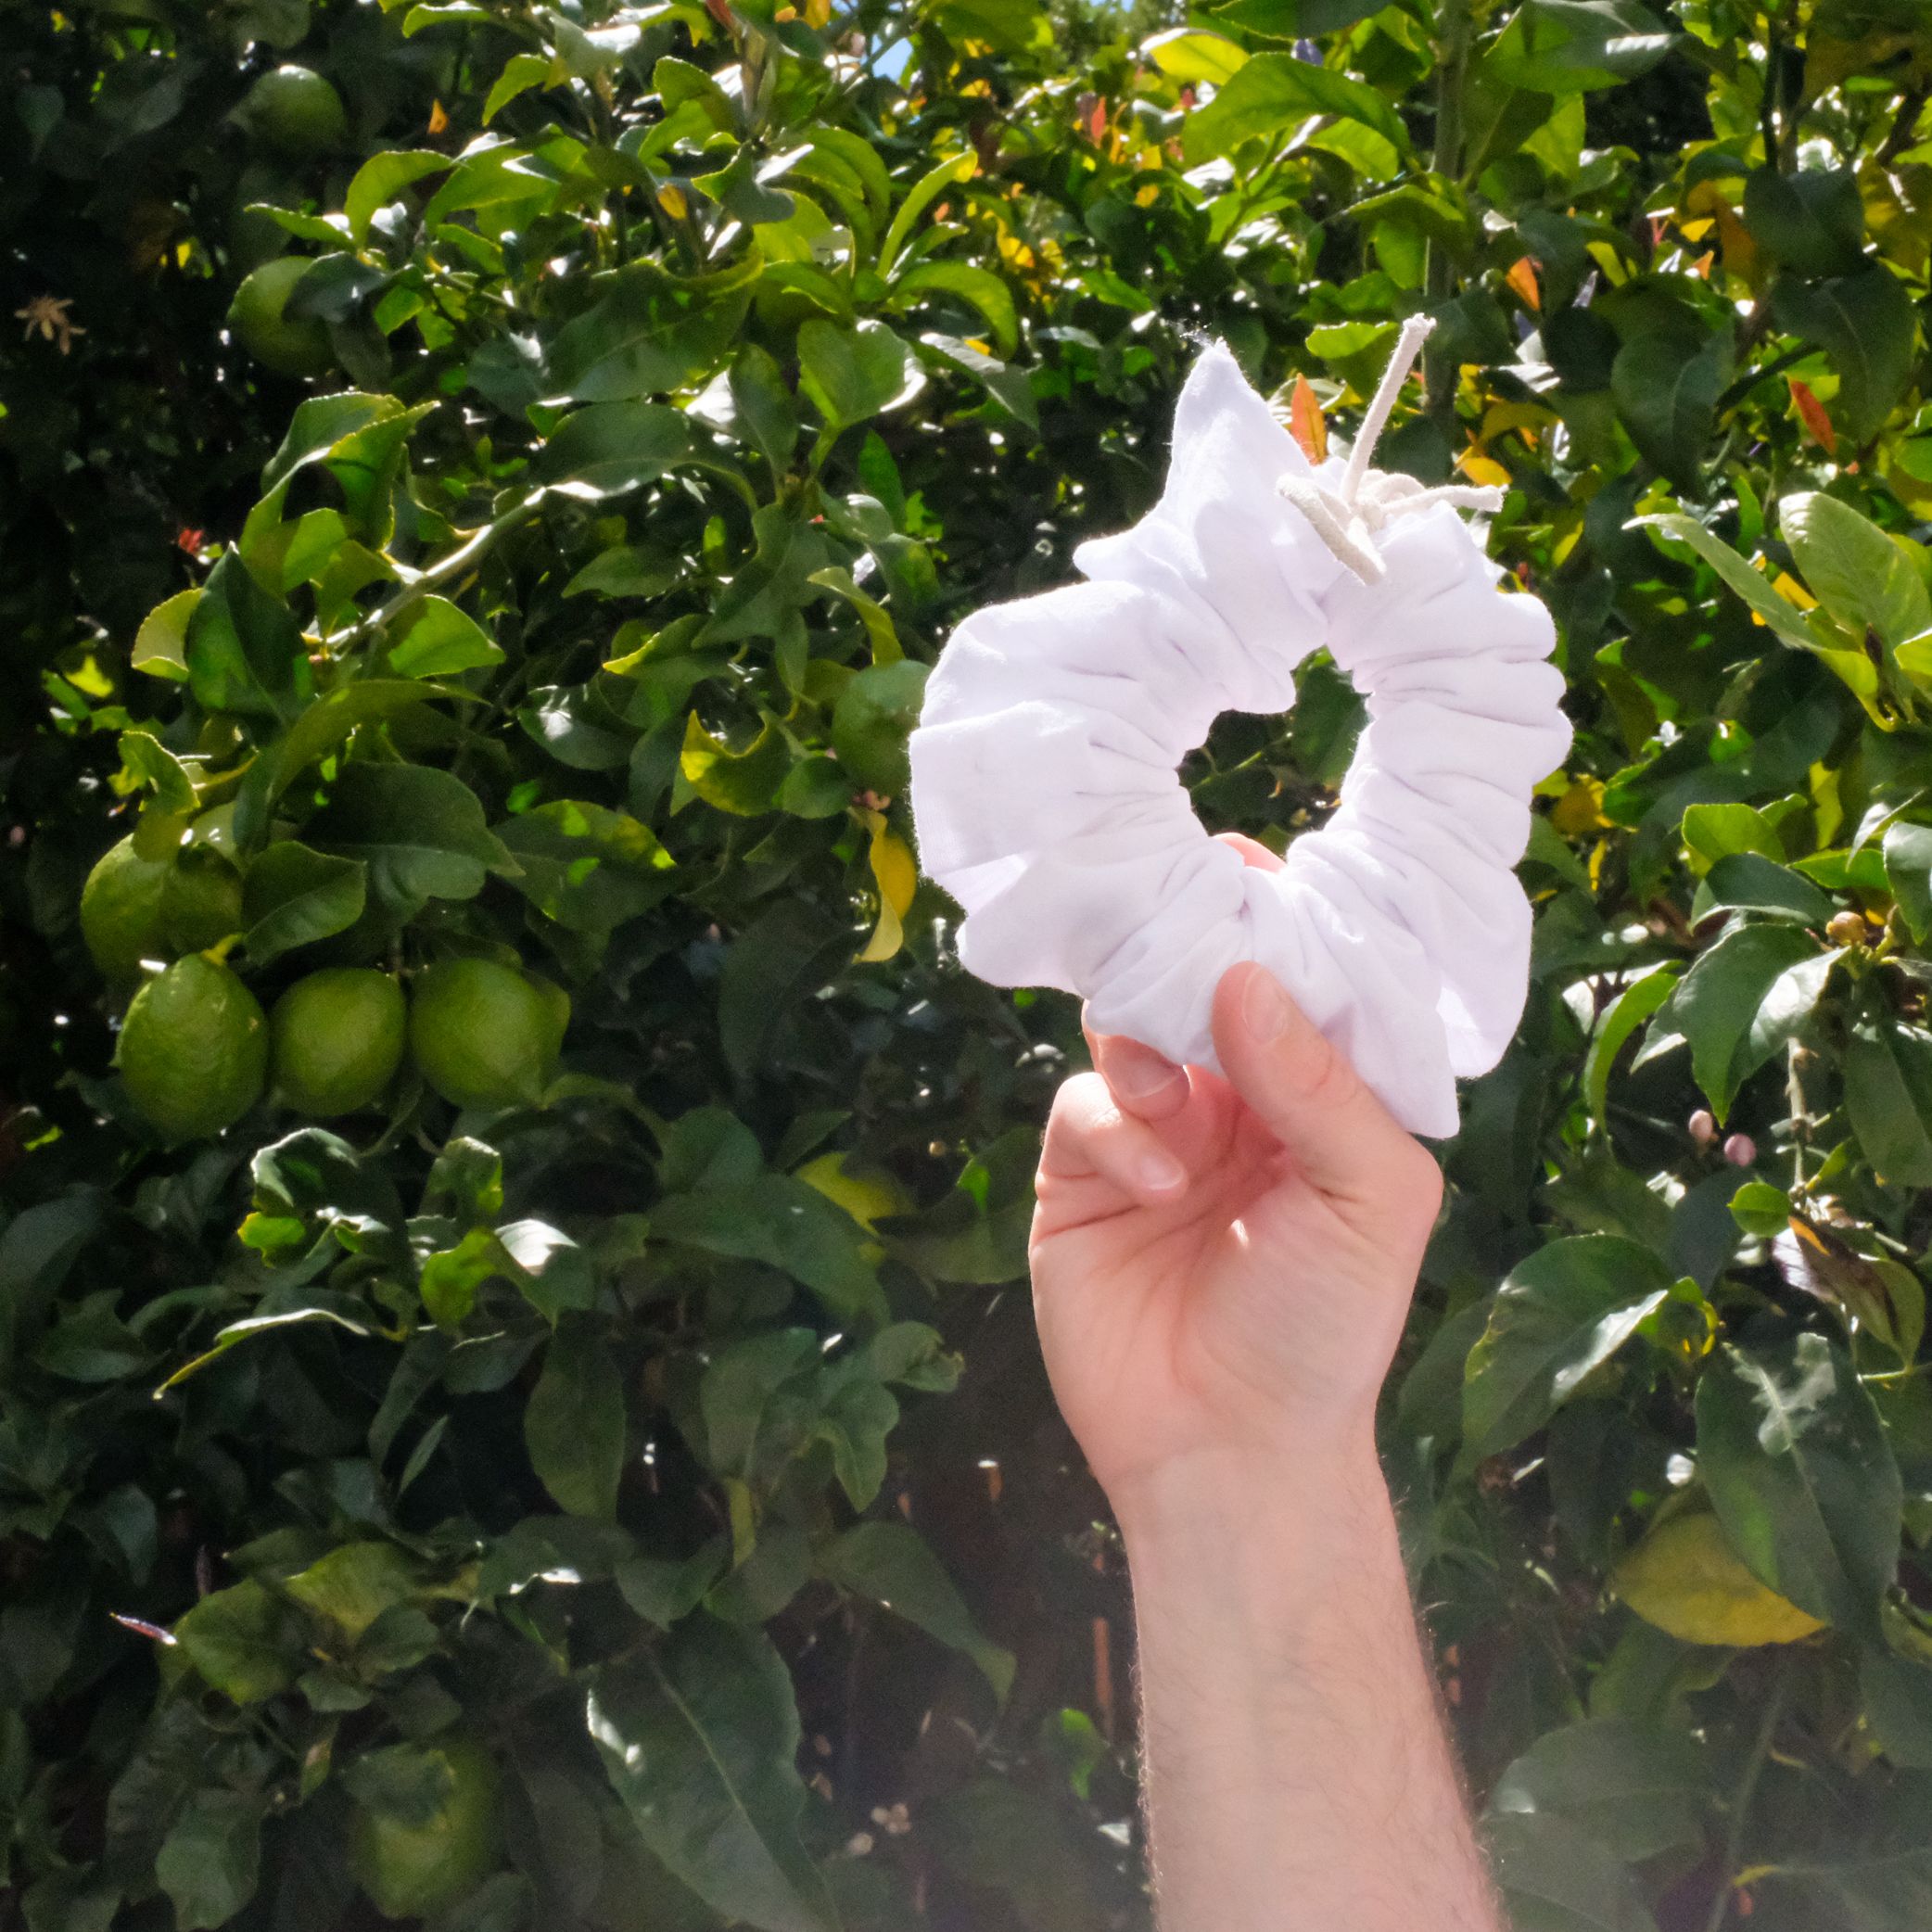
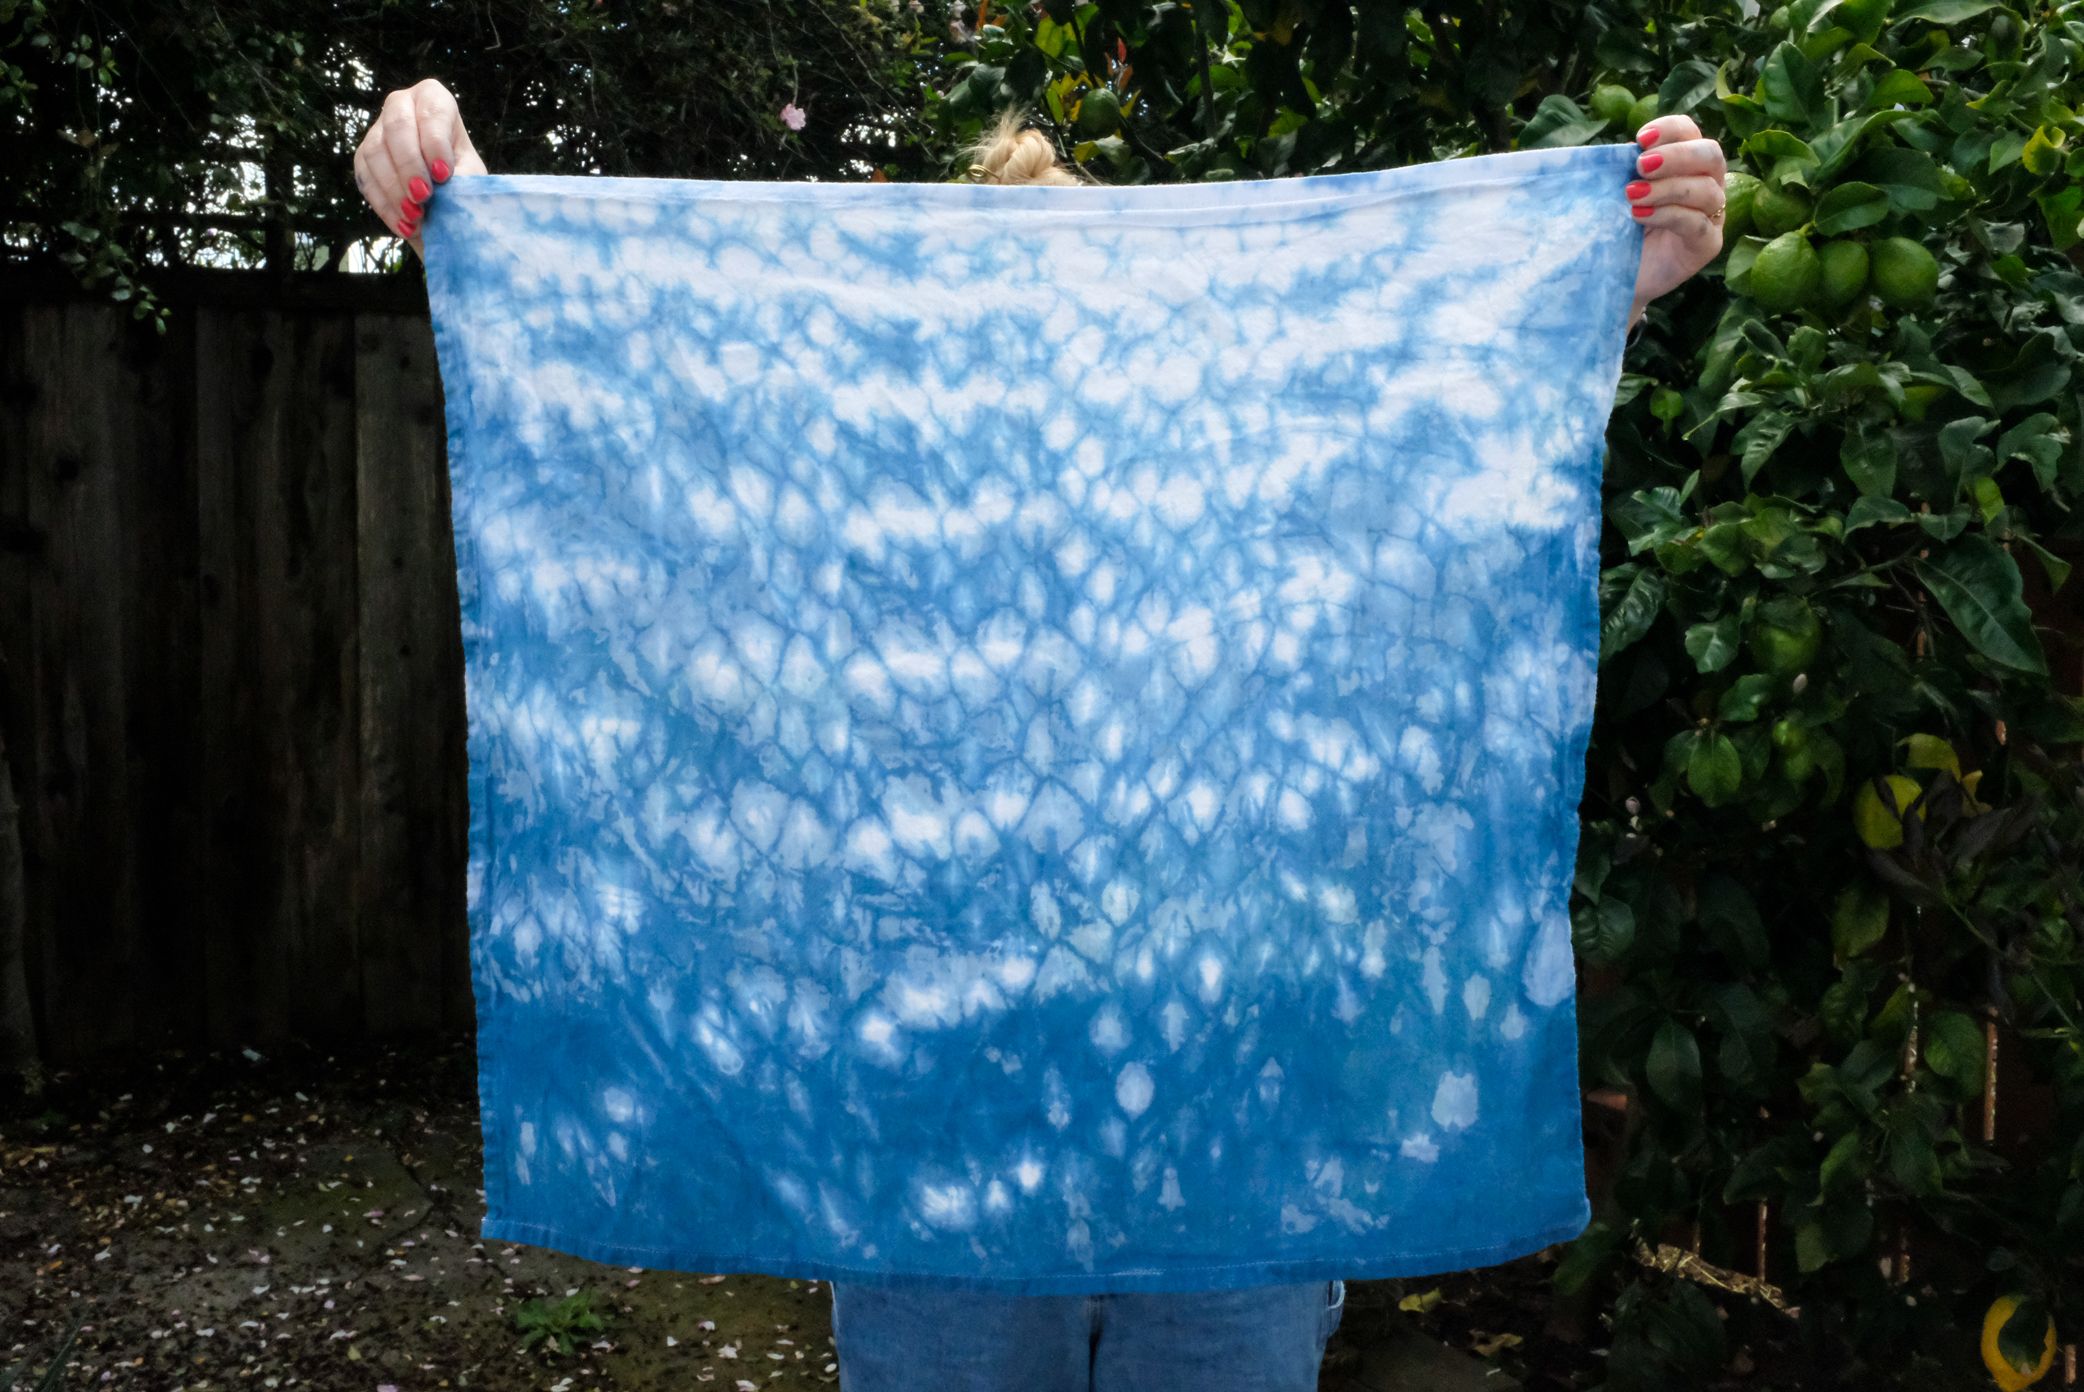
Honeycomb Pattern
- Roll your fabric around a rope that is a couple inches longer than the width of your fabric
- Squish the fabric up so you can tie the two ends of the rope together
- Your fabric should look like a tight scrunchie.


Step 2: Dip you fabric in your prepared vat.
Setting up an indigo vat is easy with our Indigo Tie Dye Kit.
- Fill up your 5 gallon bucket with water
- Pour the pre-reduced indigo, reducing agent, and soda ash into the water.
- Stir in a circular direction until dissolved.
- Cover your vat and let it rest for a minimum of 30 minutes.
*Your dye vat will stay good for up to a week. You can use it over and over!
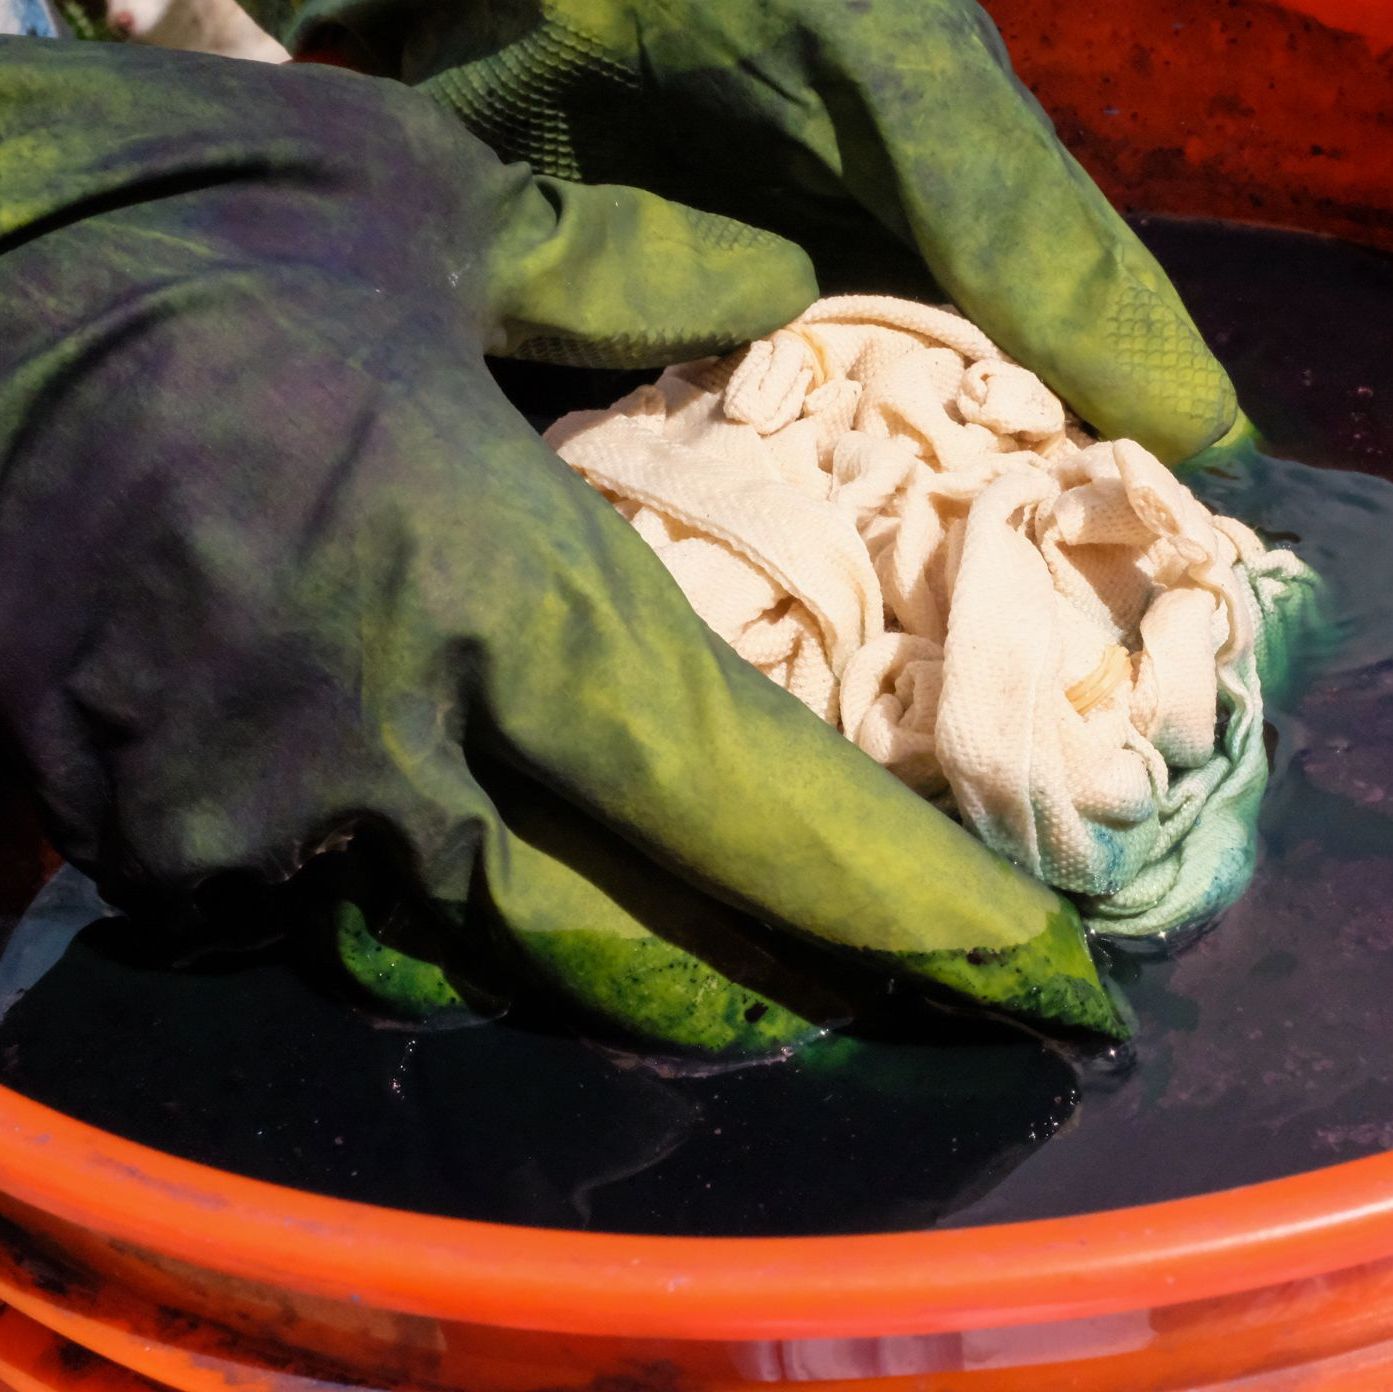
Gently lower your fabric into the dye vat. Keep it under the surface for a full two minutes. While it is in the dye vat, carefully manipulate the fabric, making sure all parts are exposed to the dye.

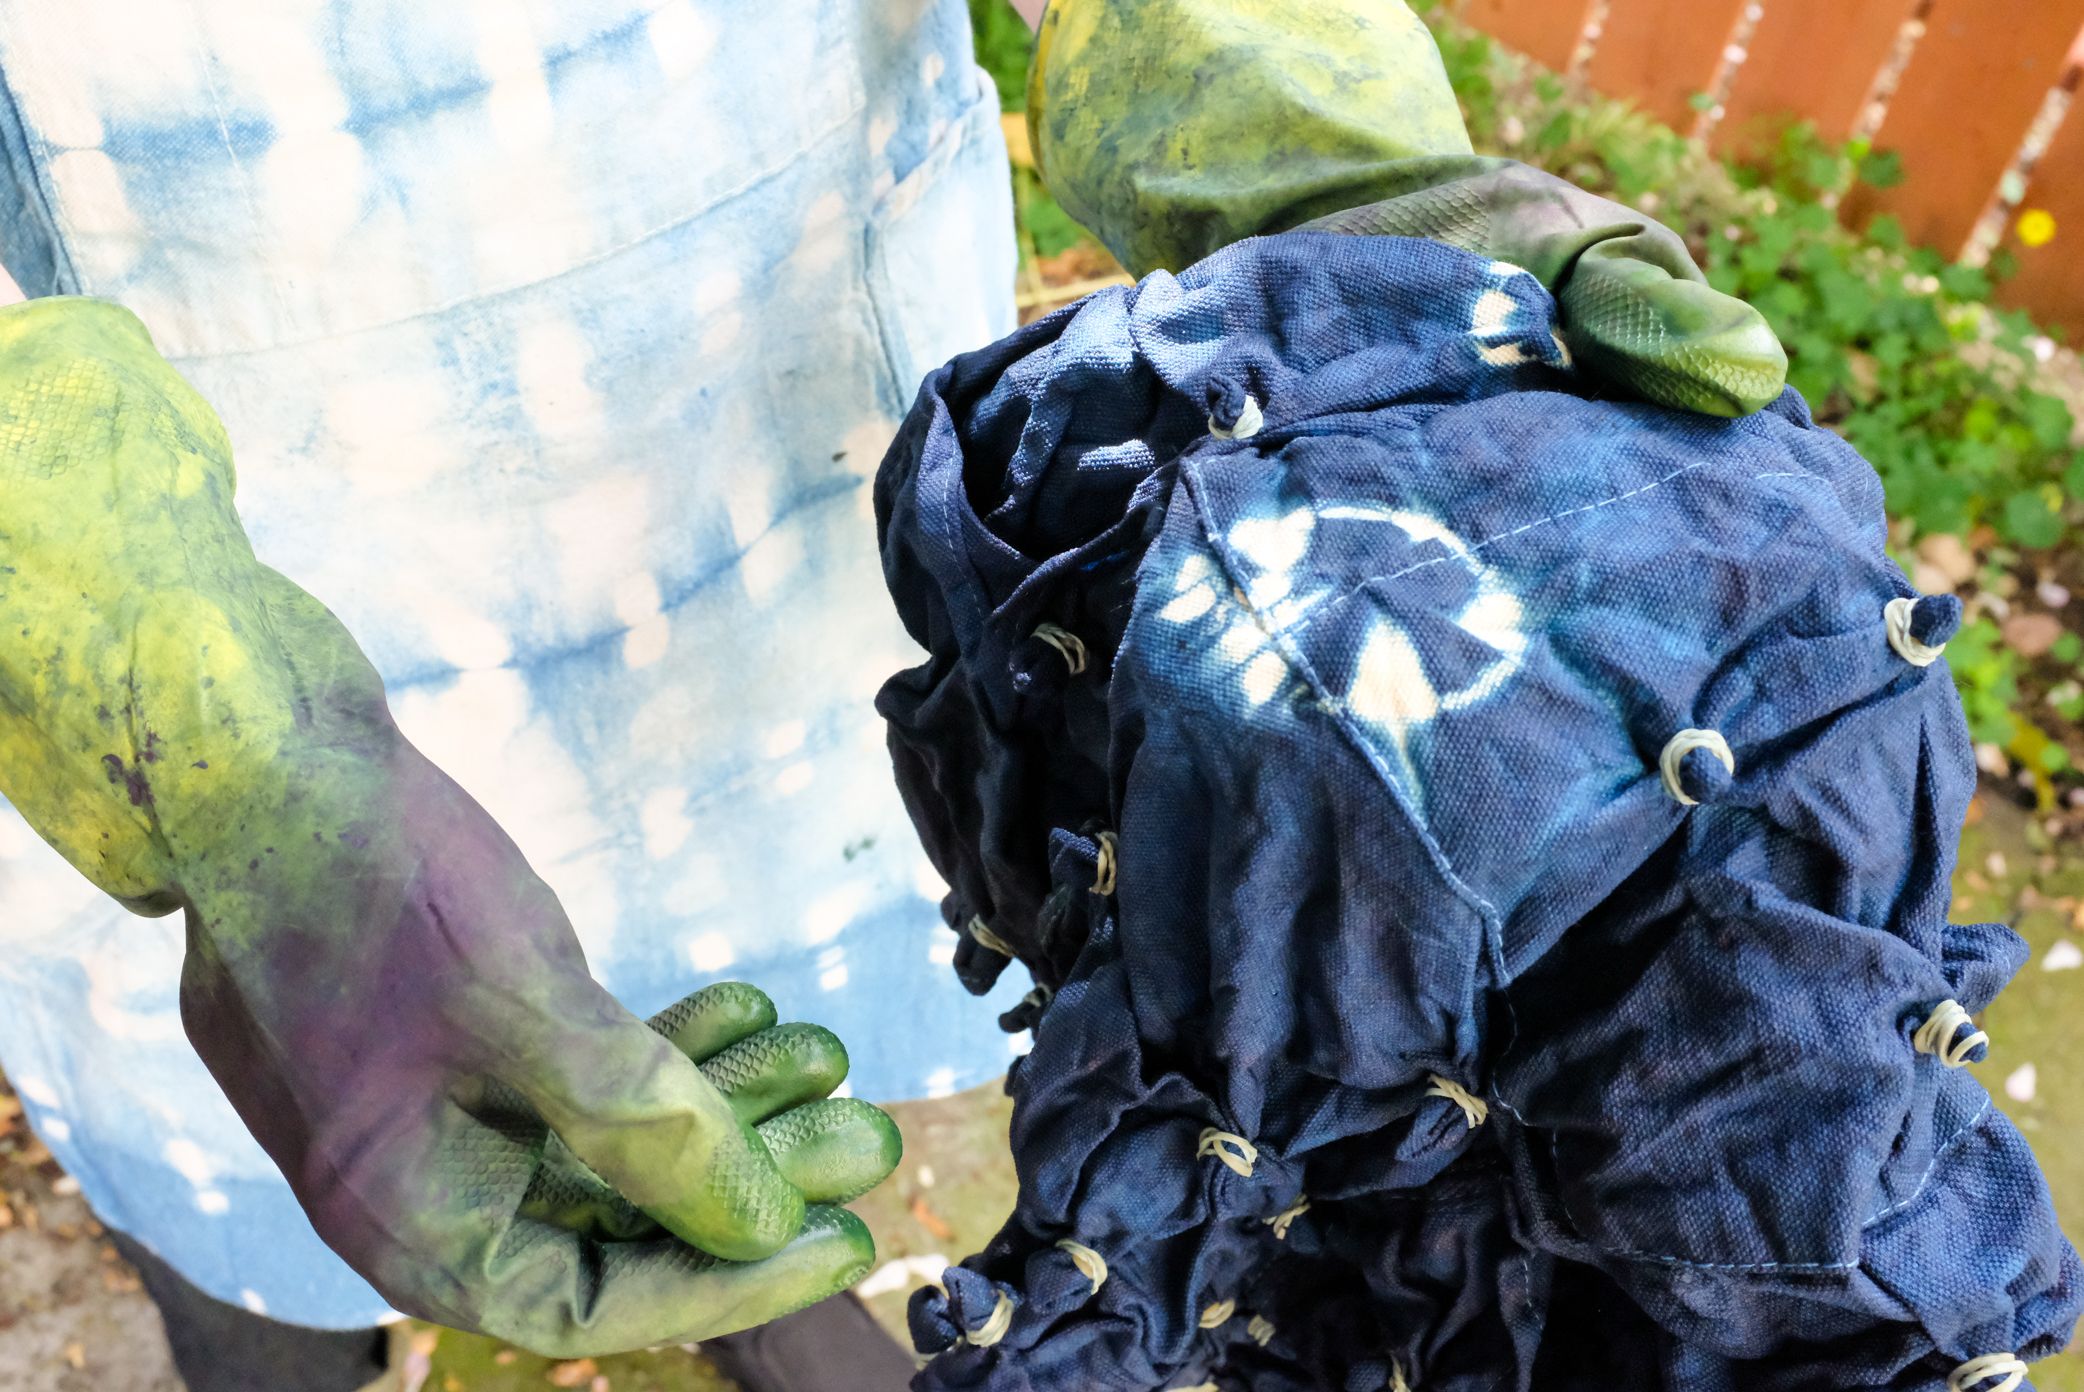
Once your two minutes are up, gently remove your fabric from the vat. You will notice that it is green, not blue! Indigo's beautiful blue color develops as it oxidizes.
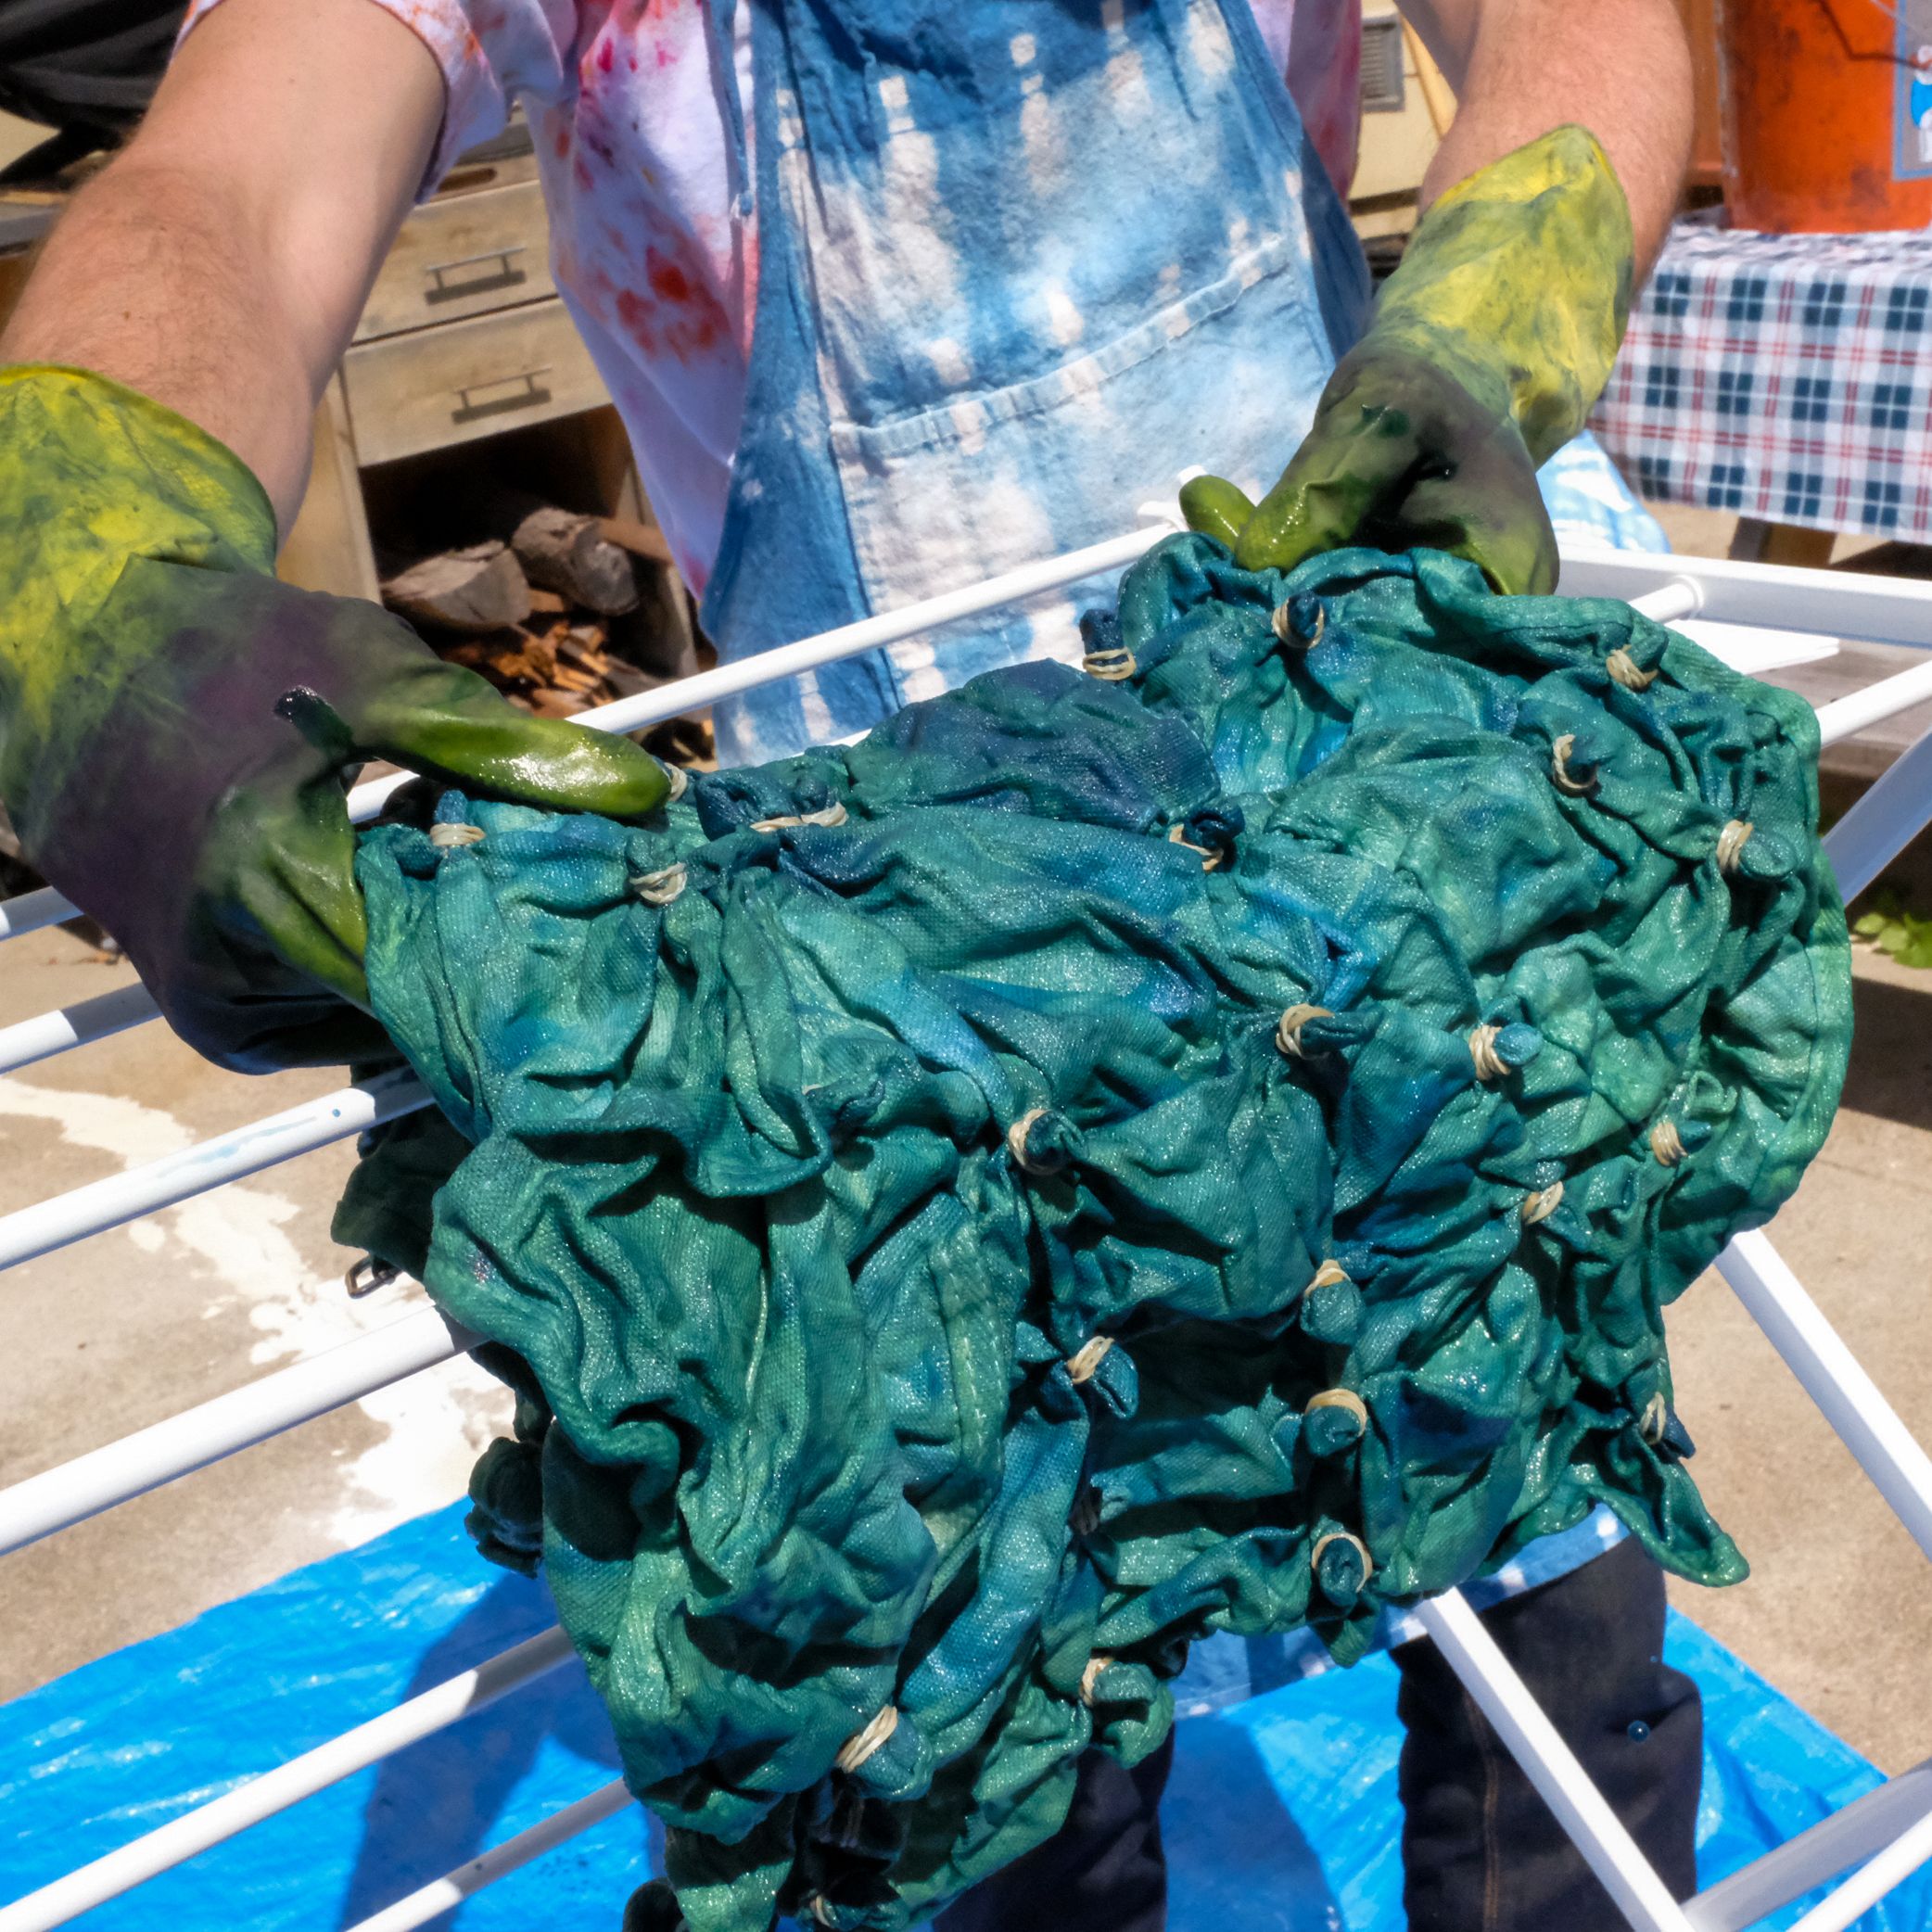
Hang your piece to oxidize on a drying rack or a clothes line. The color will develop over 10 minutes. If you would like a deeper blue, repeat these steps. *I always dip my shibori pieces a minimum of 2 times.
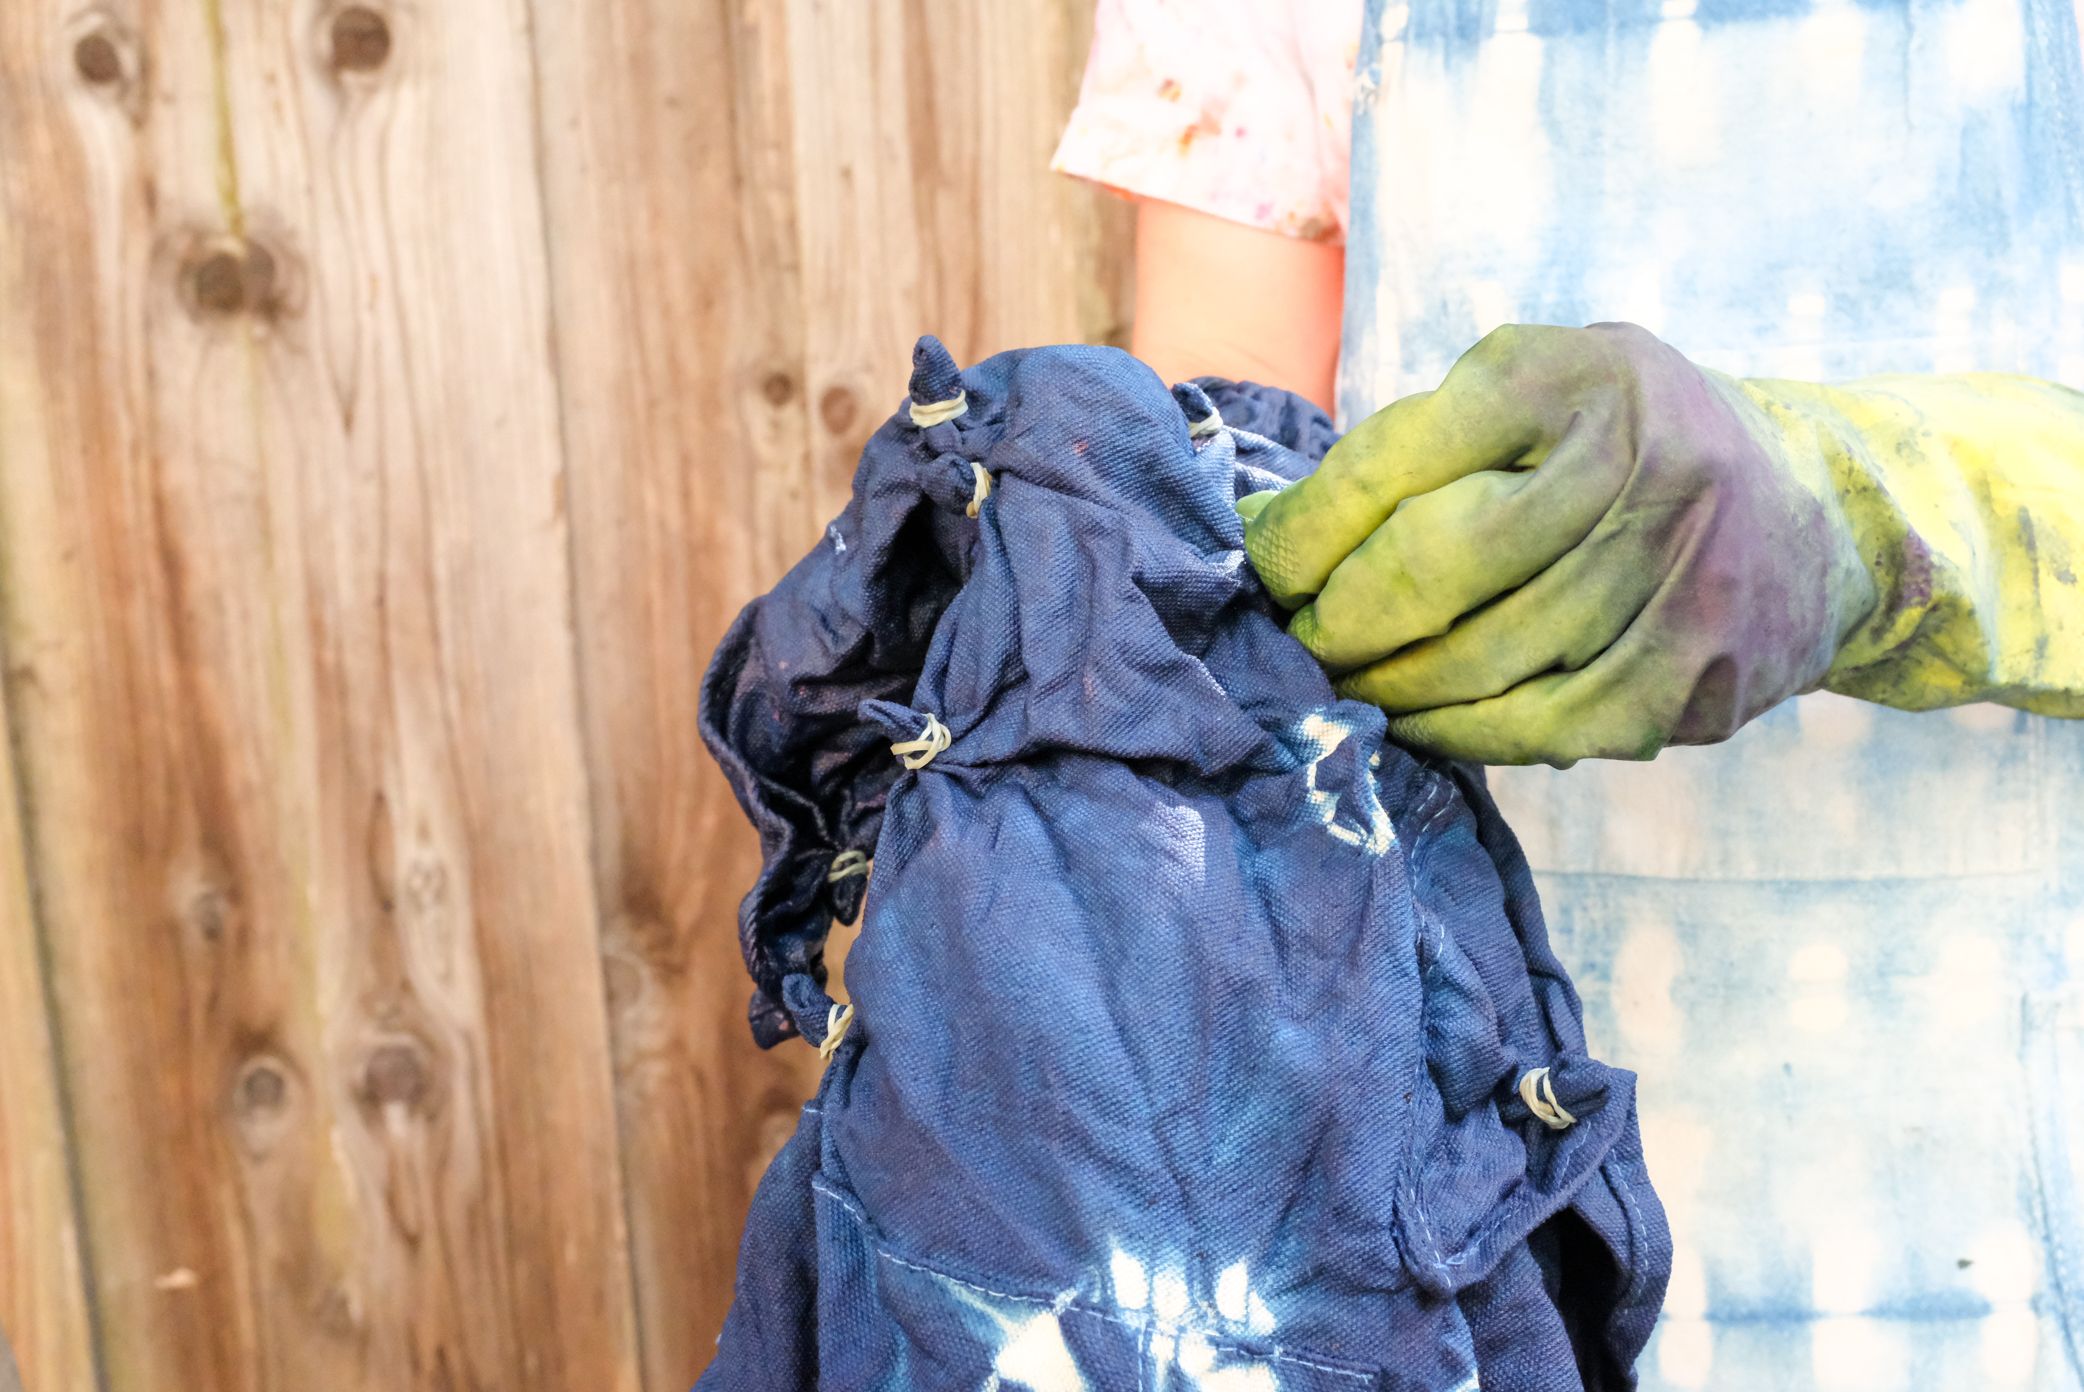
Step 3: Open up your work!
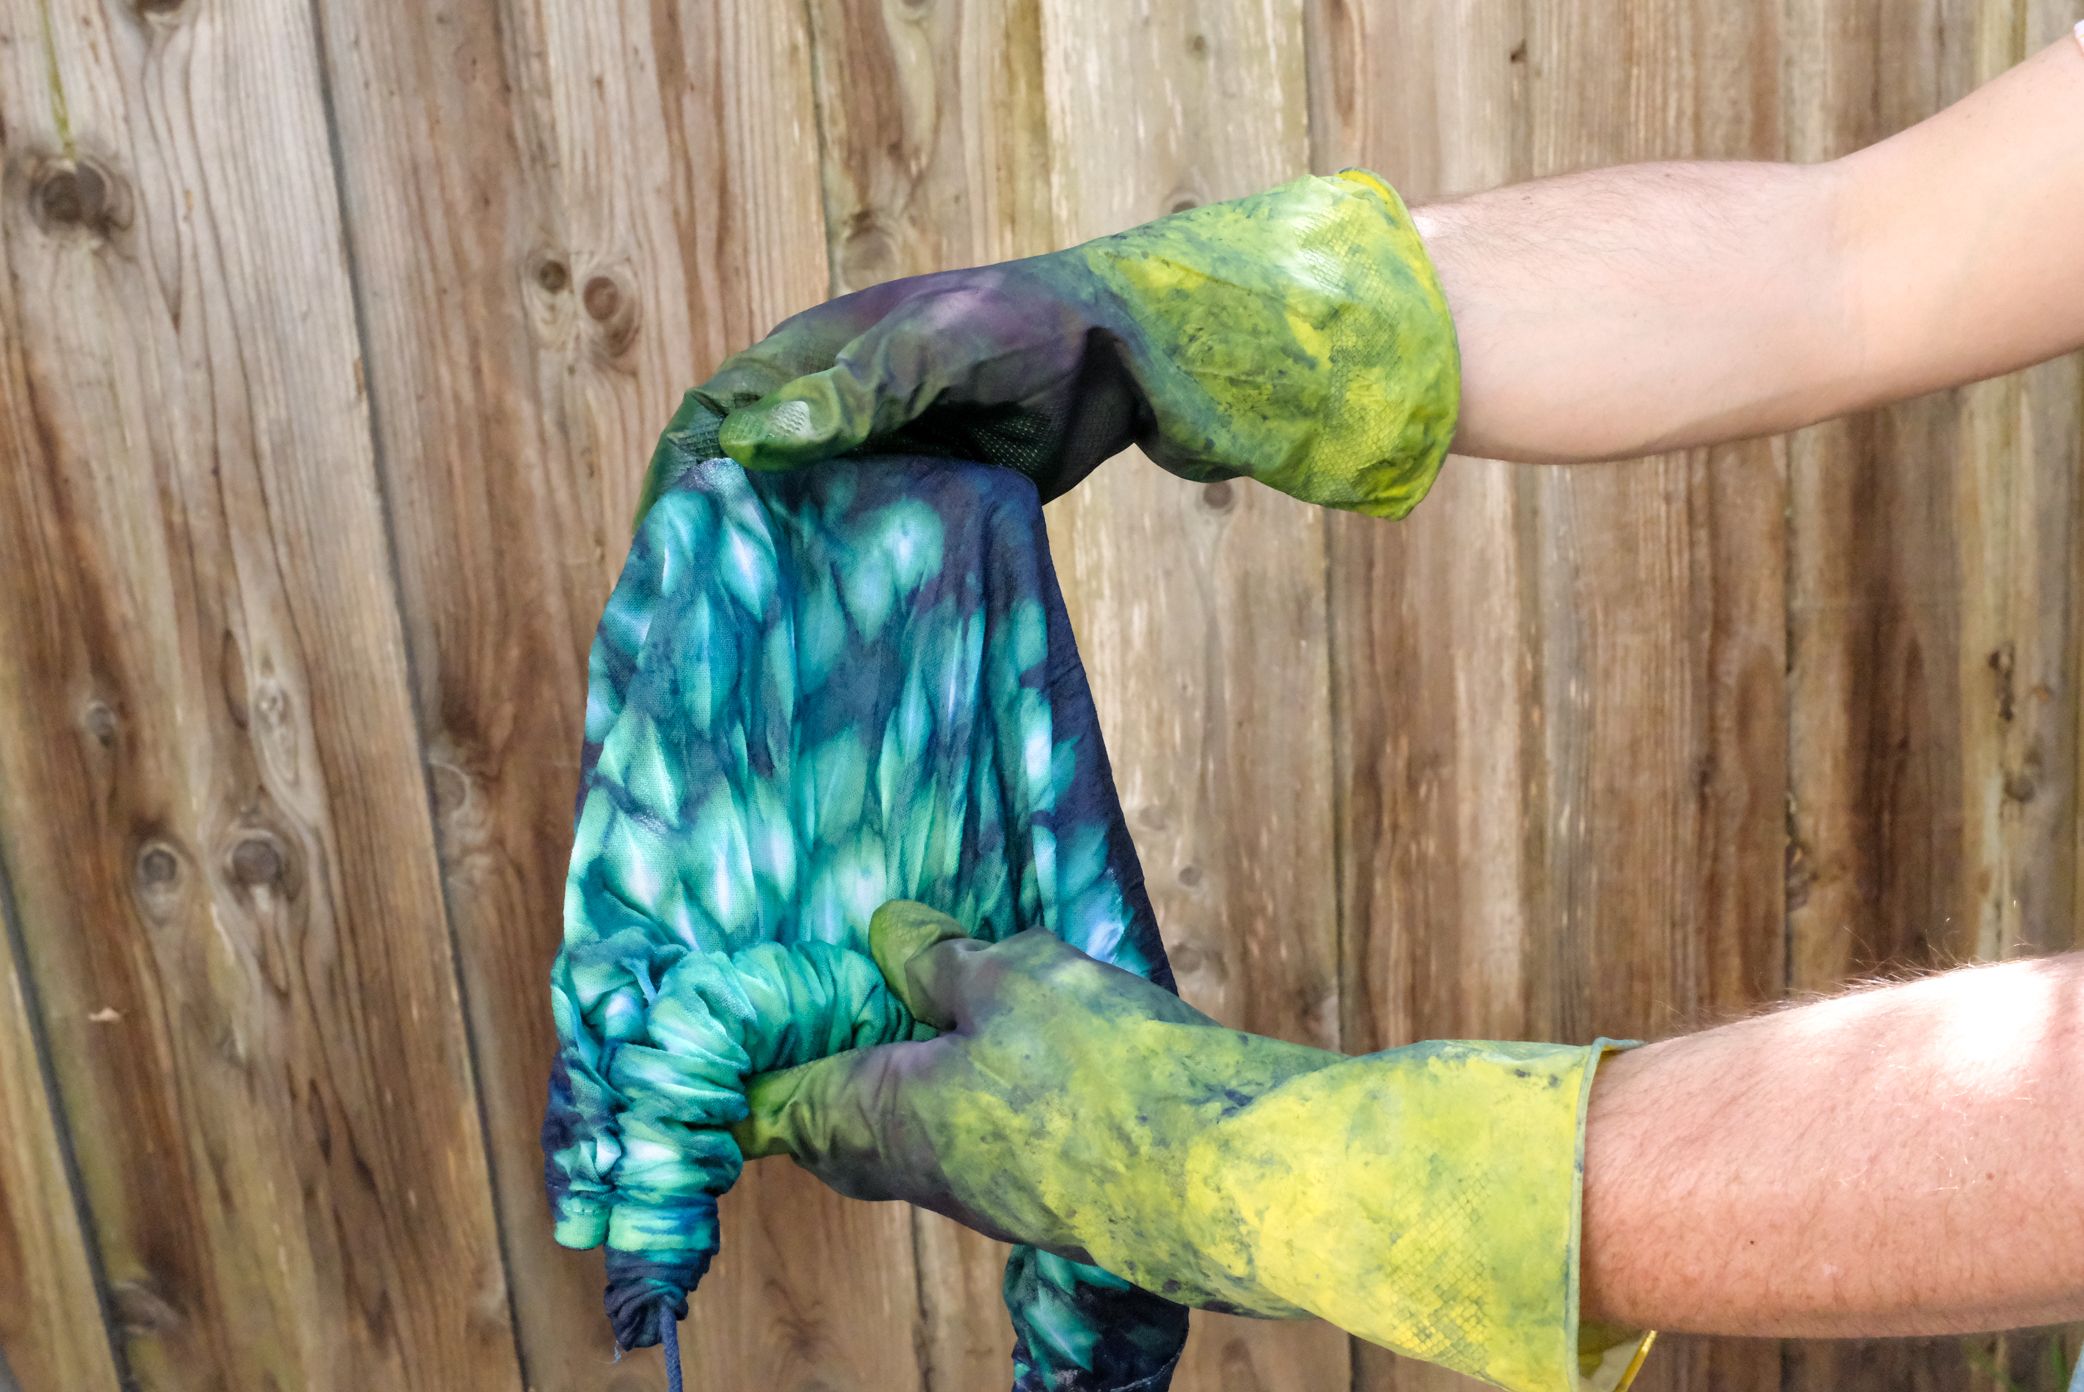
Once your piece has oxidized for a minimum of 10 minutes, you're ready for the grand reveal! Use a scissors to cut your rubber bands or strings. It can be tricky to remove them when your fabric is wet.
Hang up your work to dry. Once it is dry, you can rinse out the dye until the water runs clear. Wash your freshly dyed fabric on their own for the first wash. After that, you can throw your shibori items in with the rest of your laundry.


Need Inspiration?
A really fun way to get started is to dye a set of cloth napkins, tea towels, or tote bags. That way, you can try out a different design on each piece, creating a perfectly mismatched set!


Bonus Video: Learn Honeycomb Shibori Pattern
Ready to get started?


By Jennie Lennick
Designer, entrepreneur, and lover of crafts! Boss Lady at Jenny Lemons in San Francisco


