


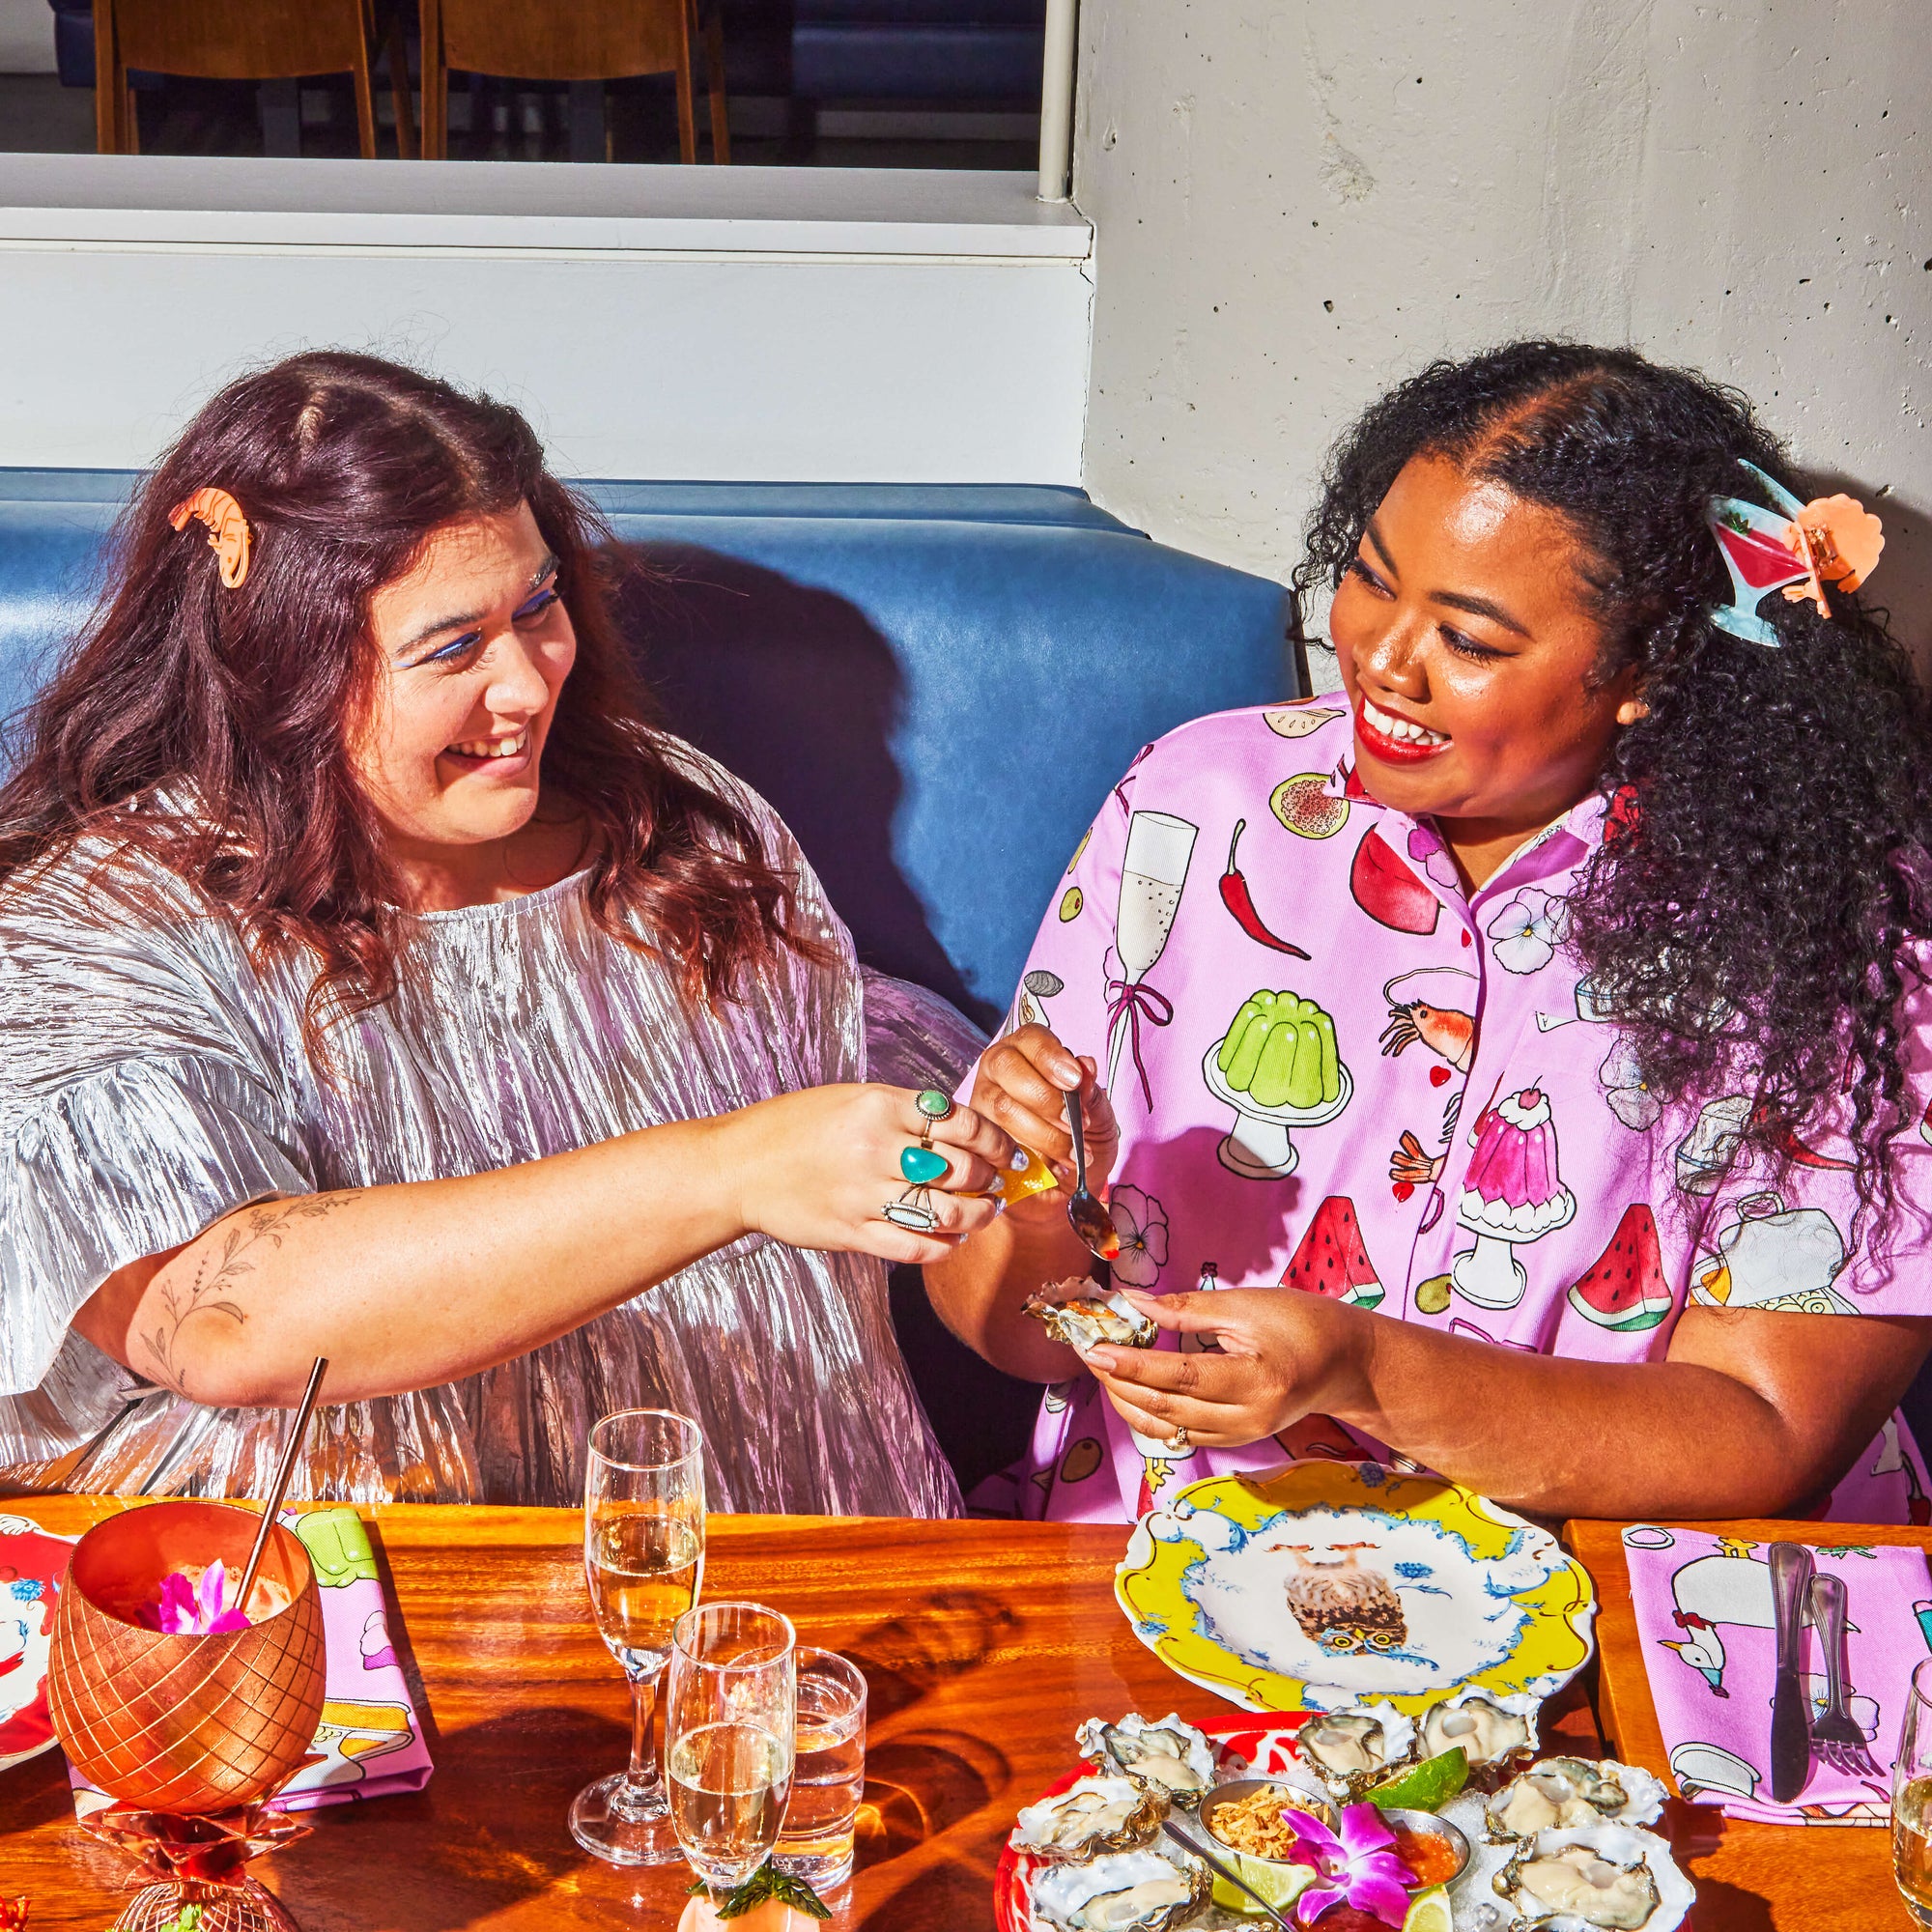
BRING SOME PLAY INTO YOUR EVERYDAY
BRING SOME PLAY INTO YOUR EVERYDAY
BRING SOME PLAY INTO YOUR EVERYDAY
BRING SOME PLAY INTO YOUR EVERYDAY


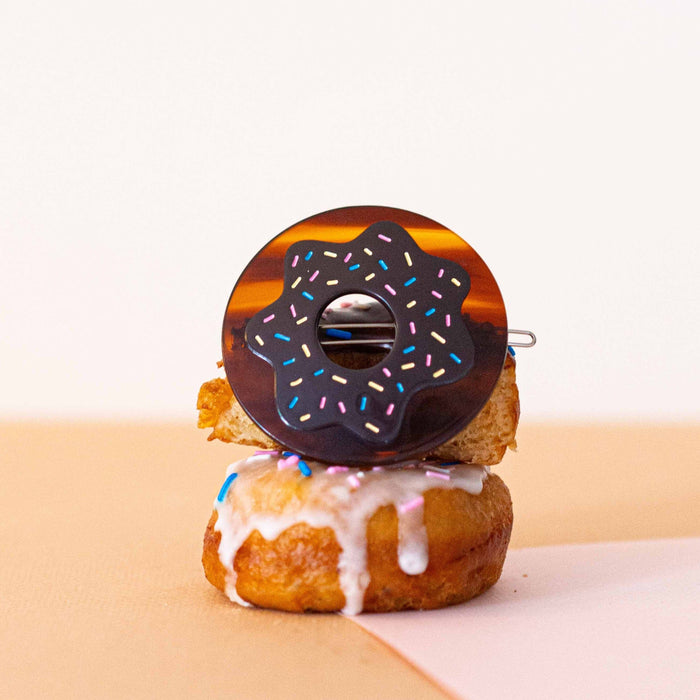
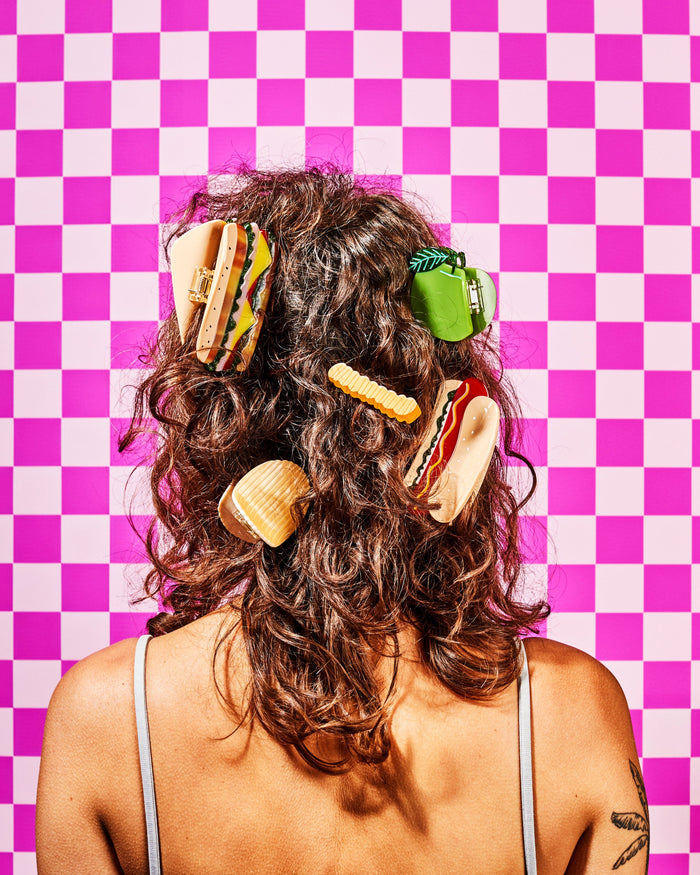
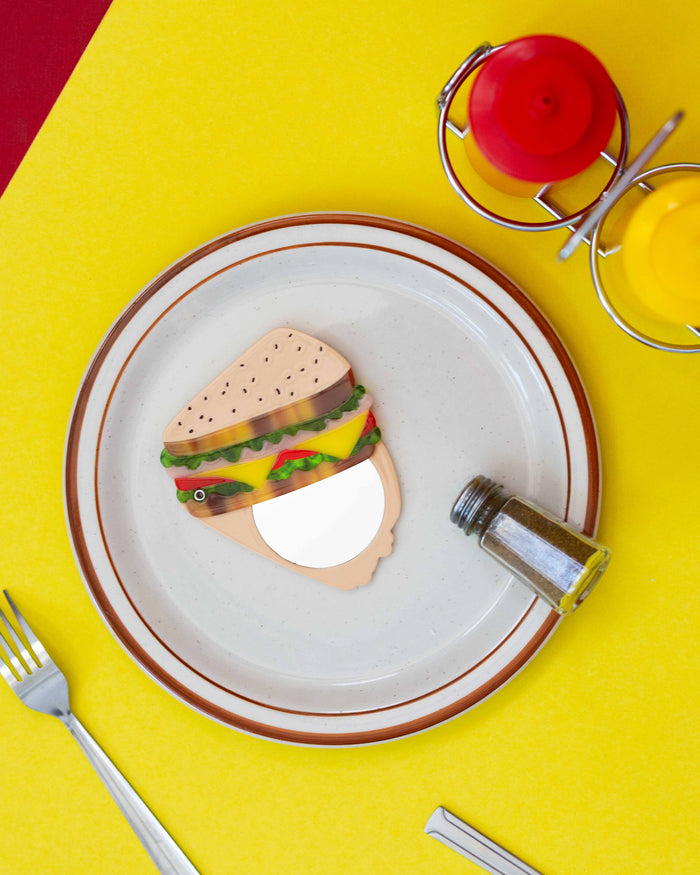
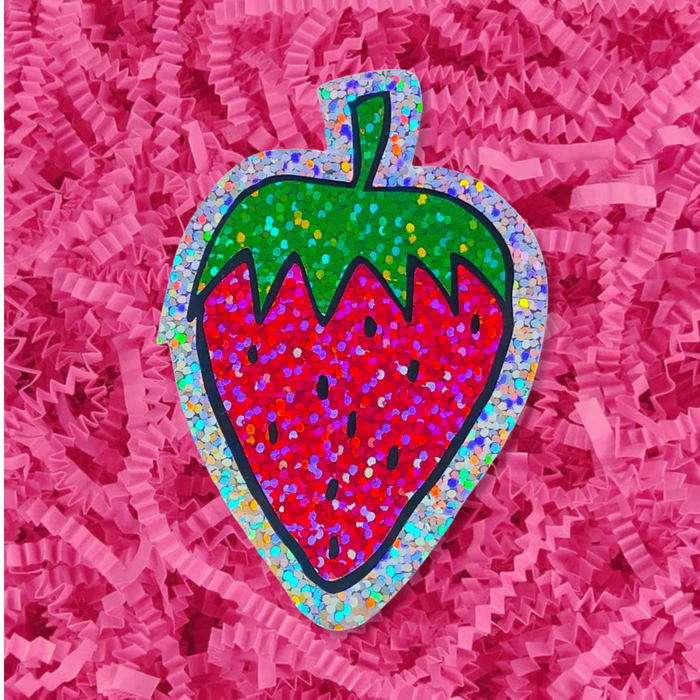
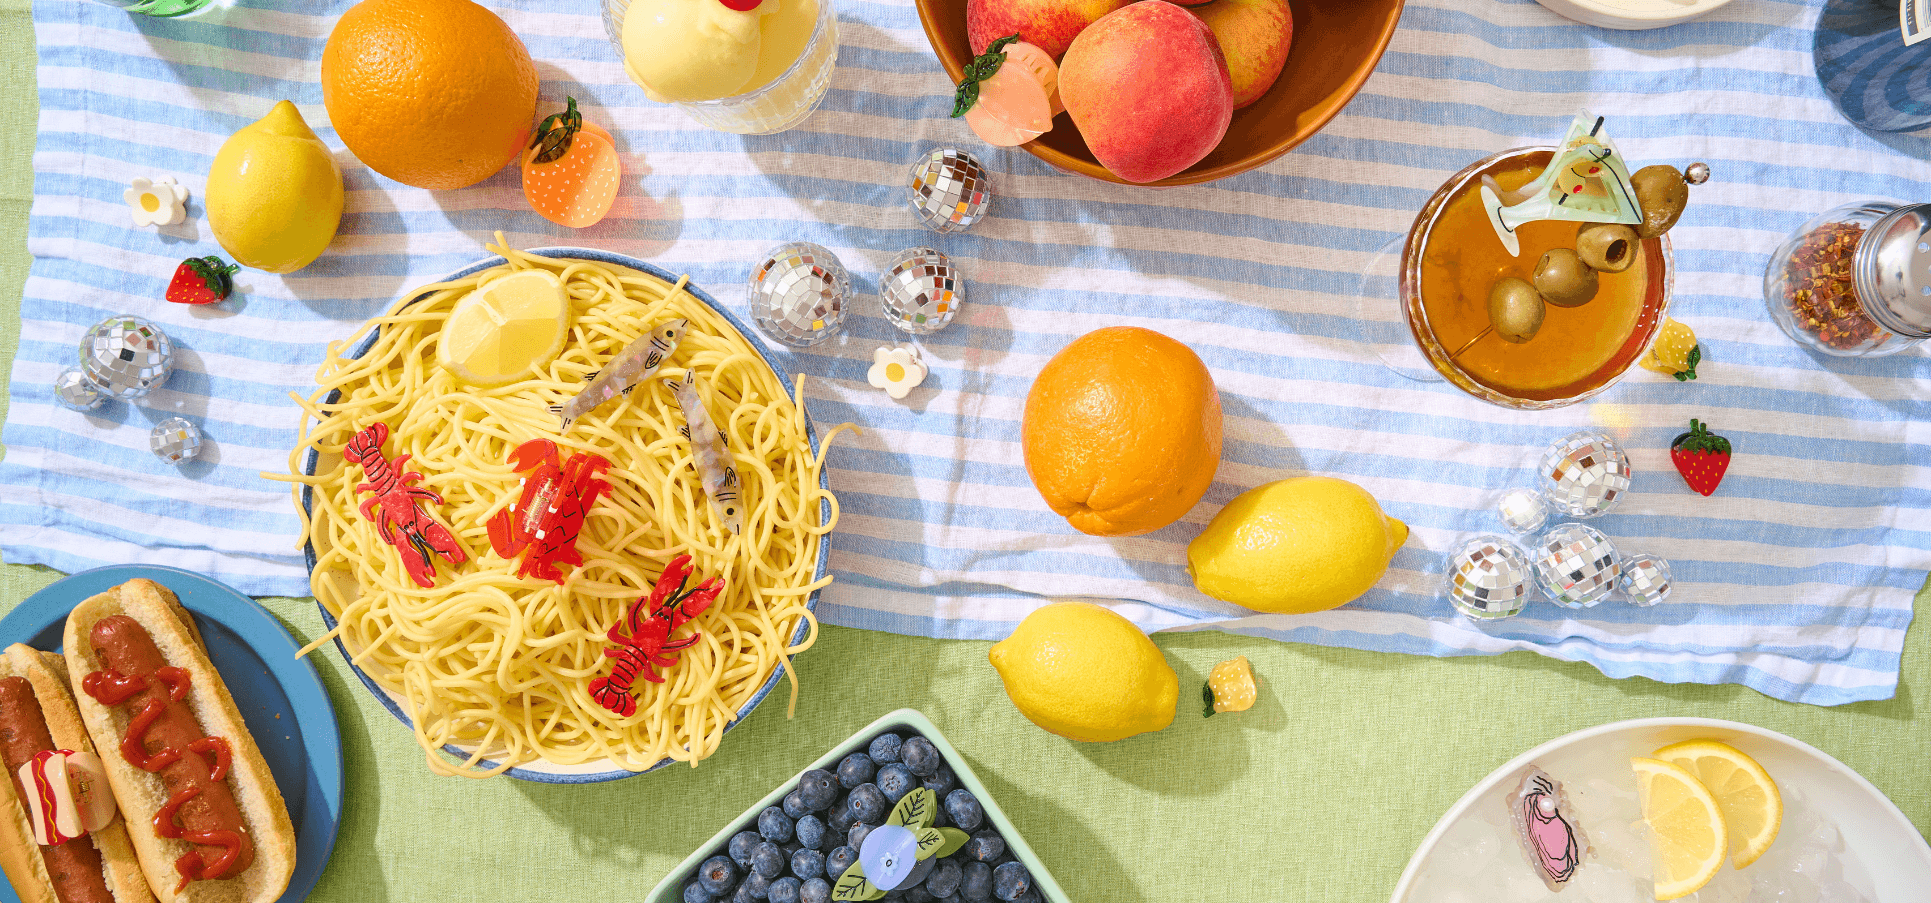
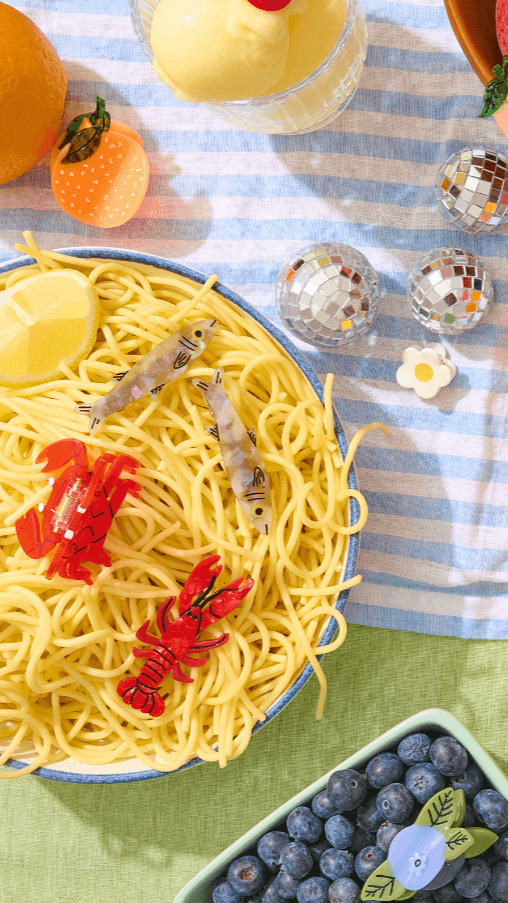
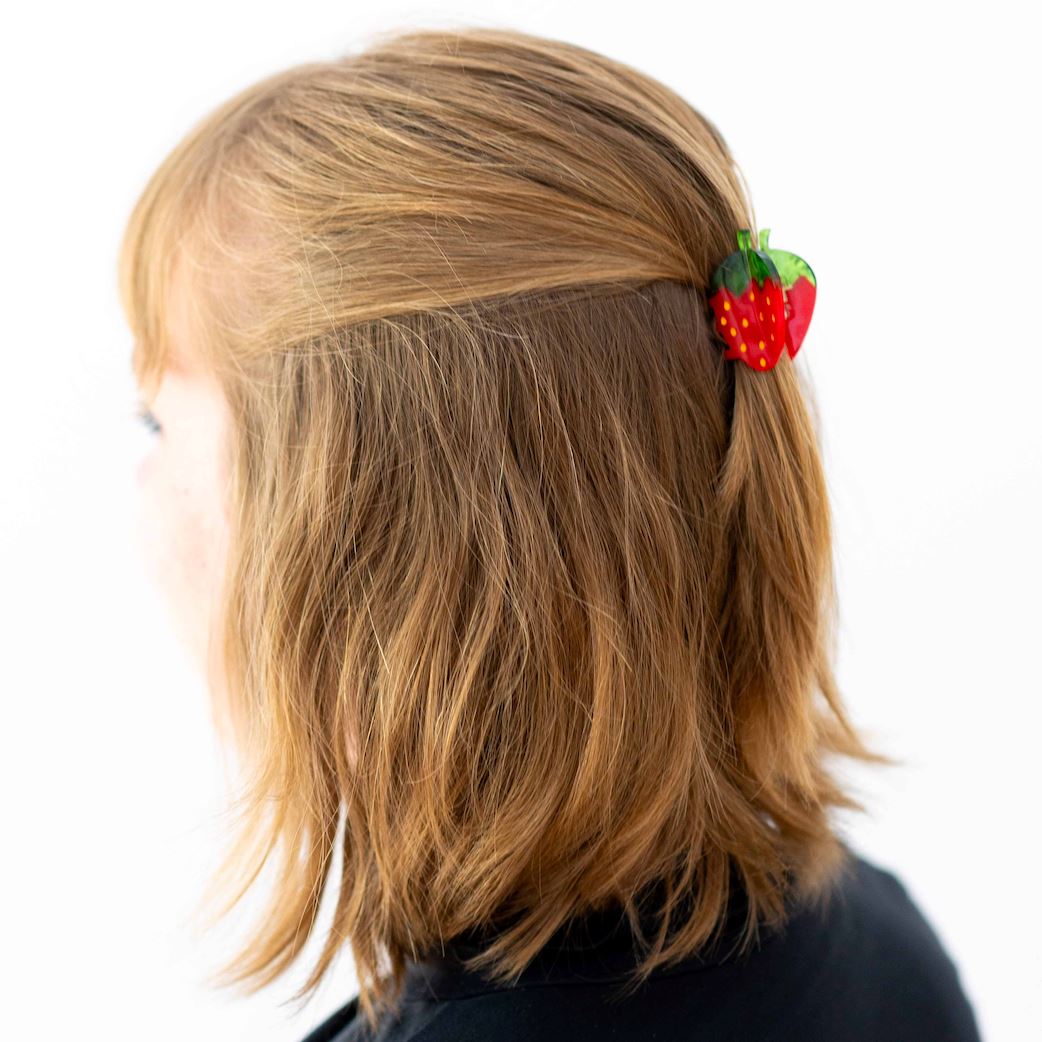
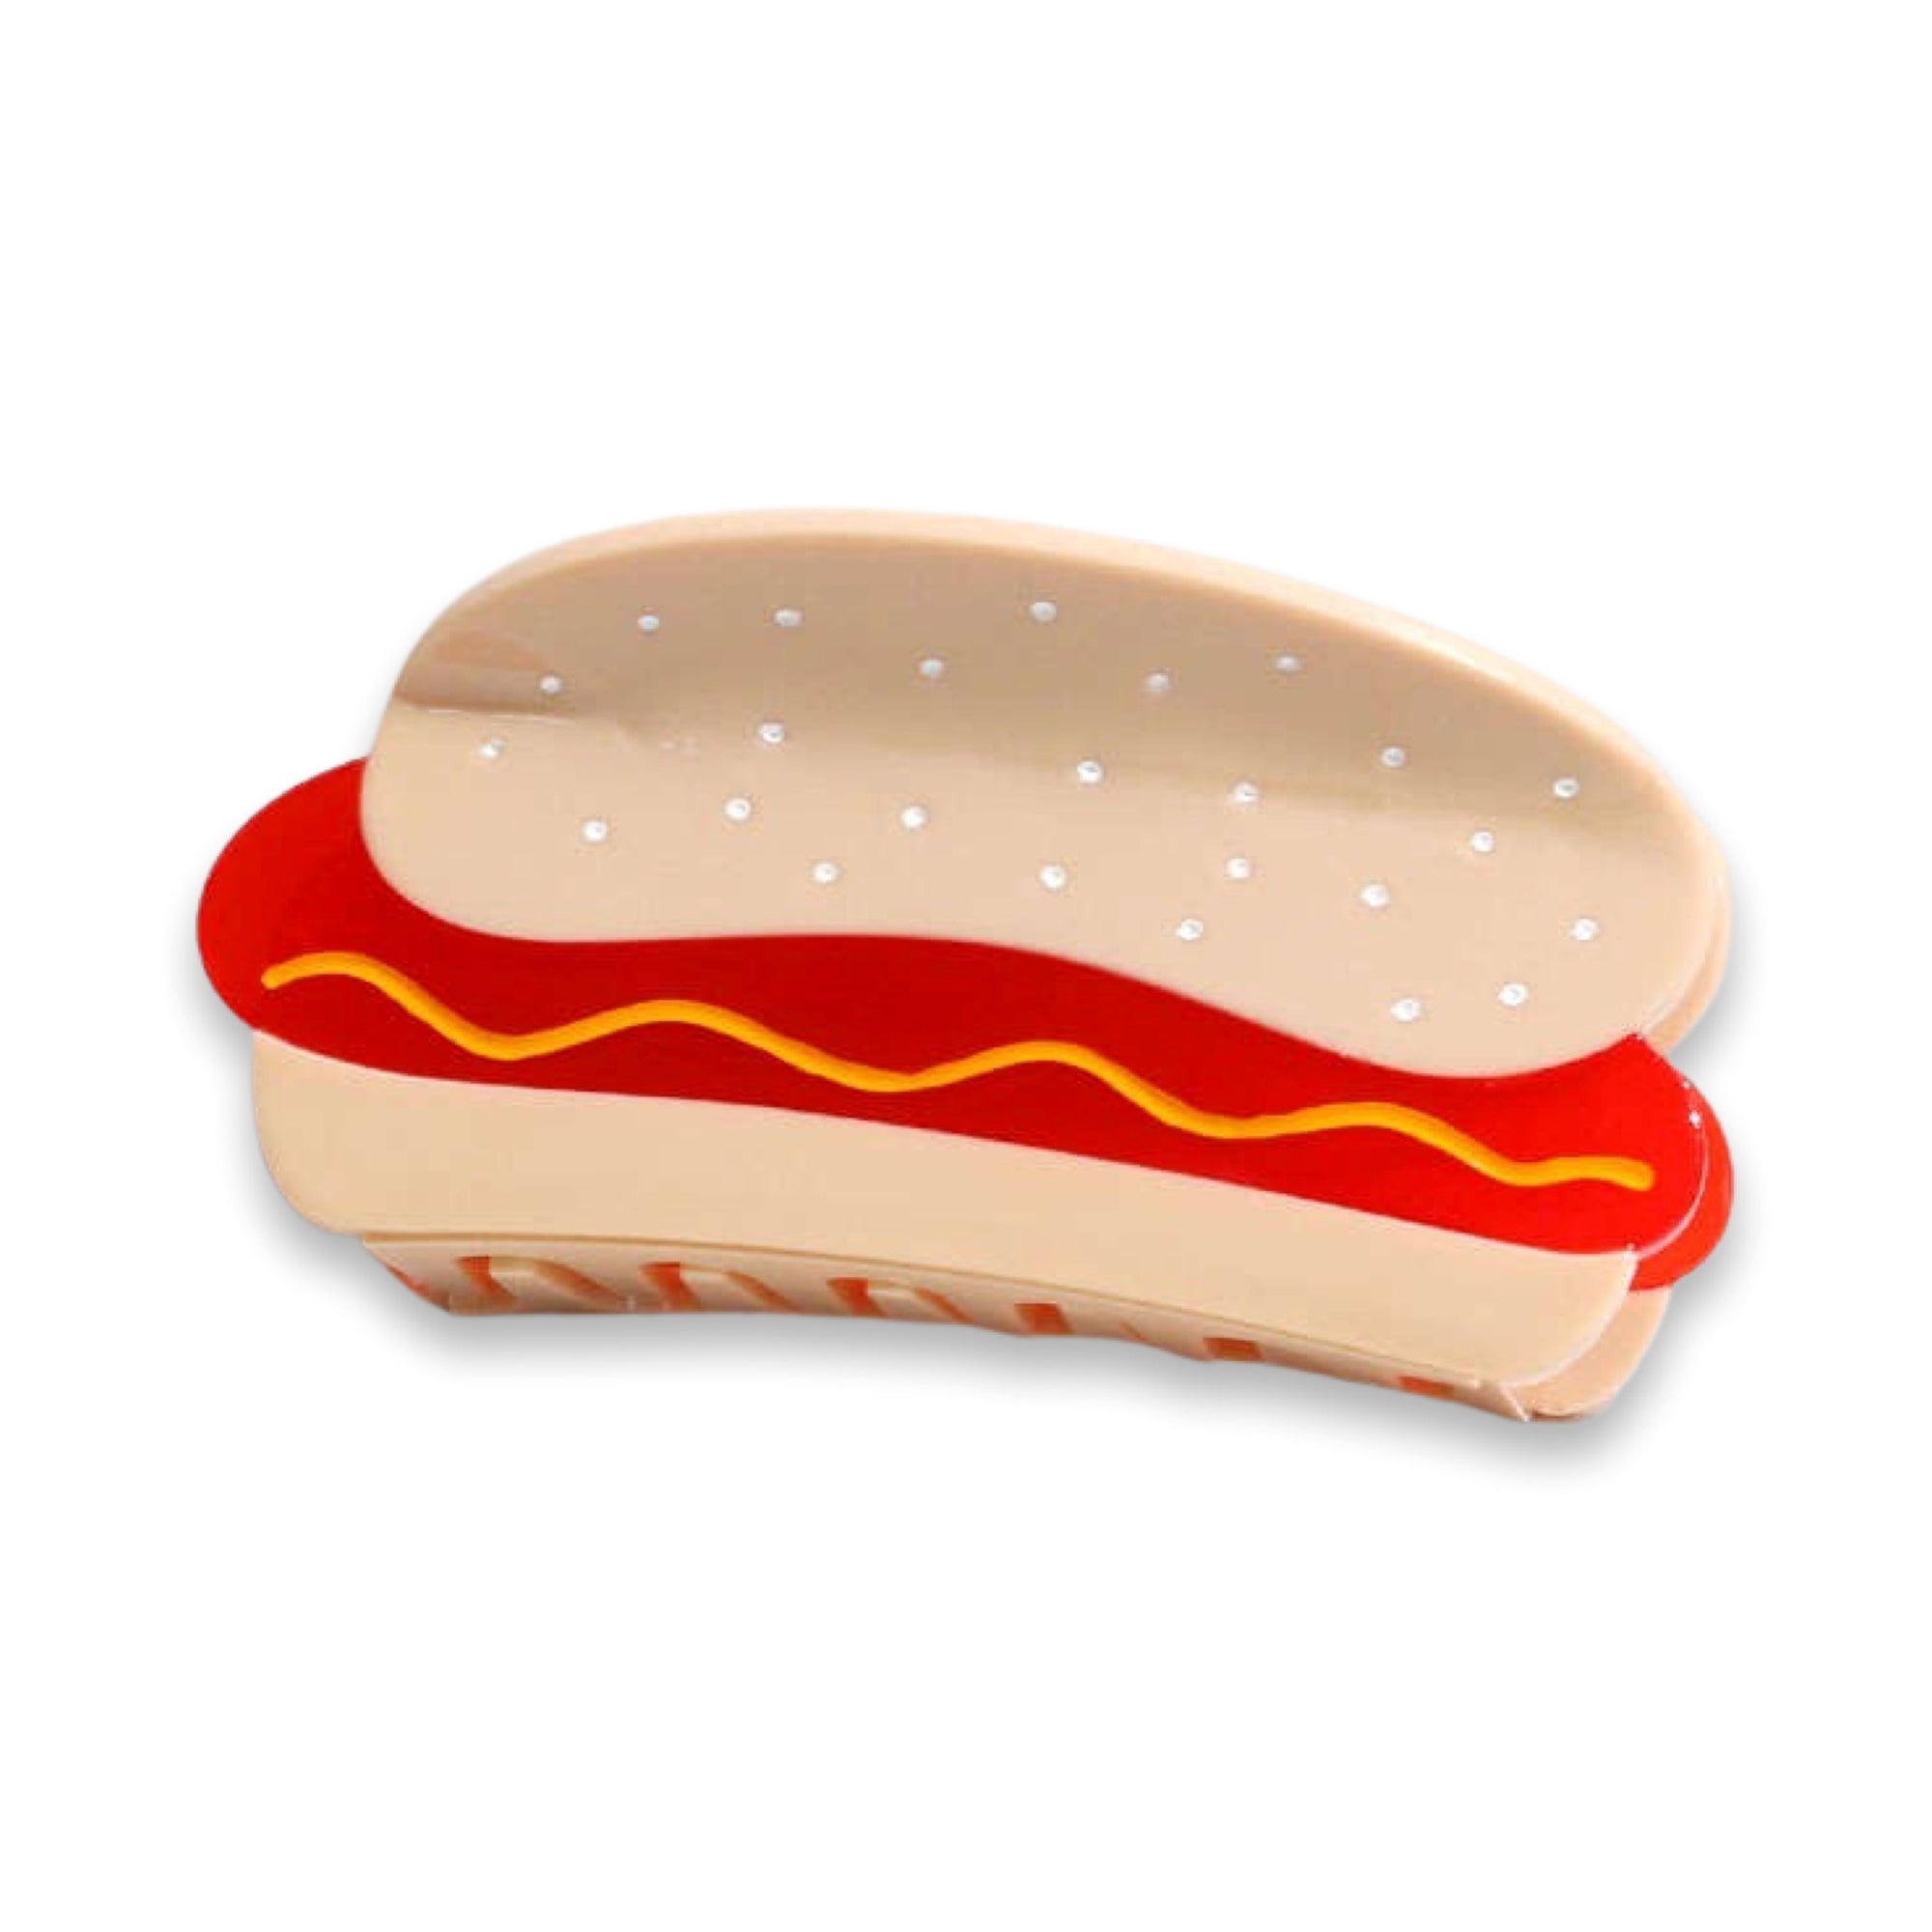
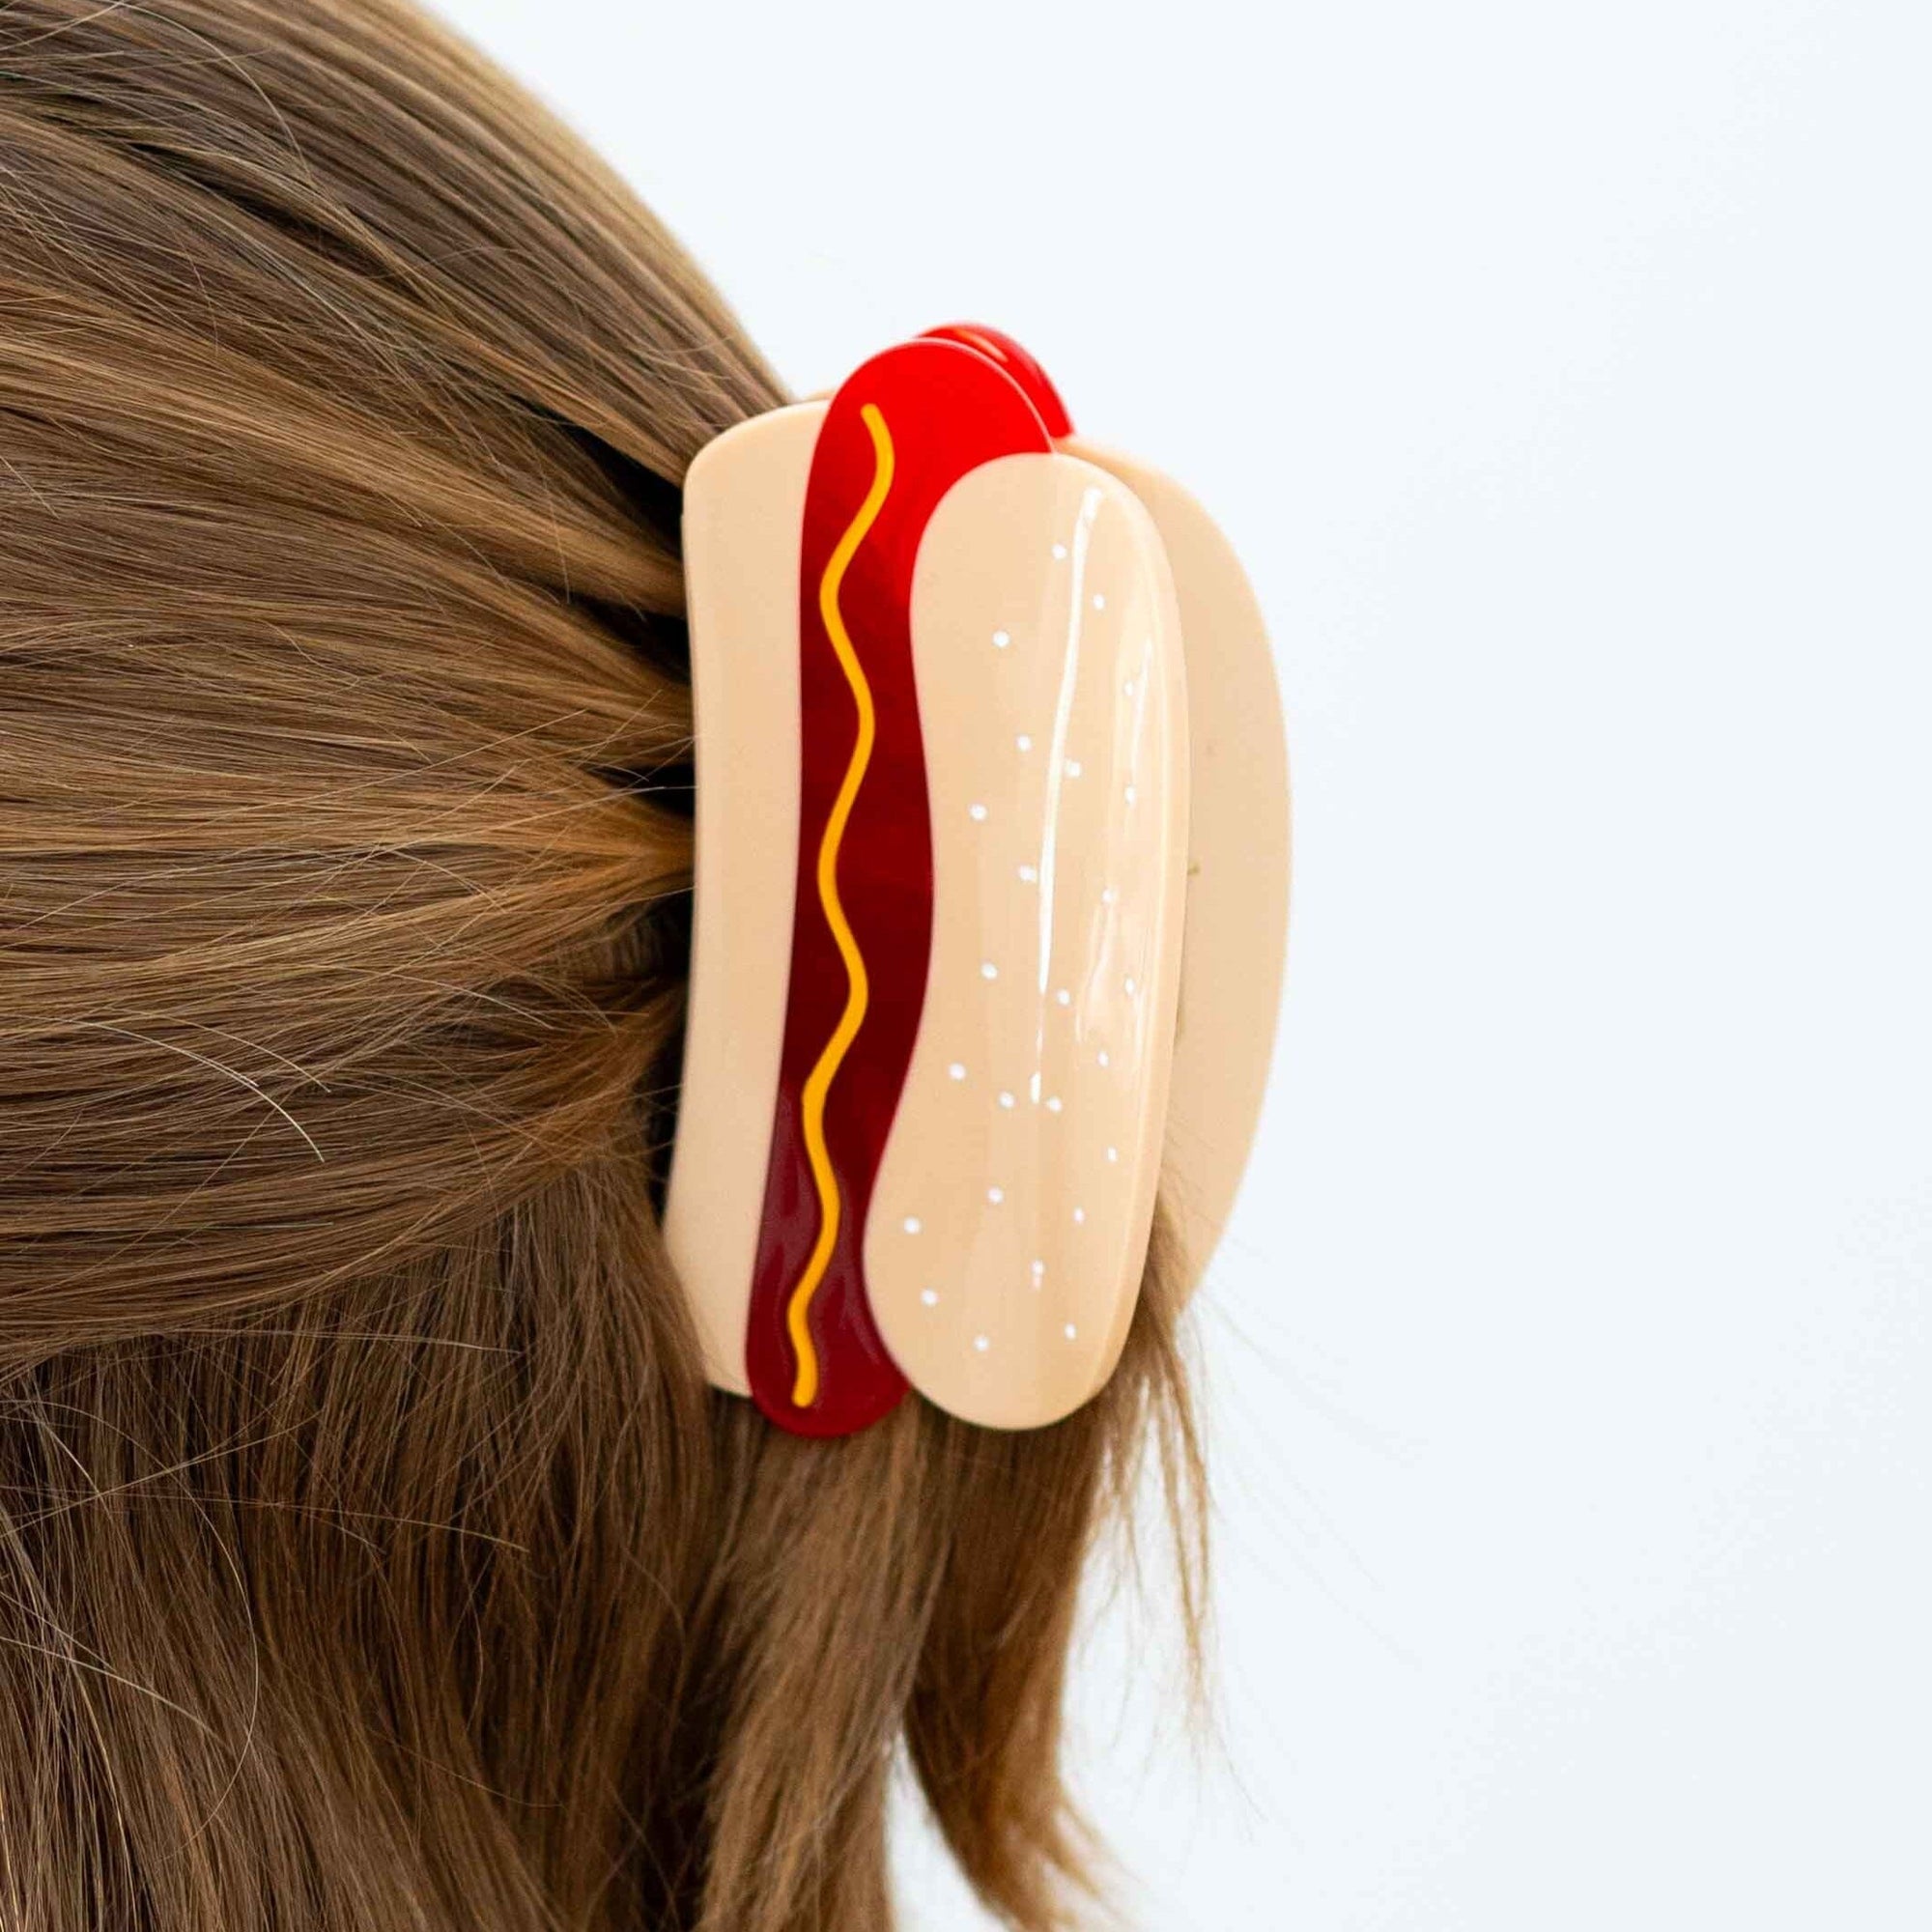
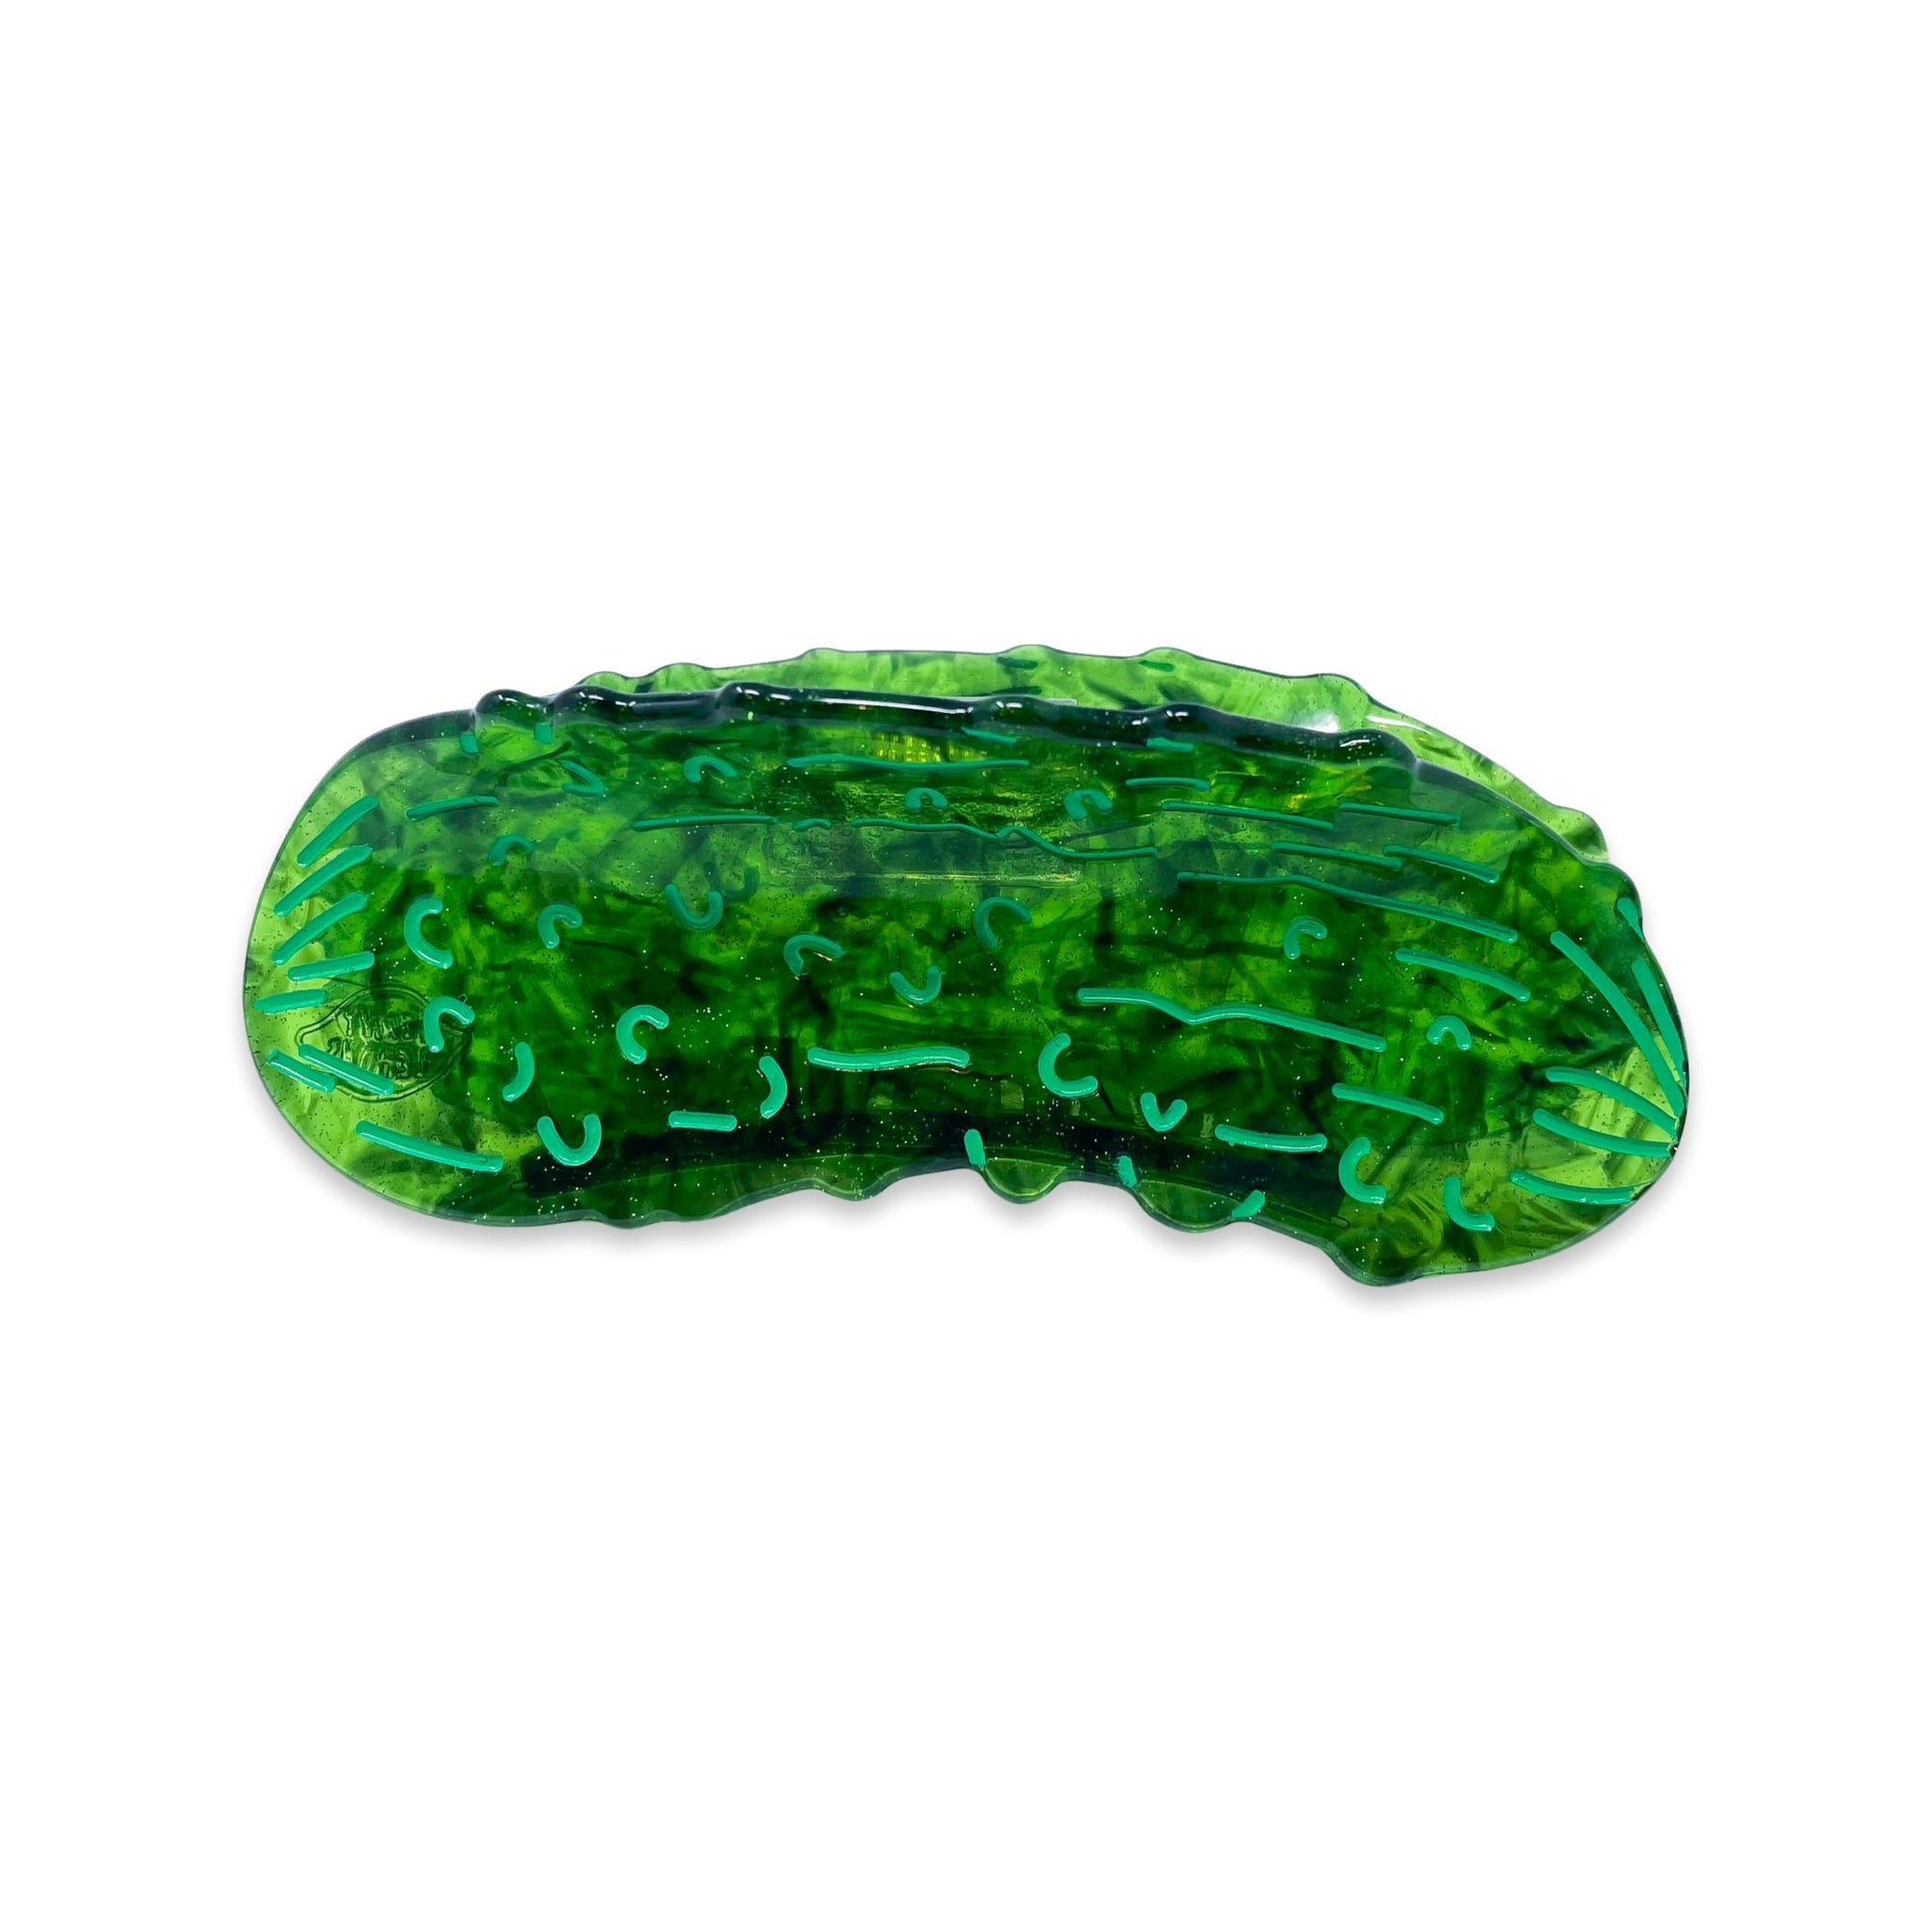
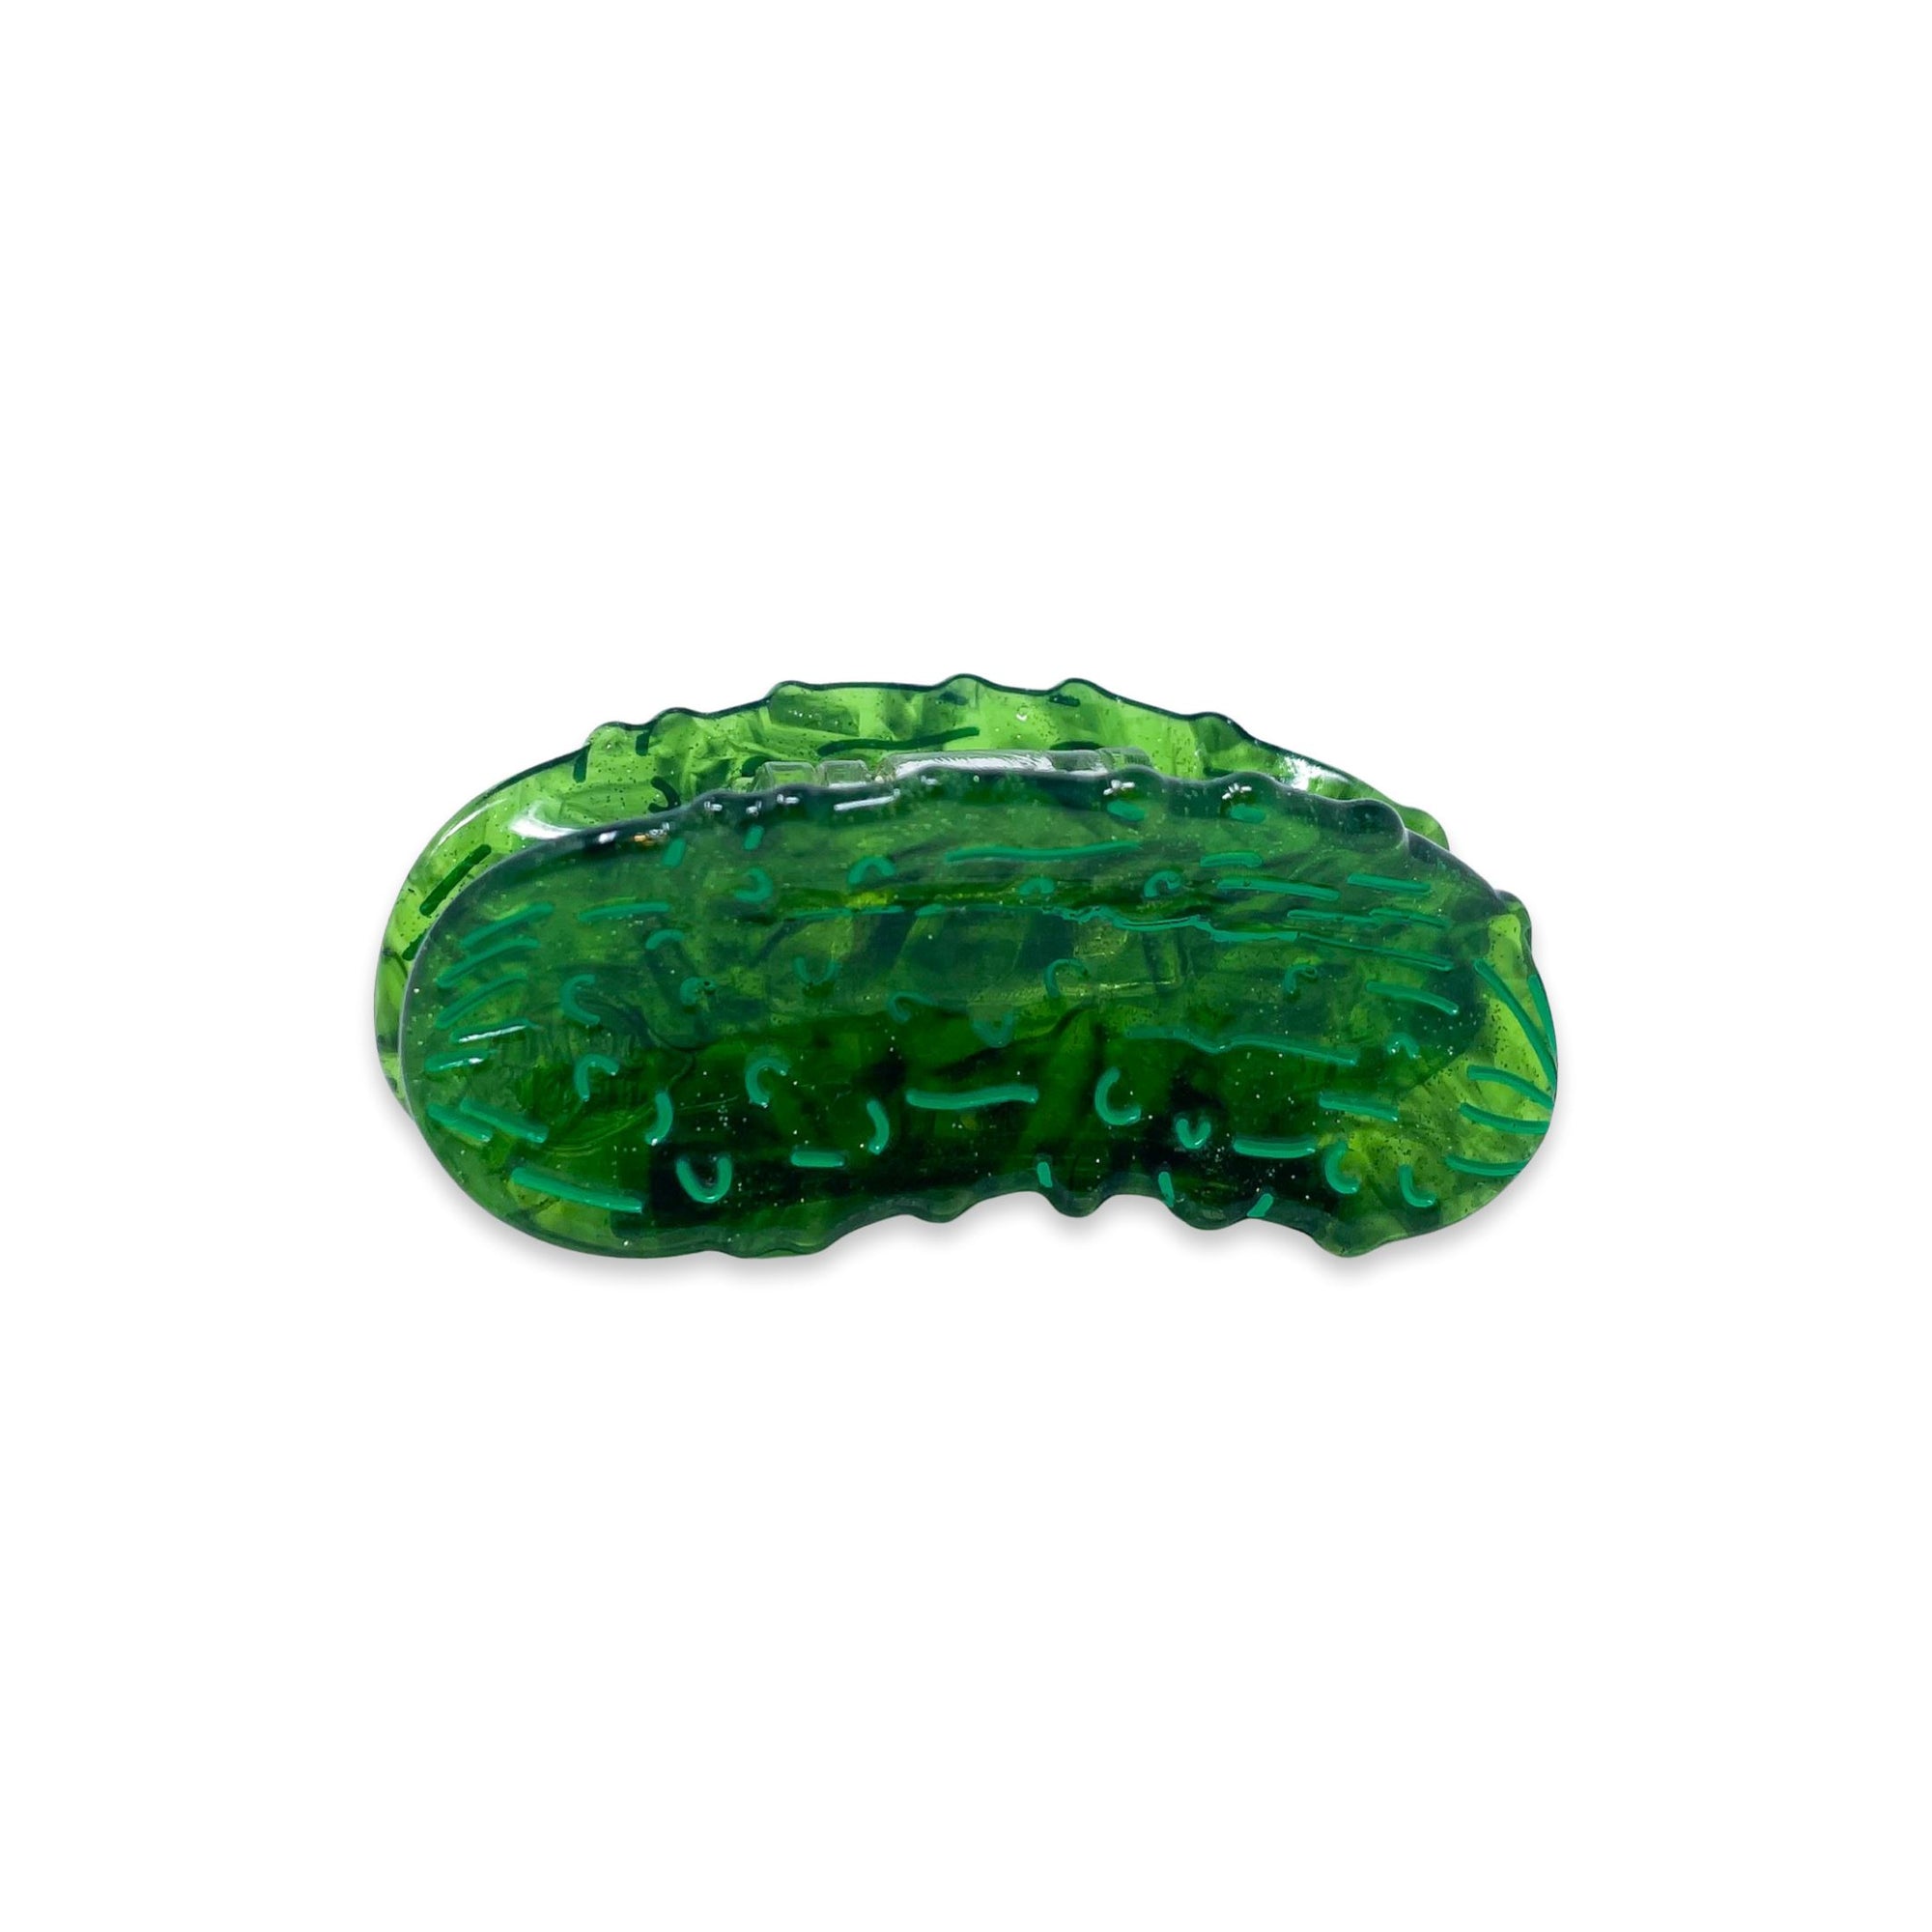
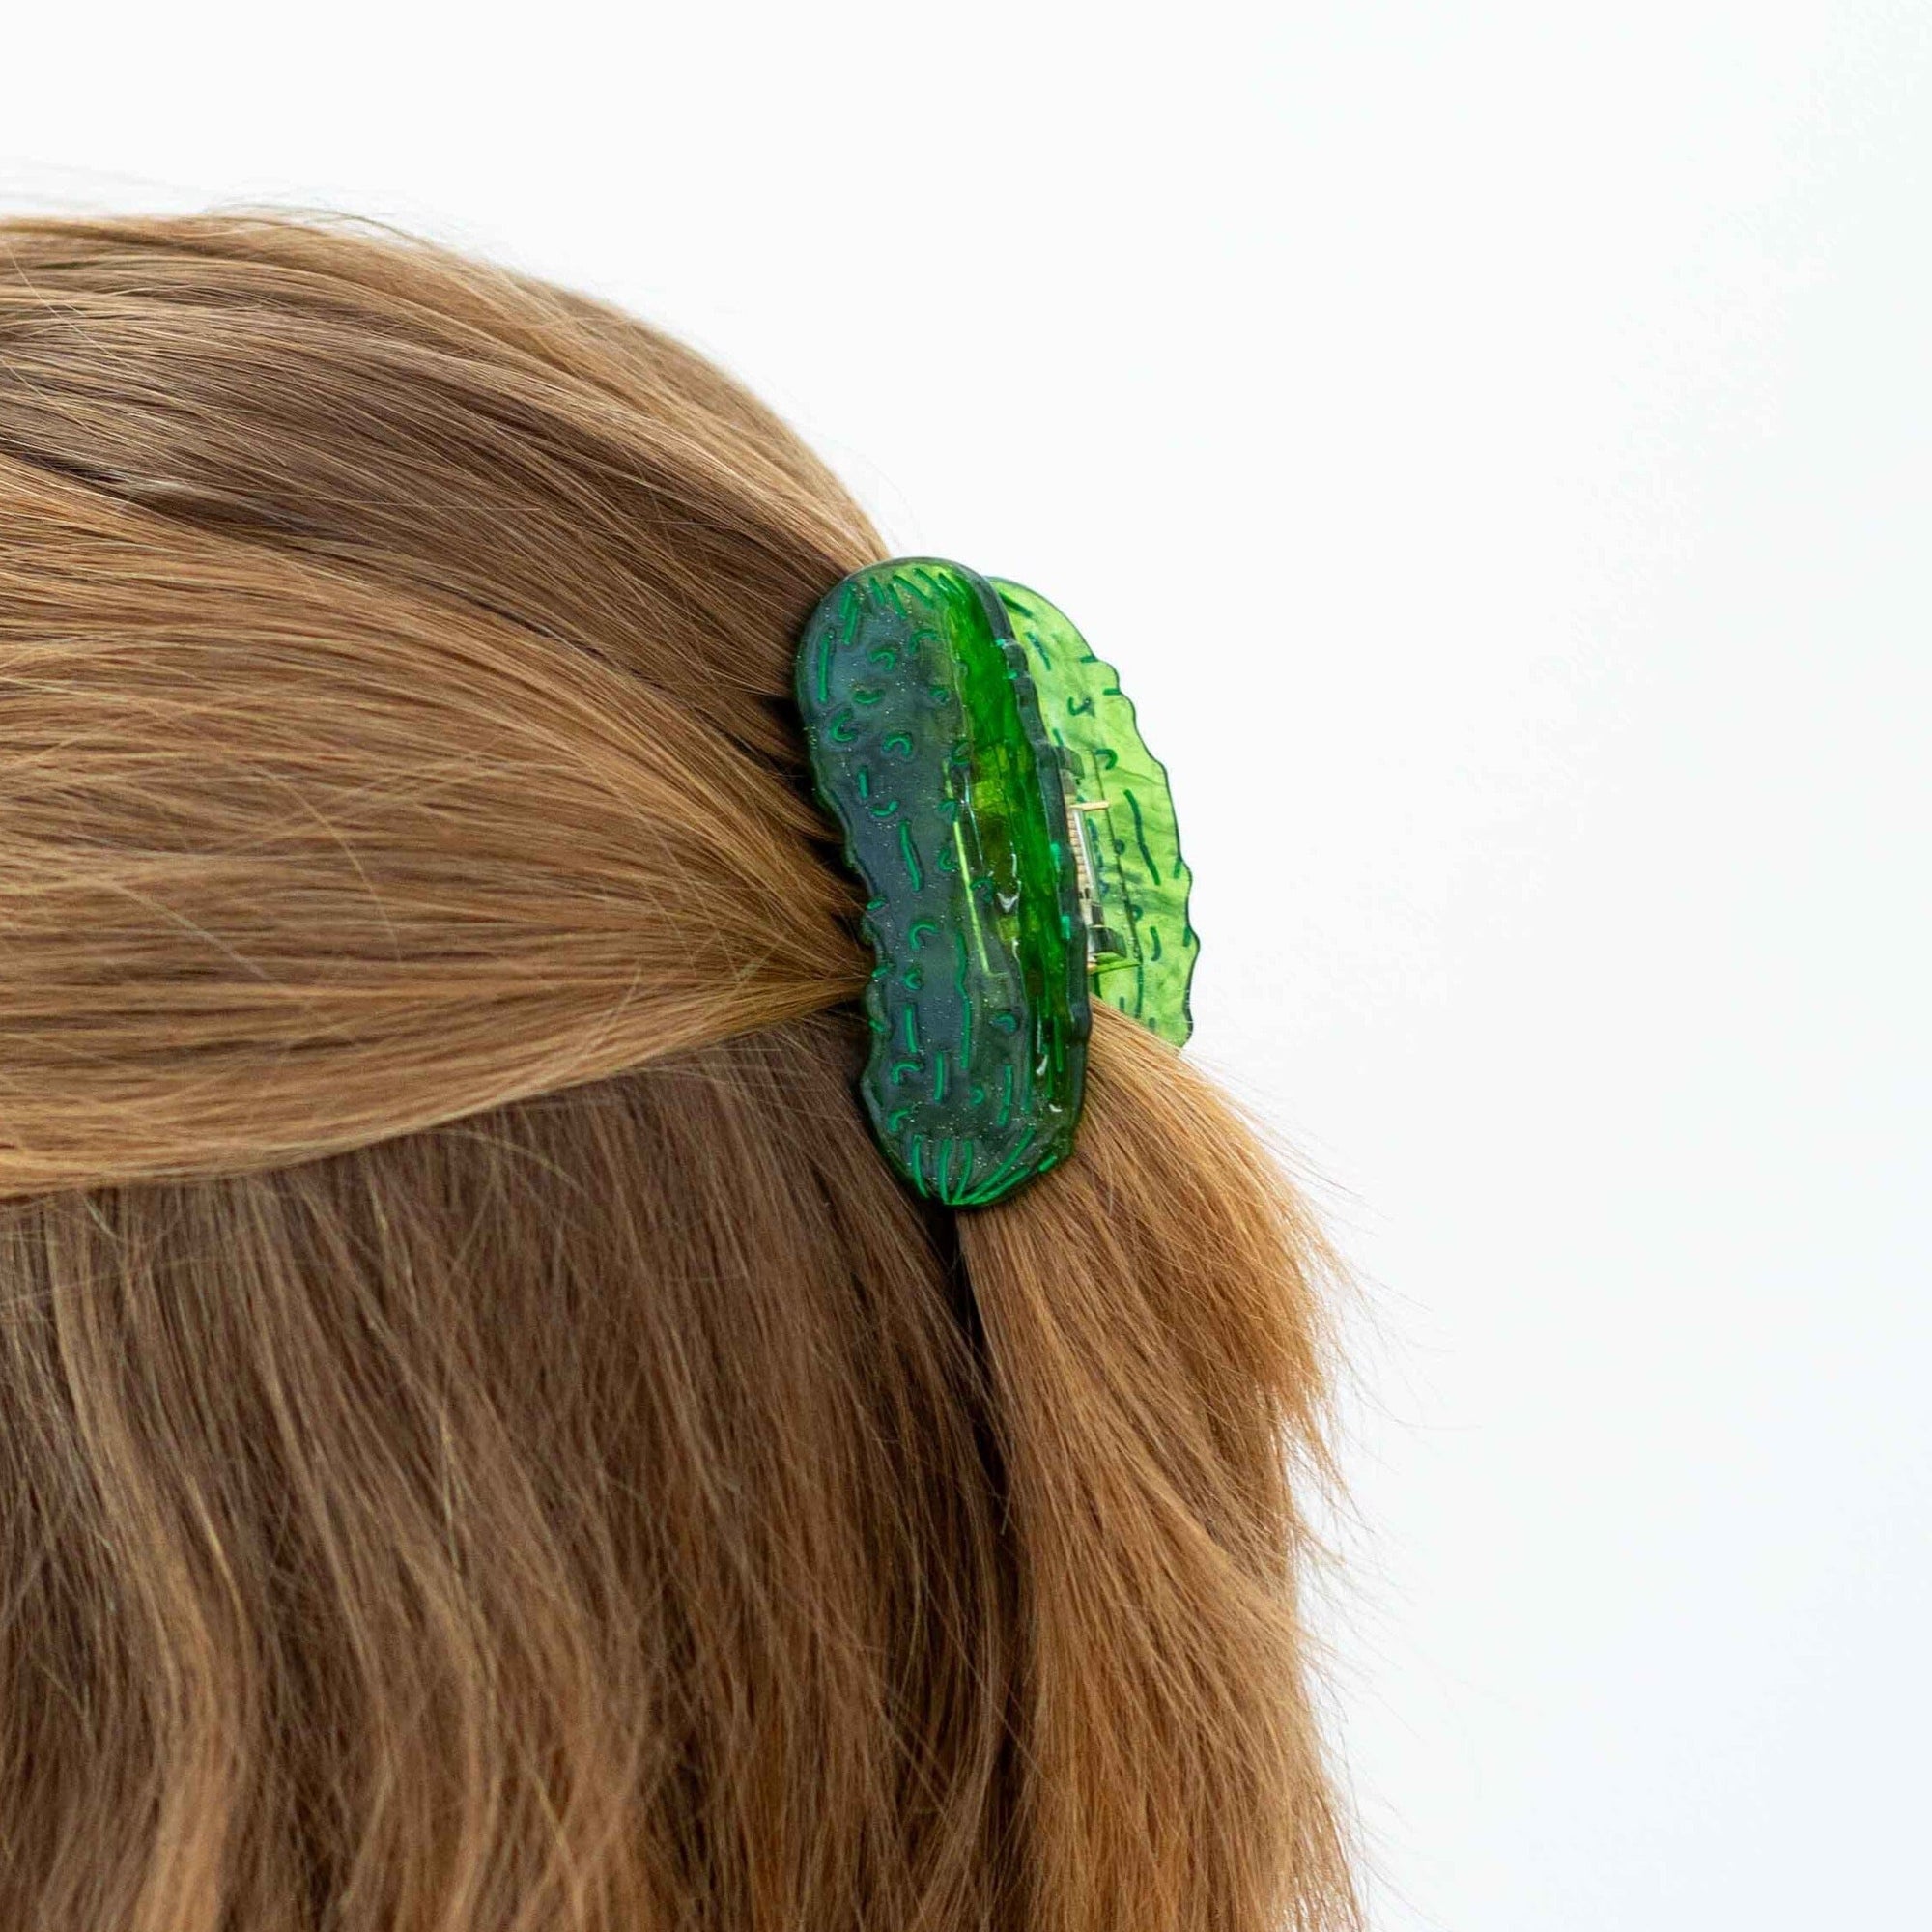
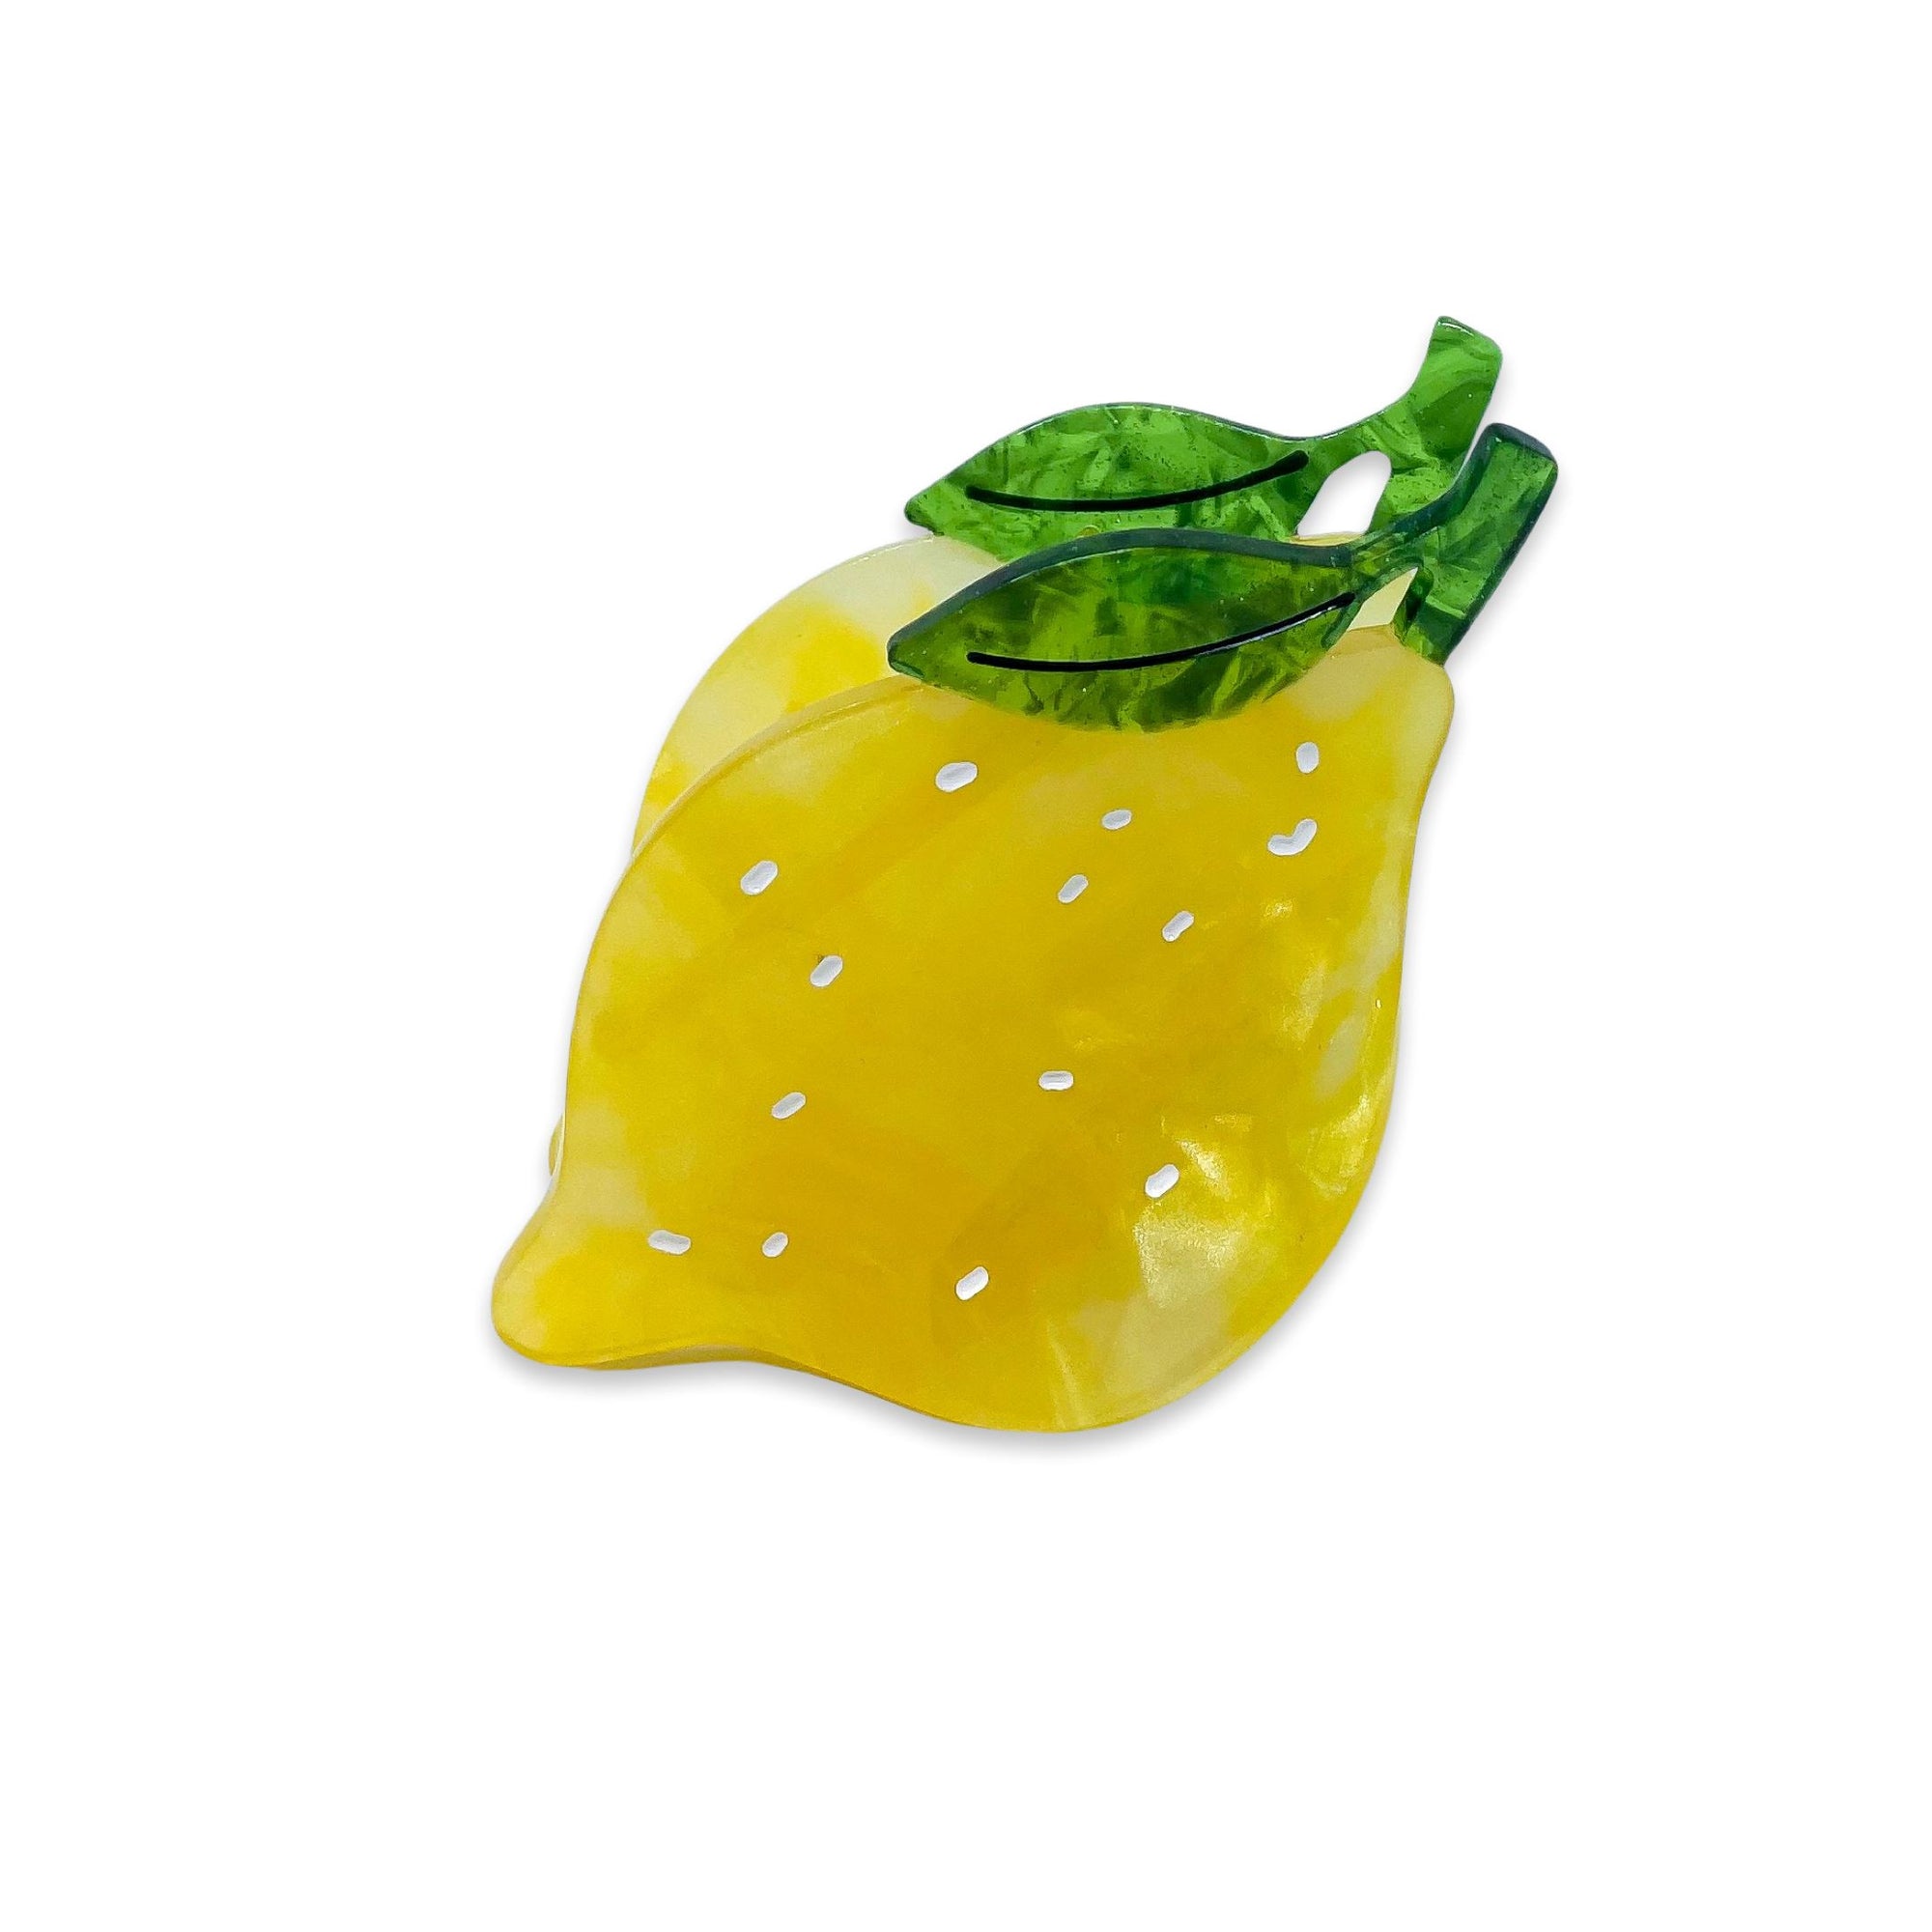
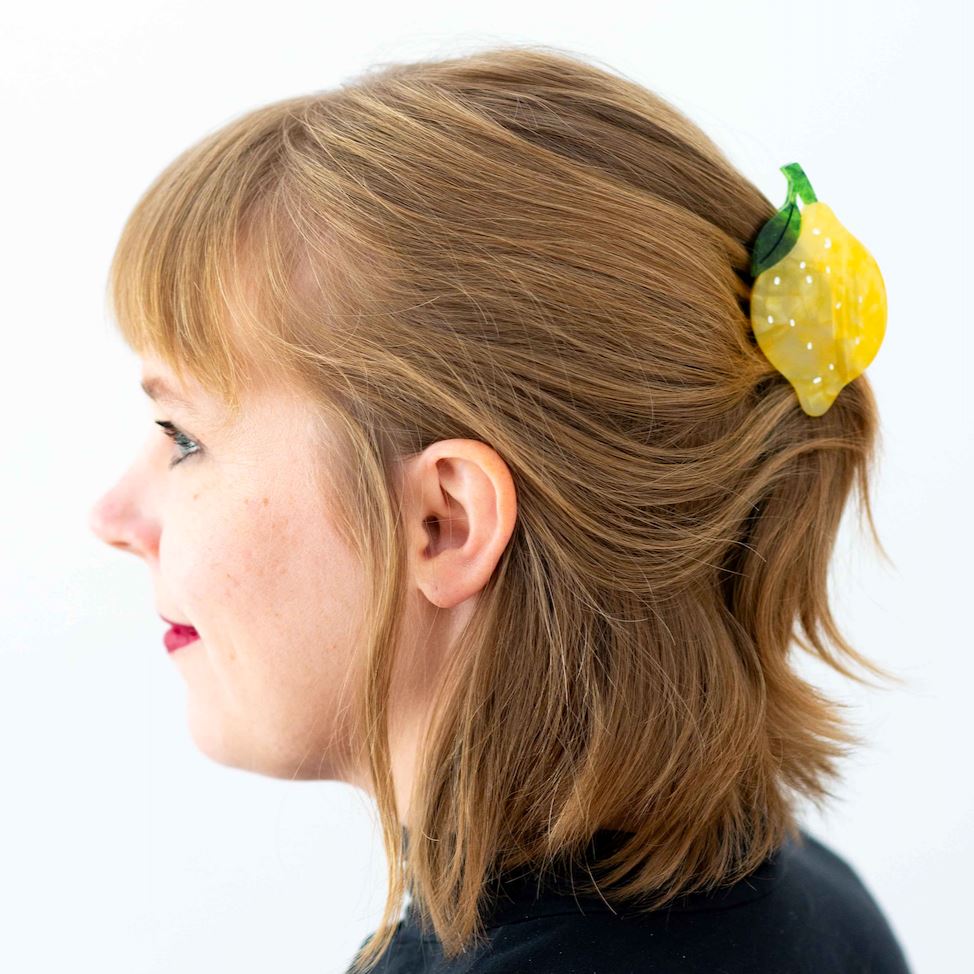
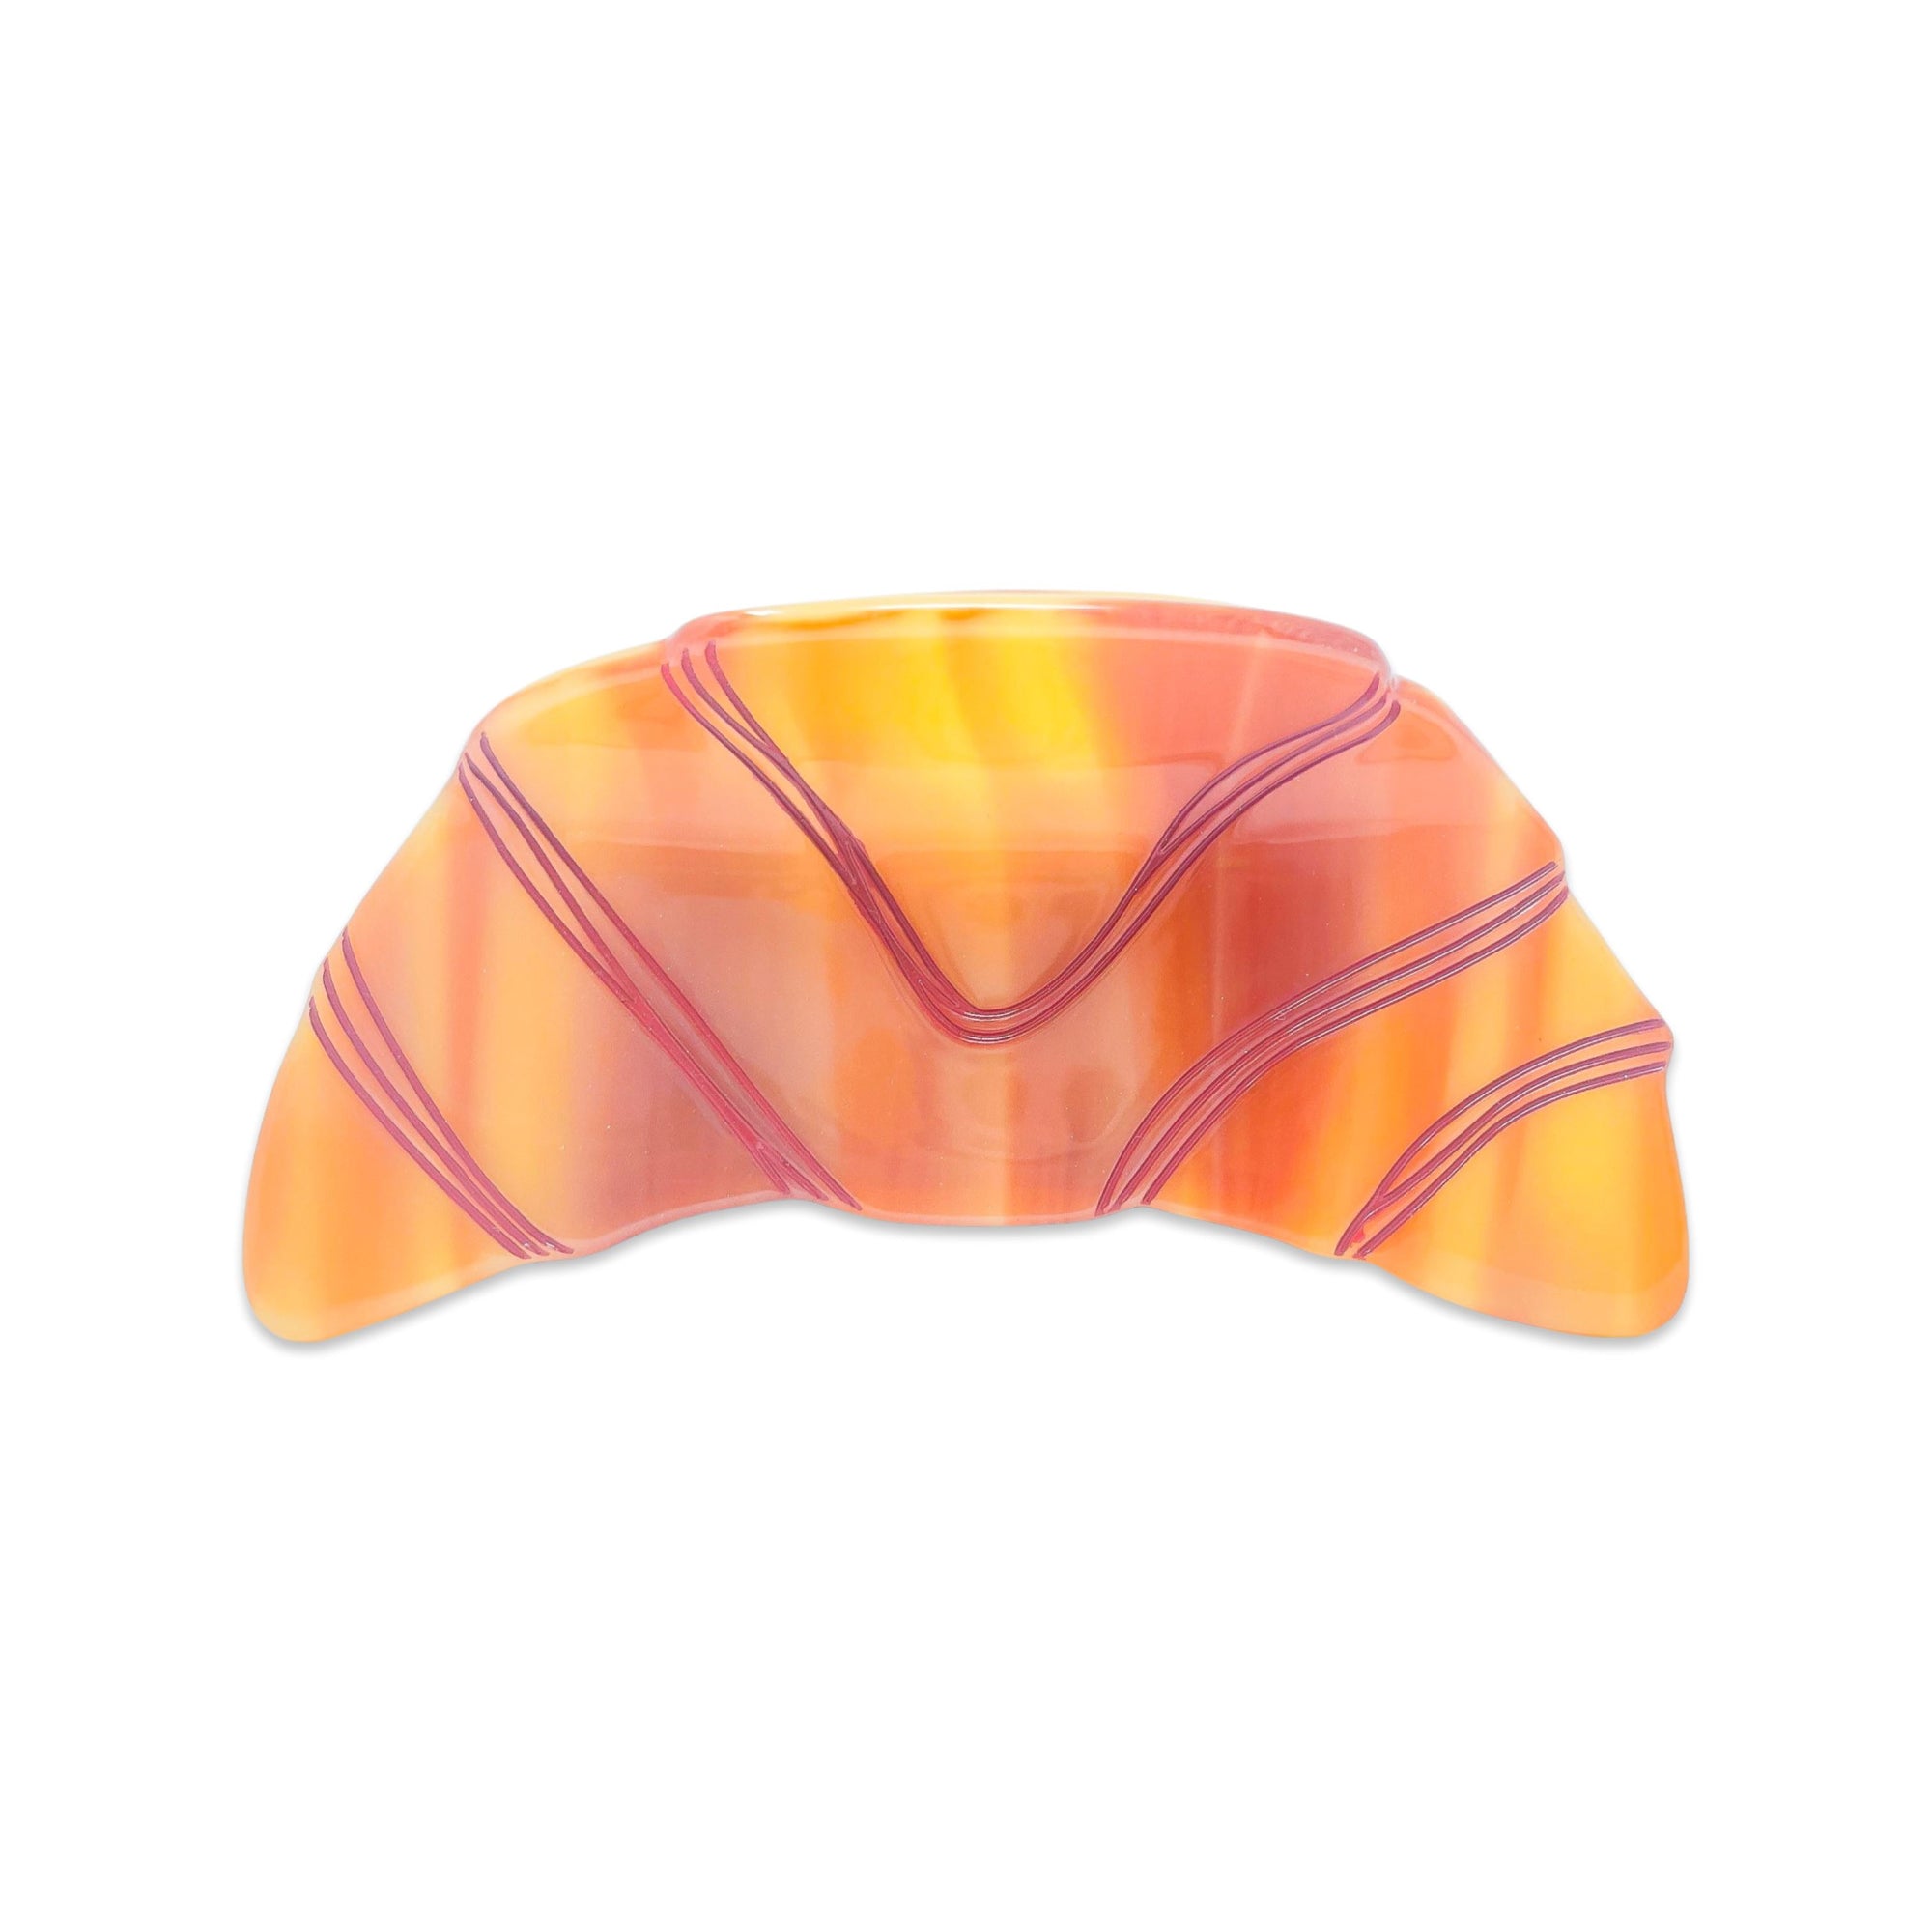
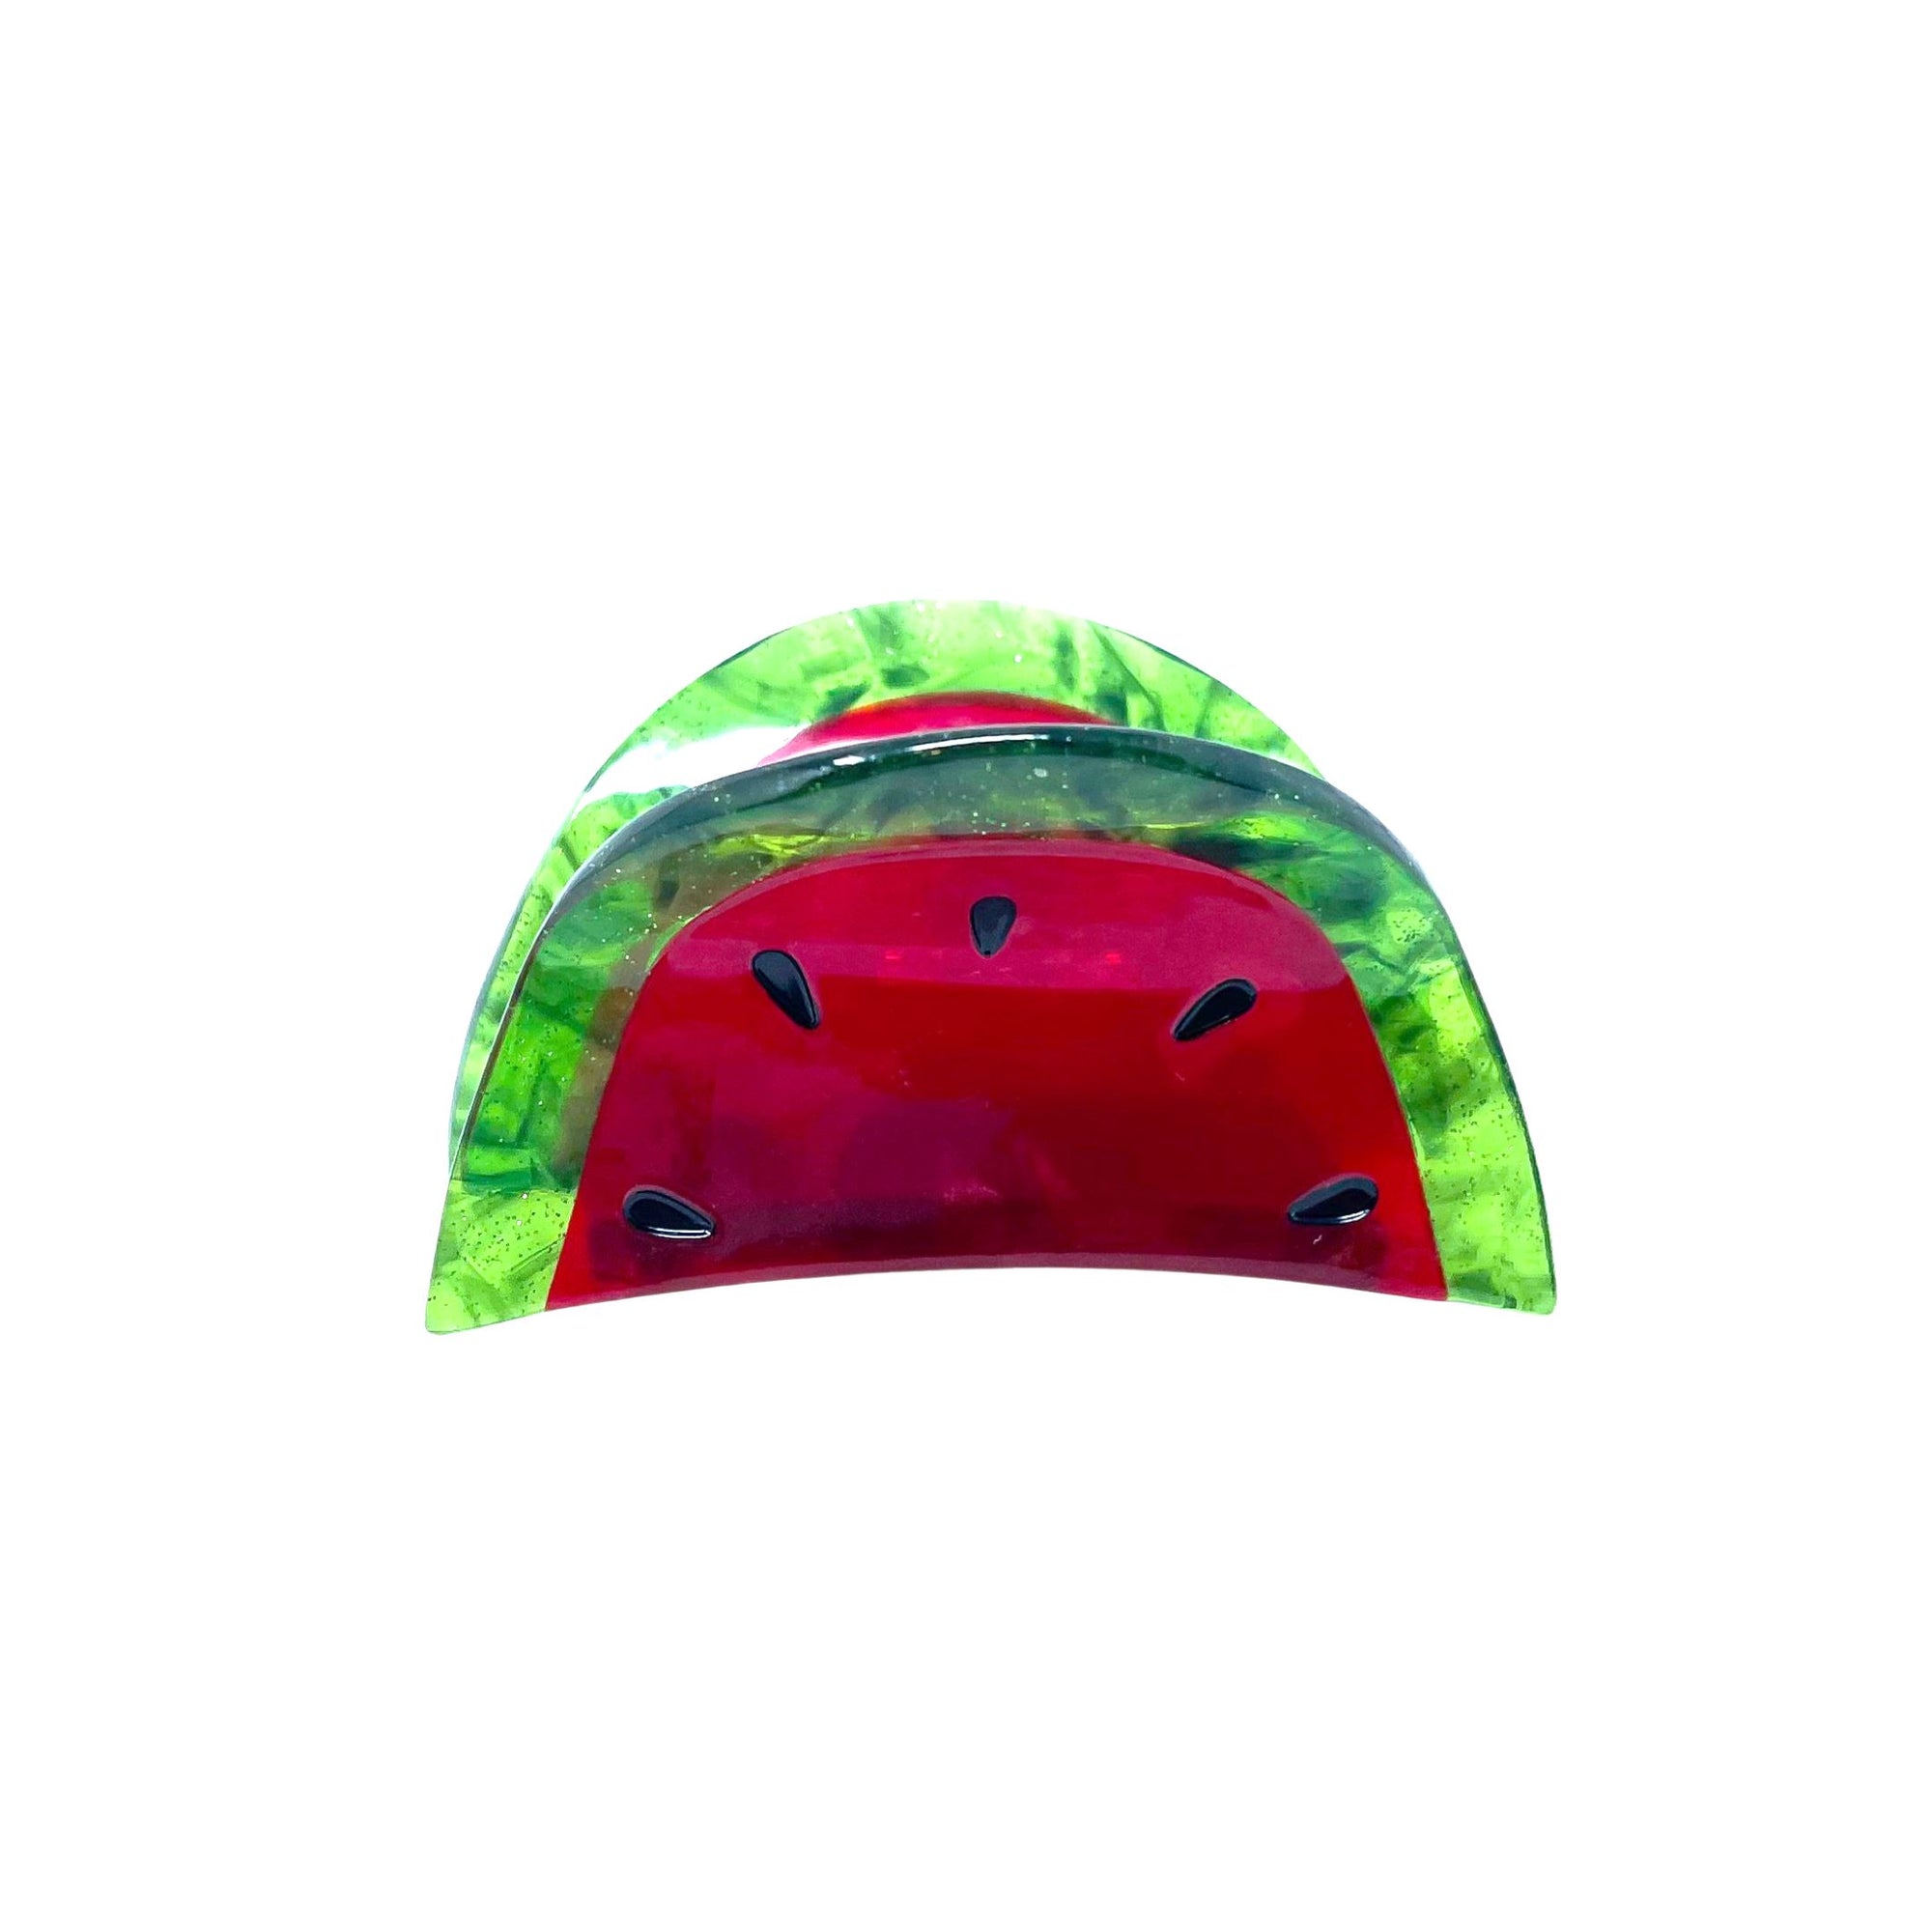
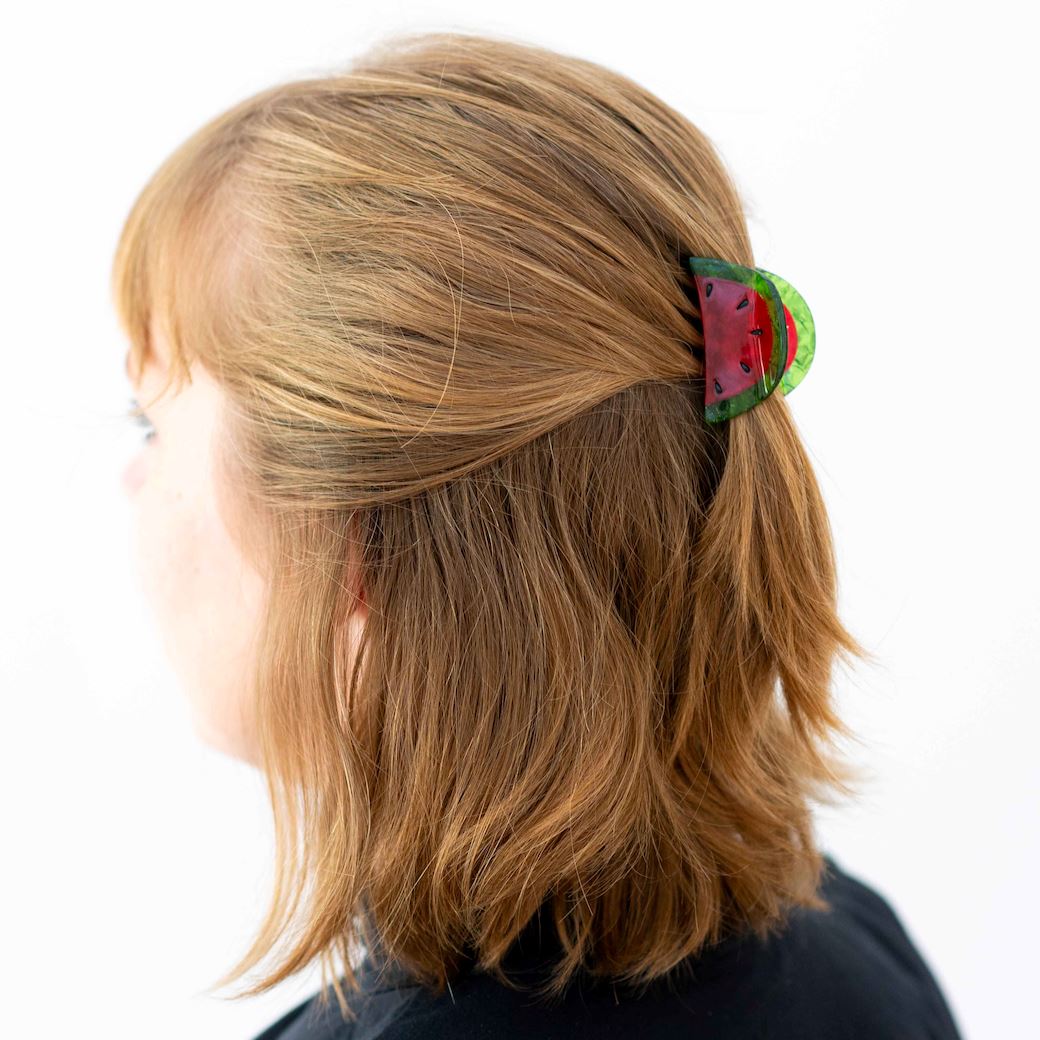
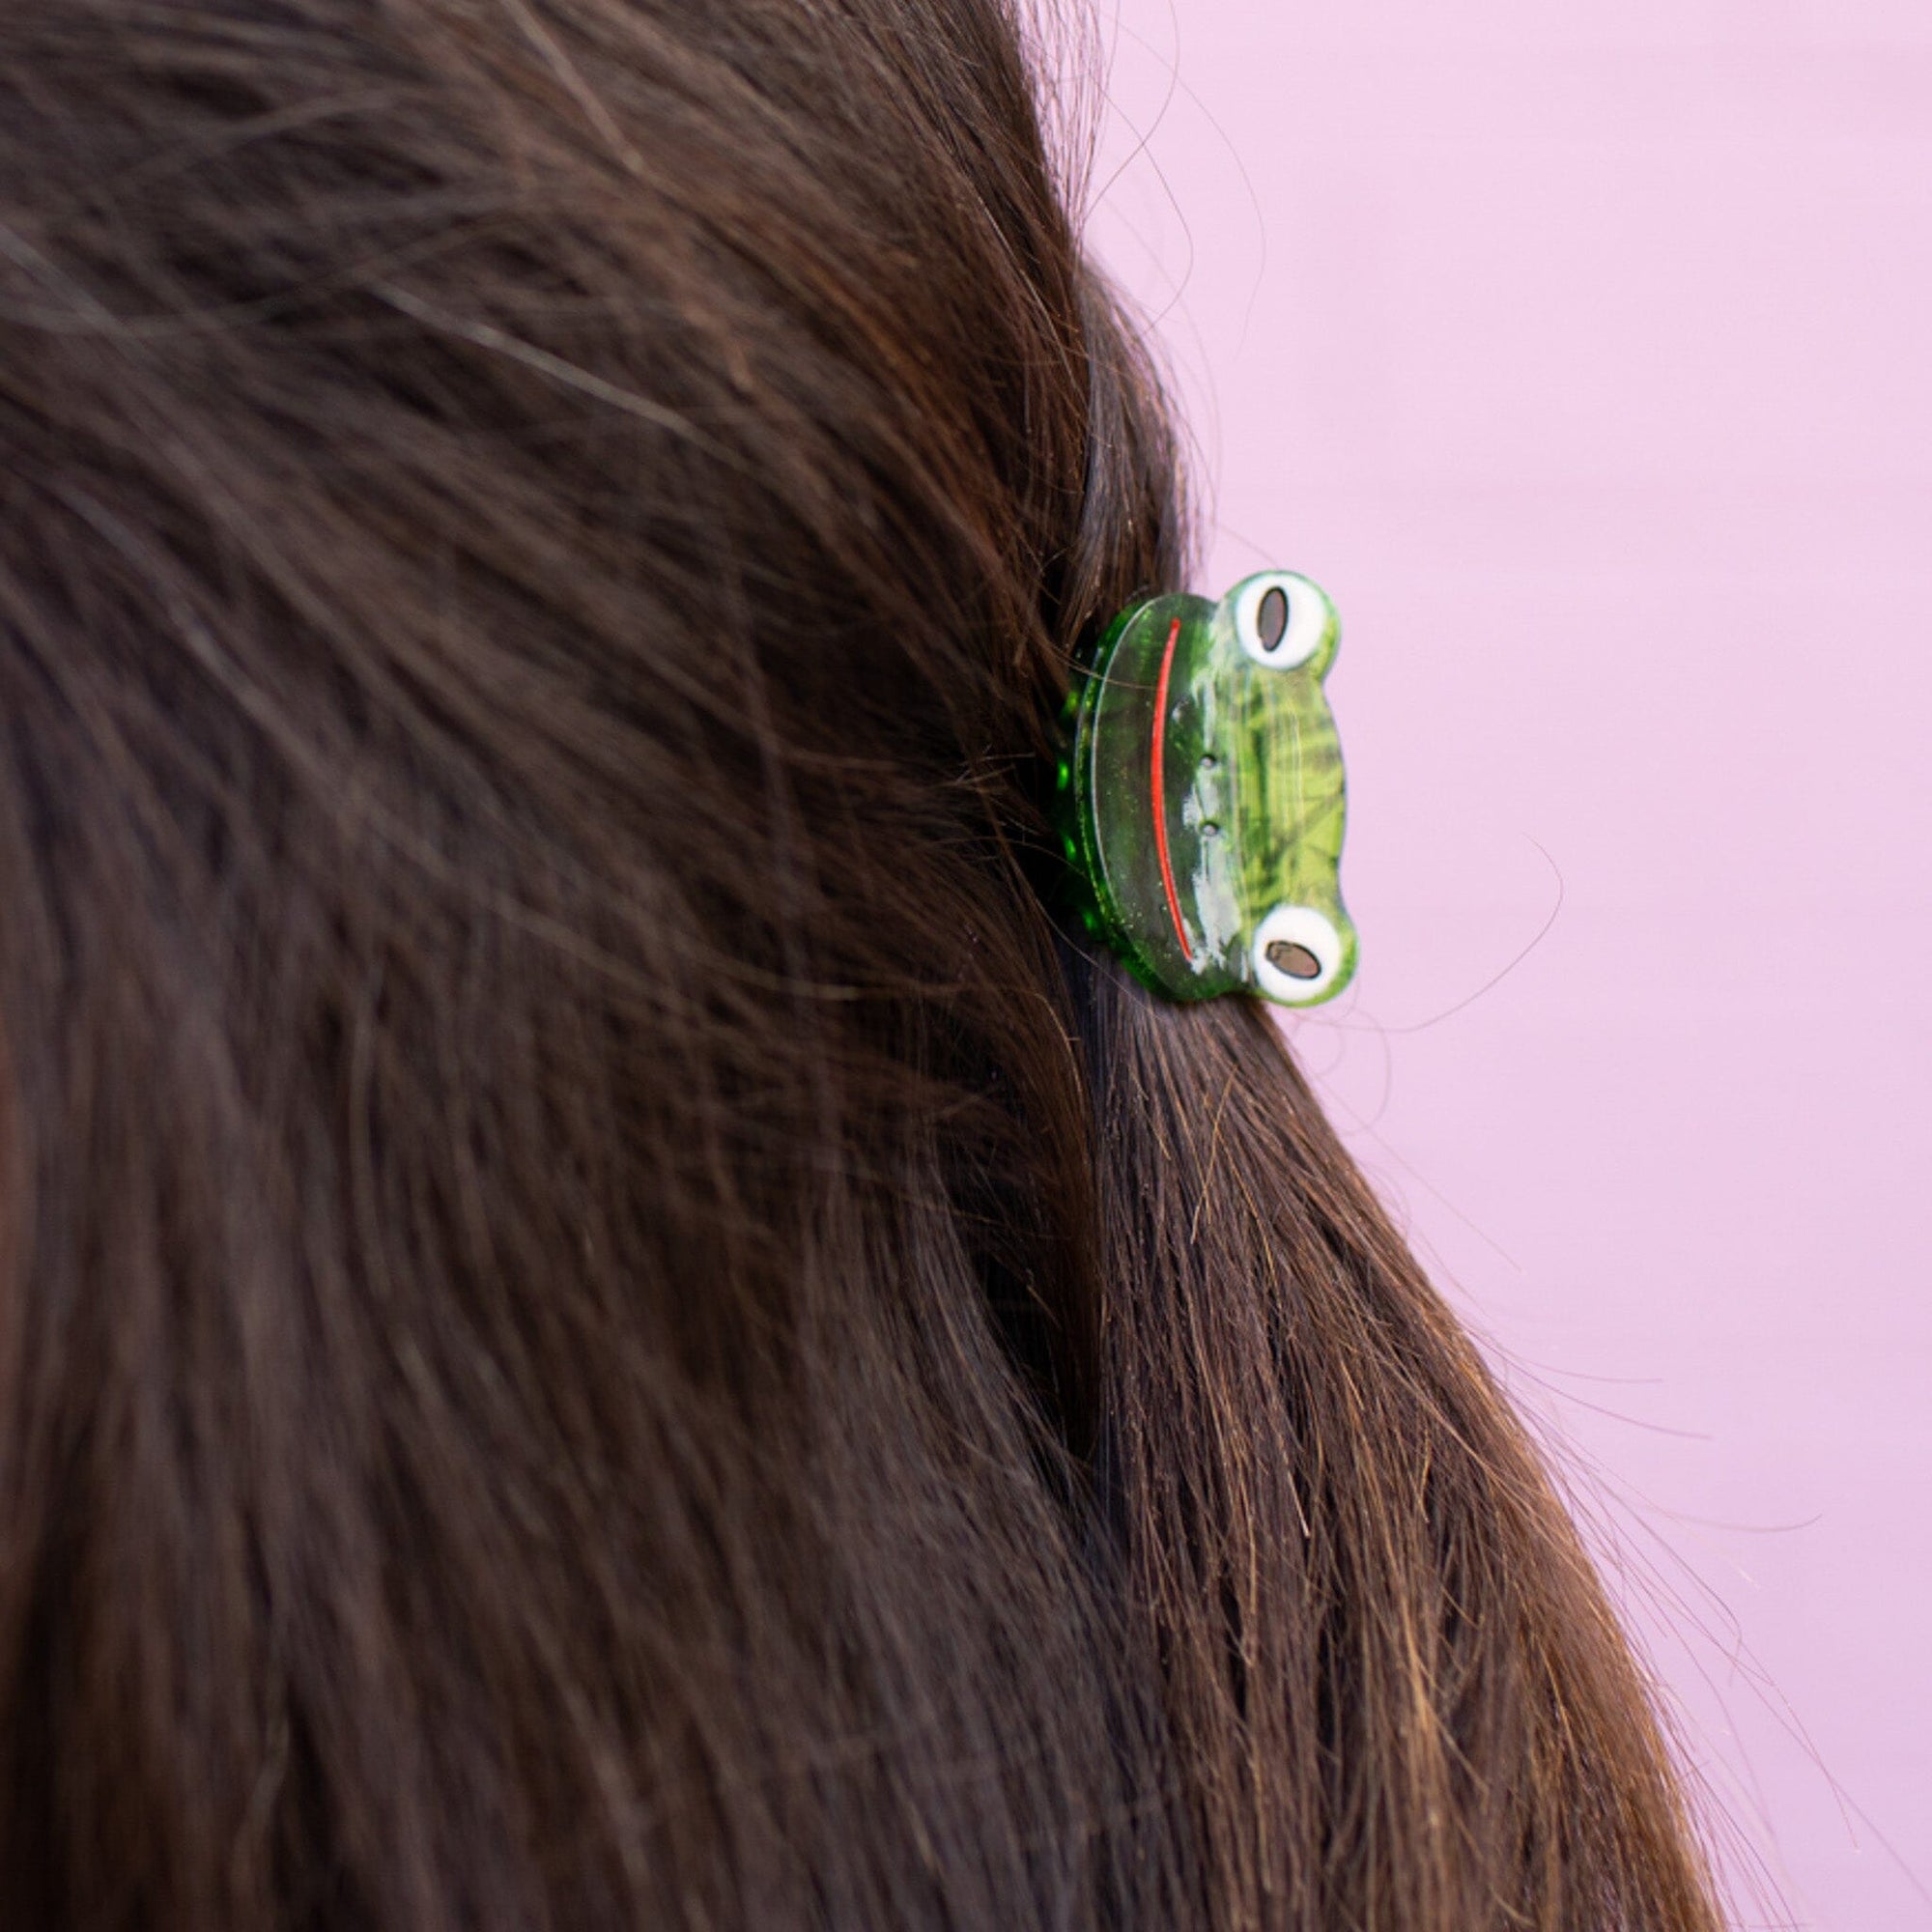
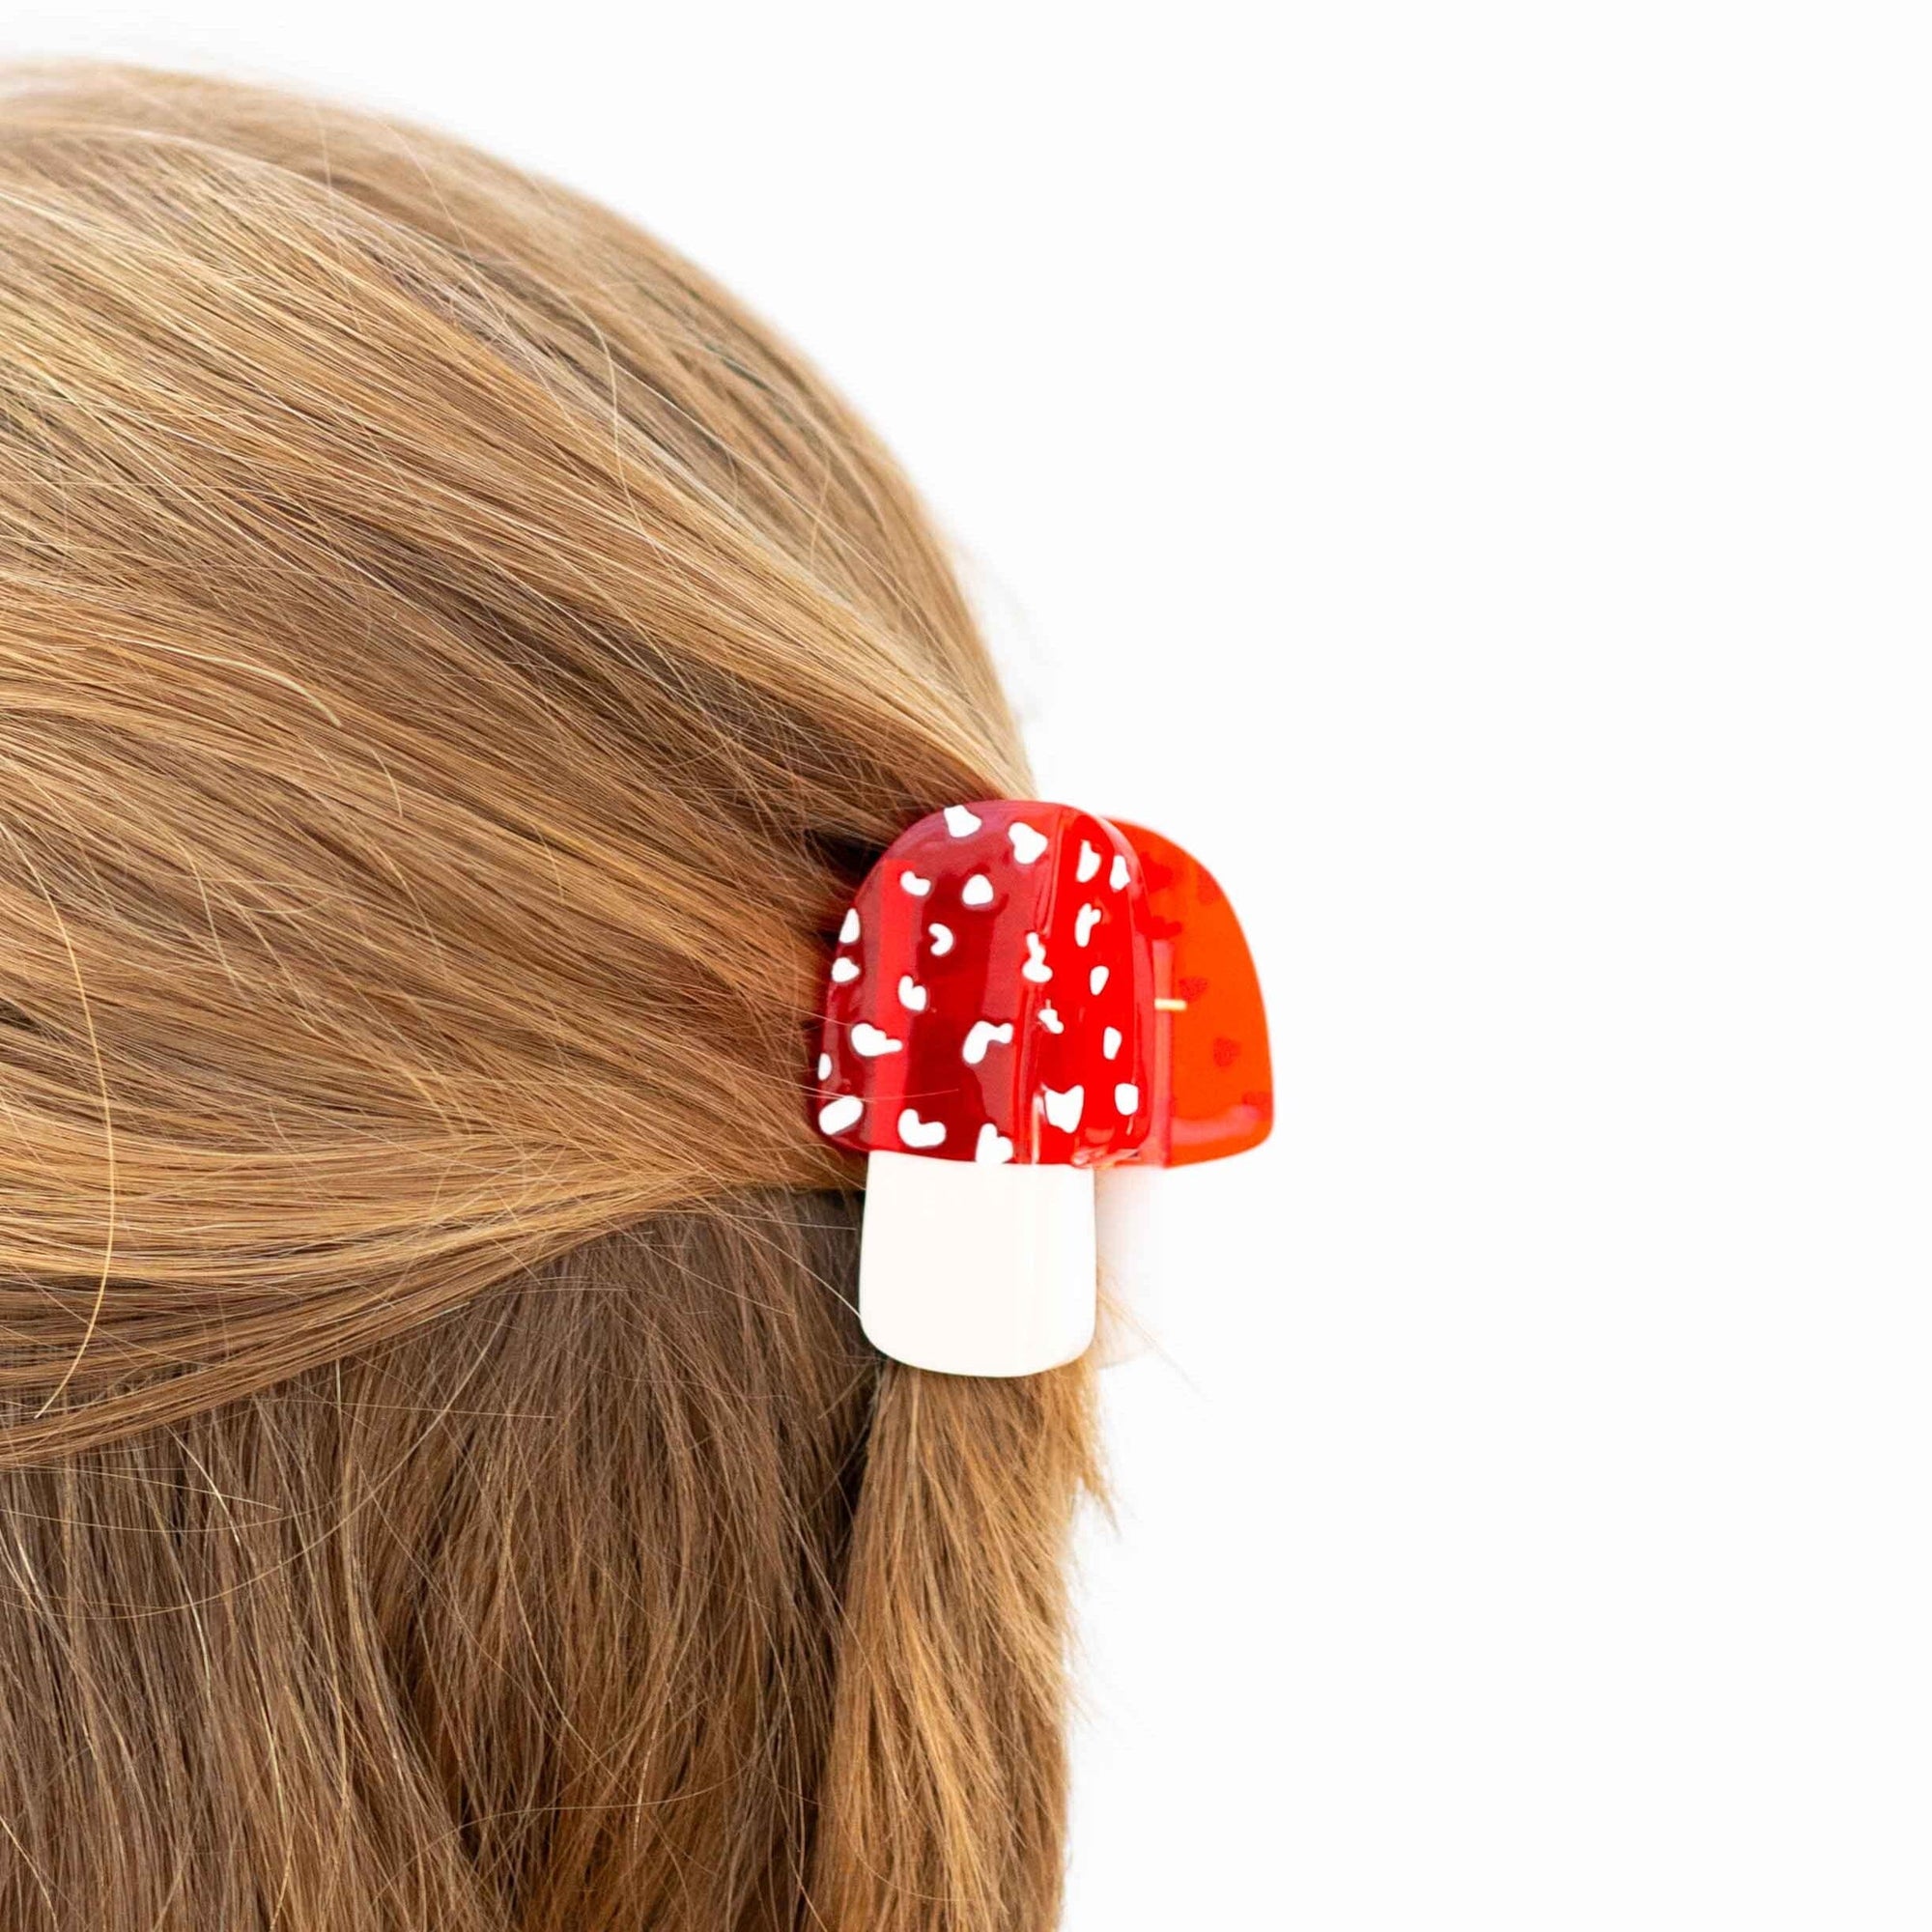
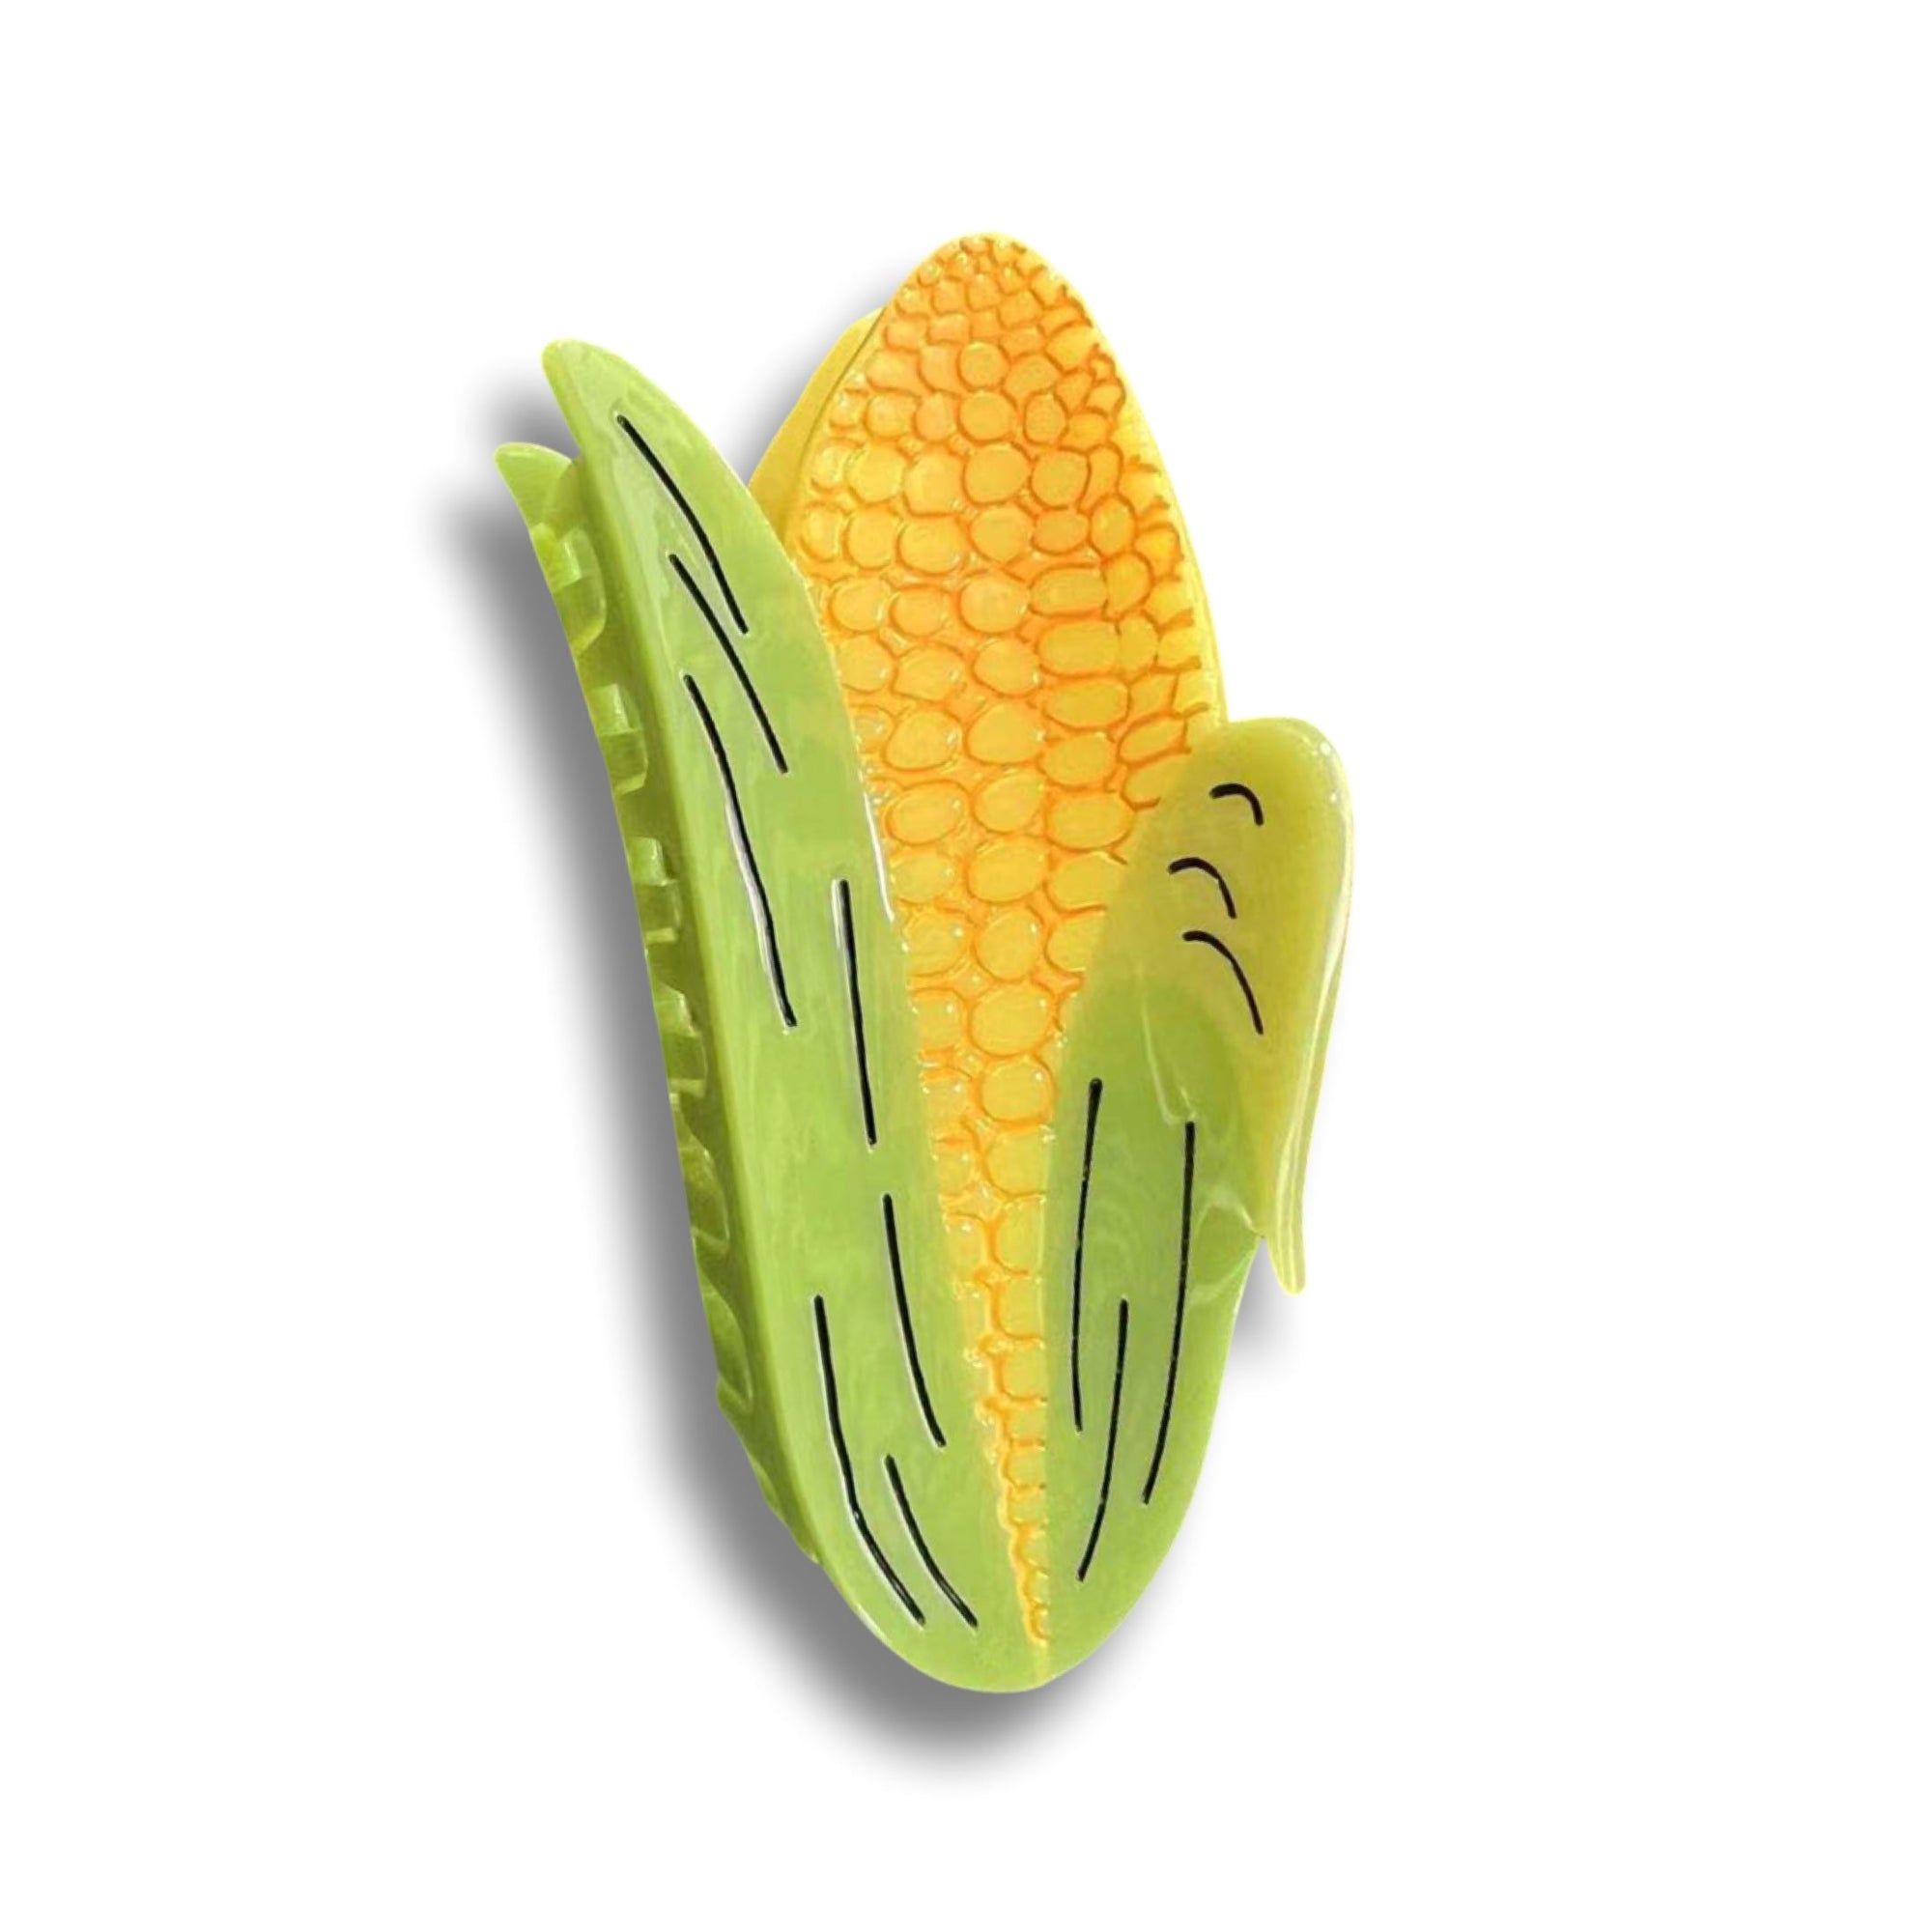
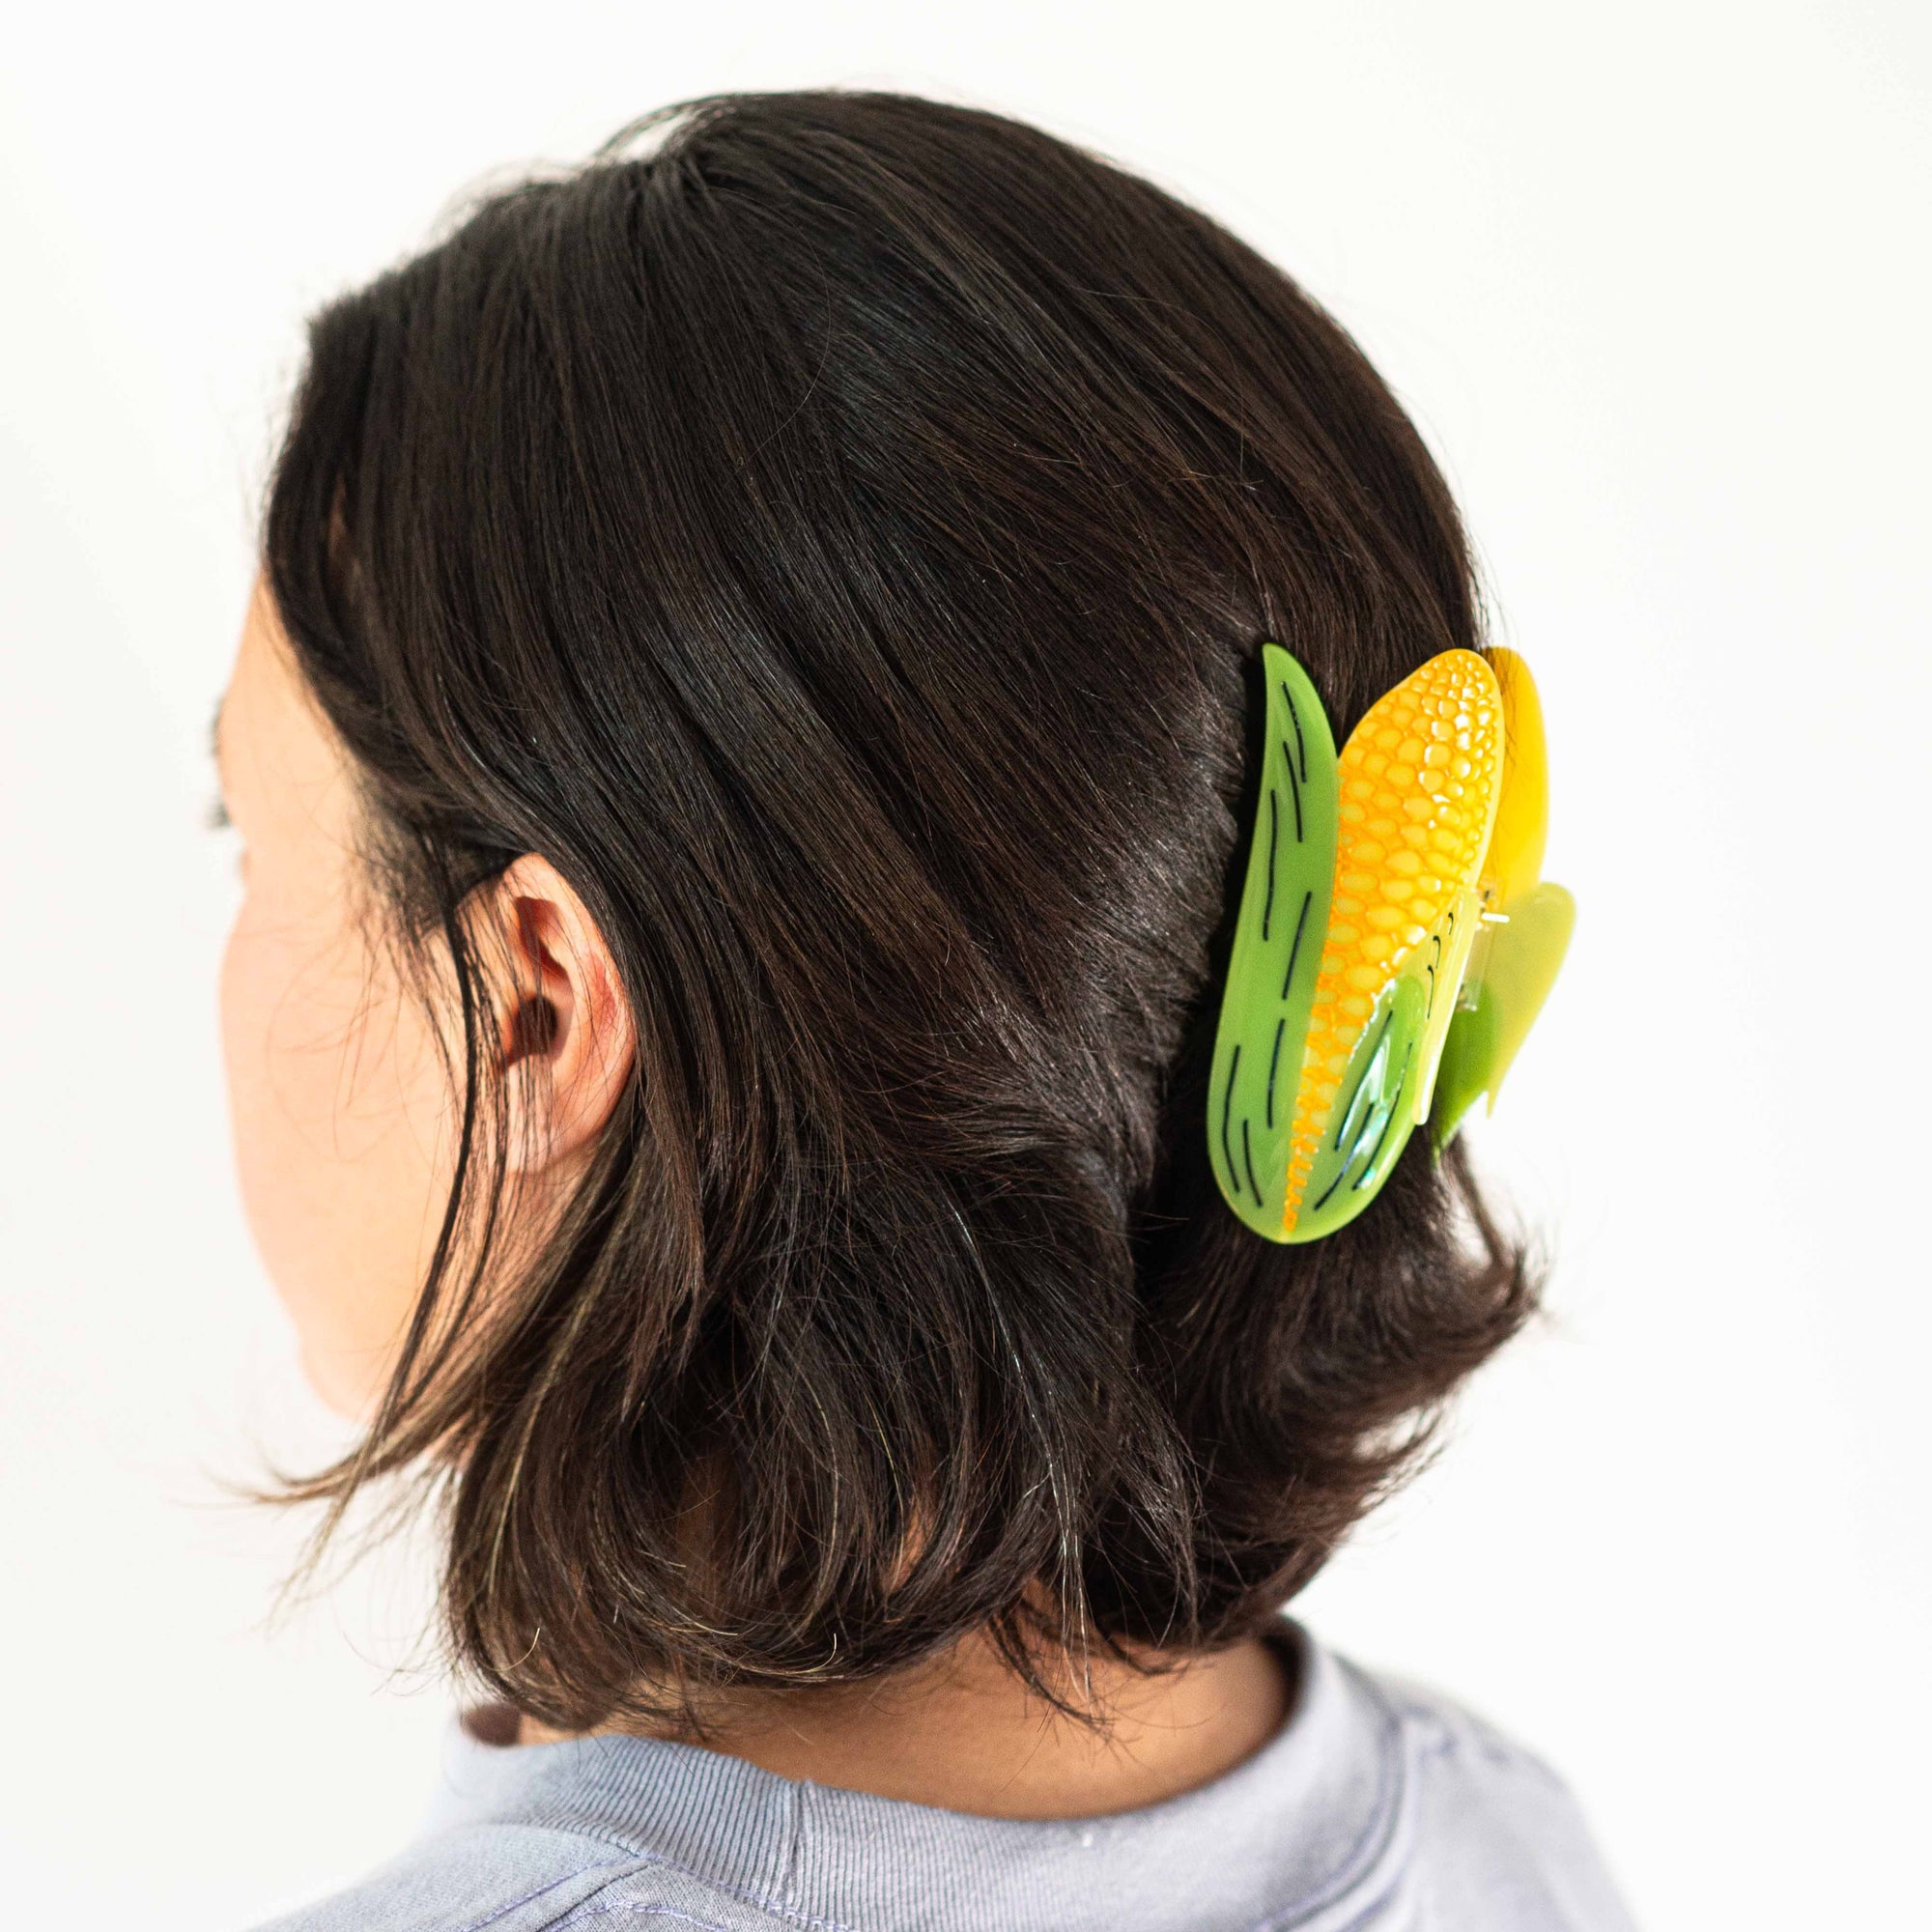
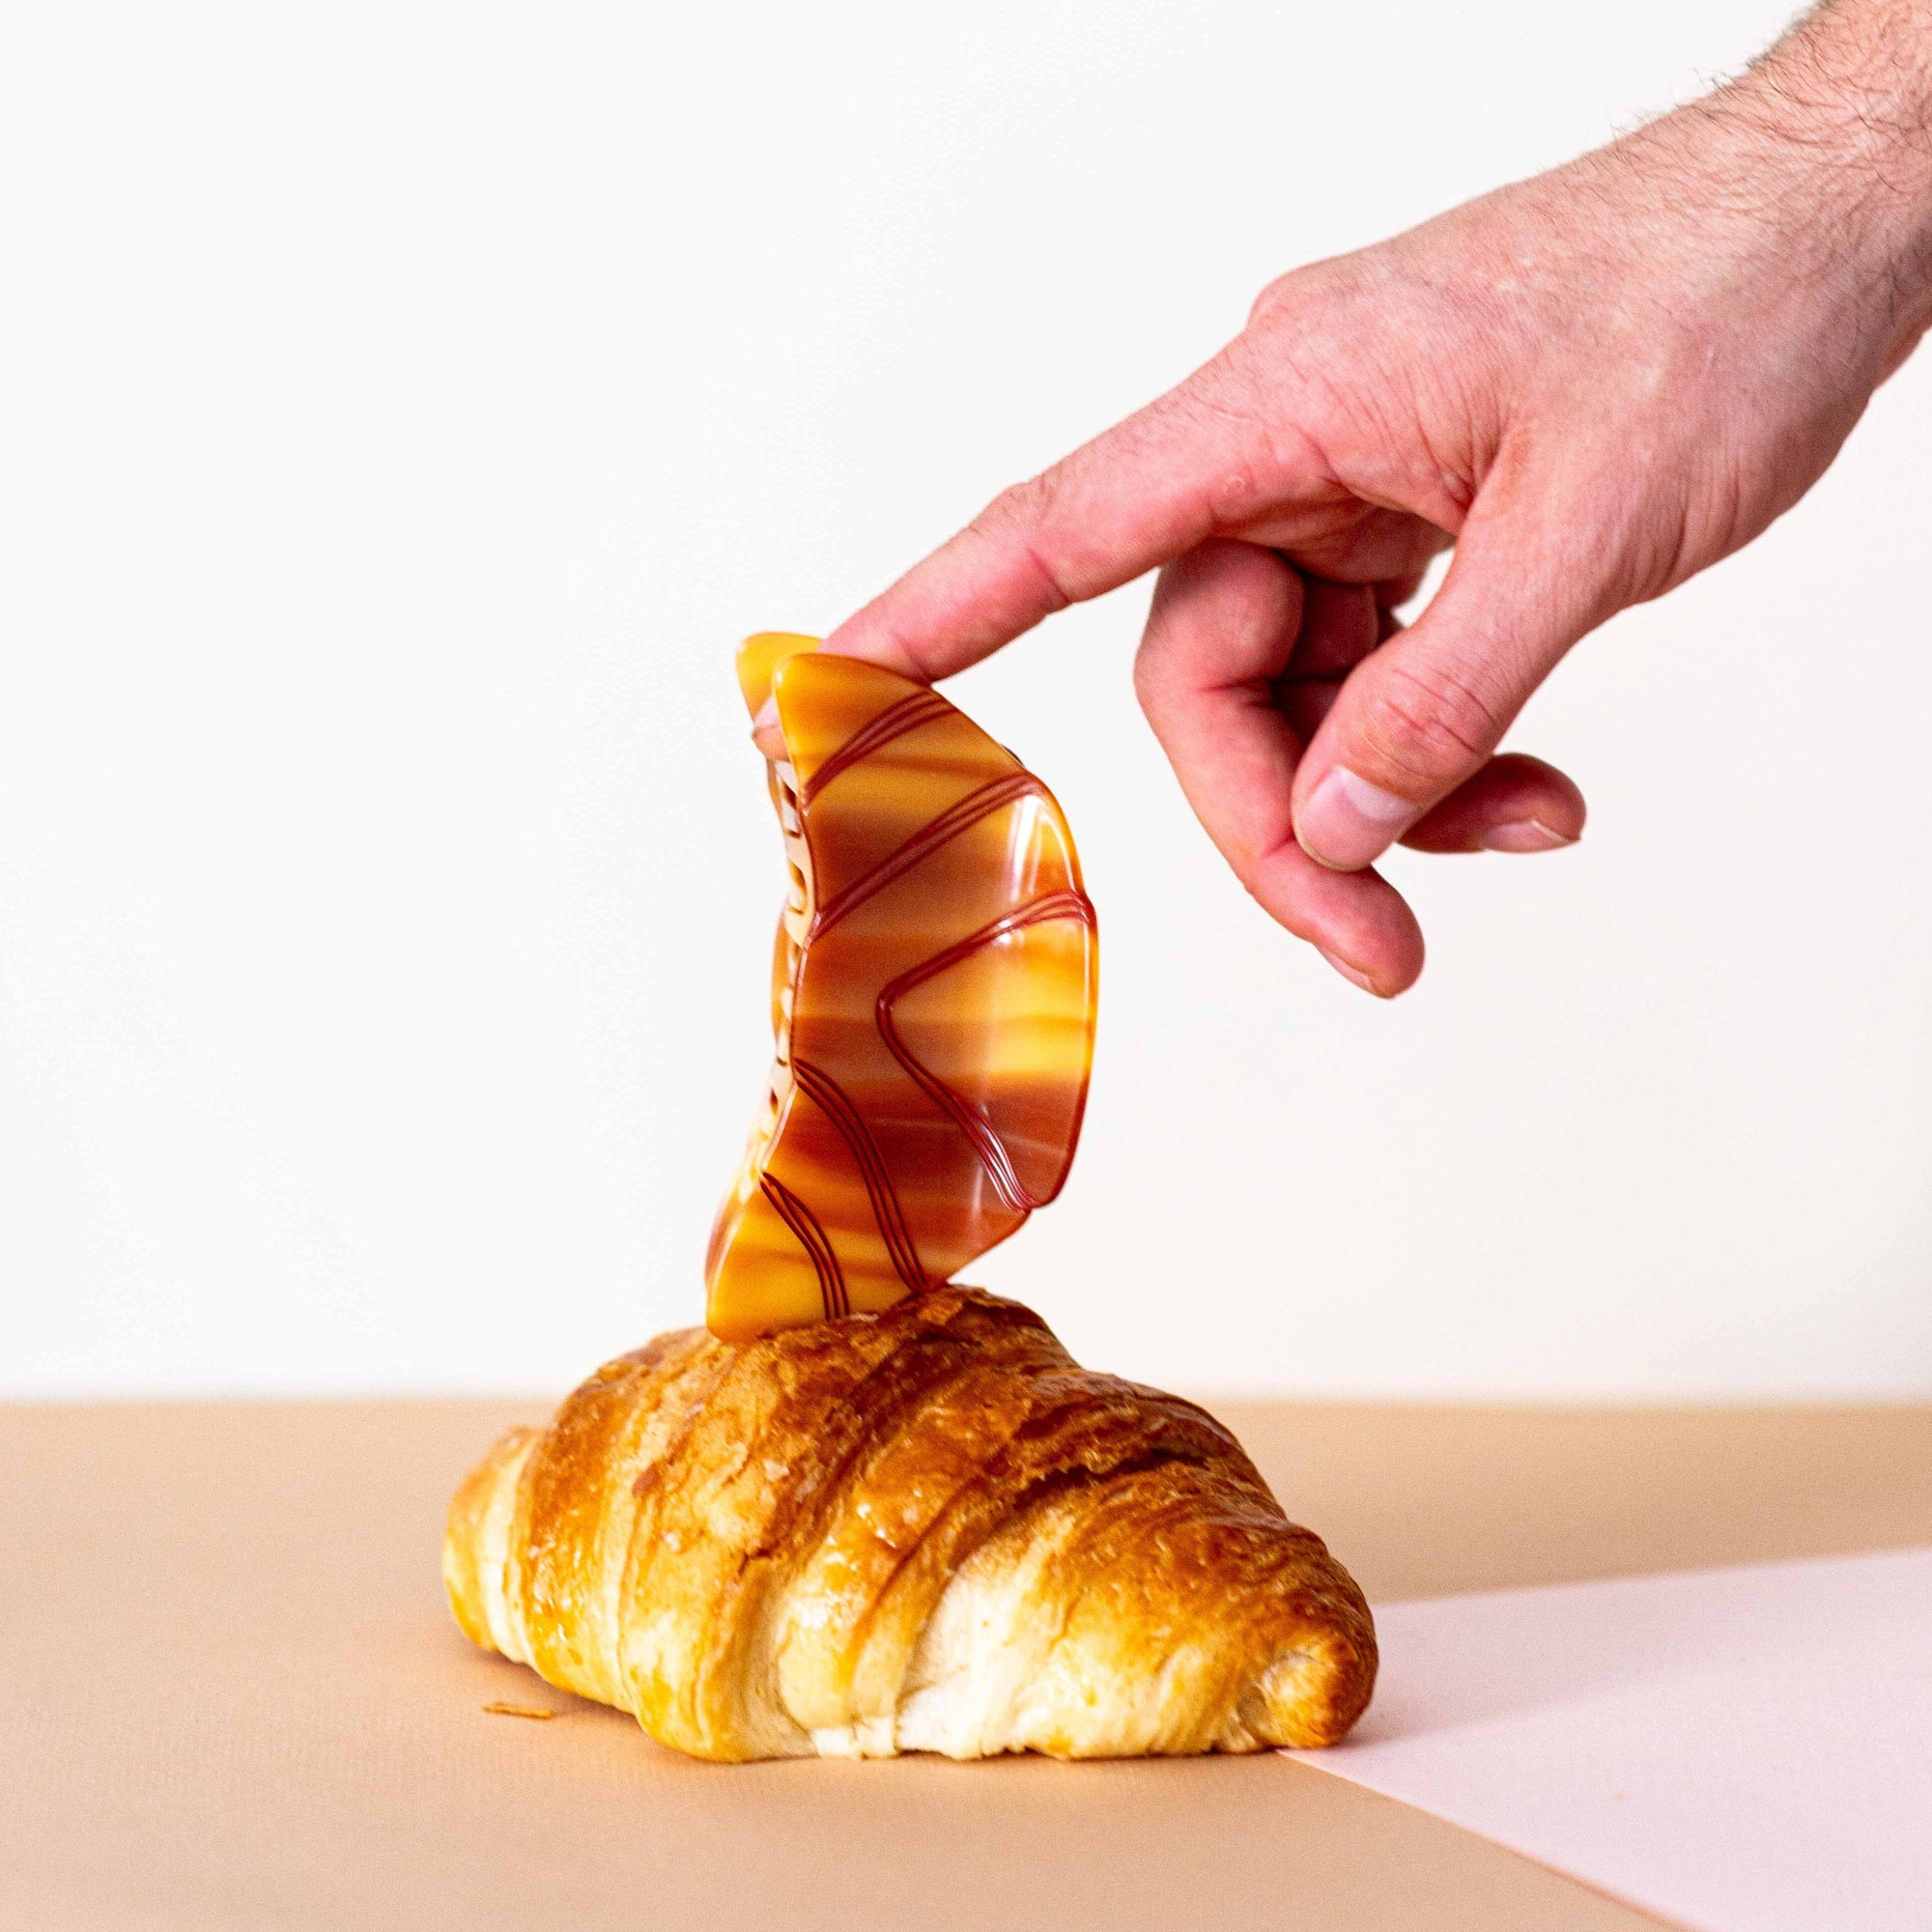
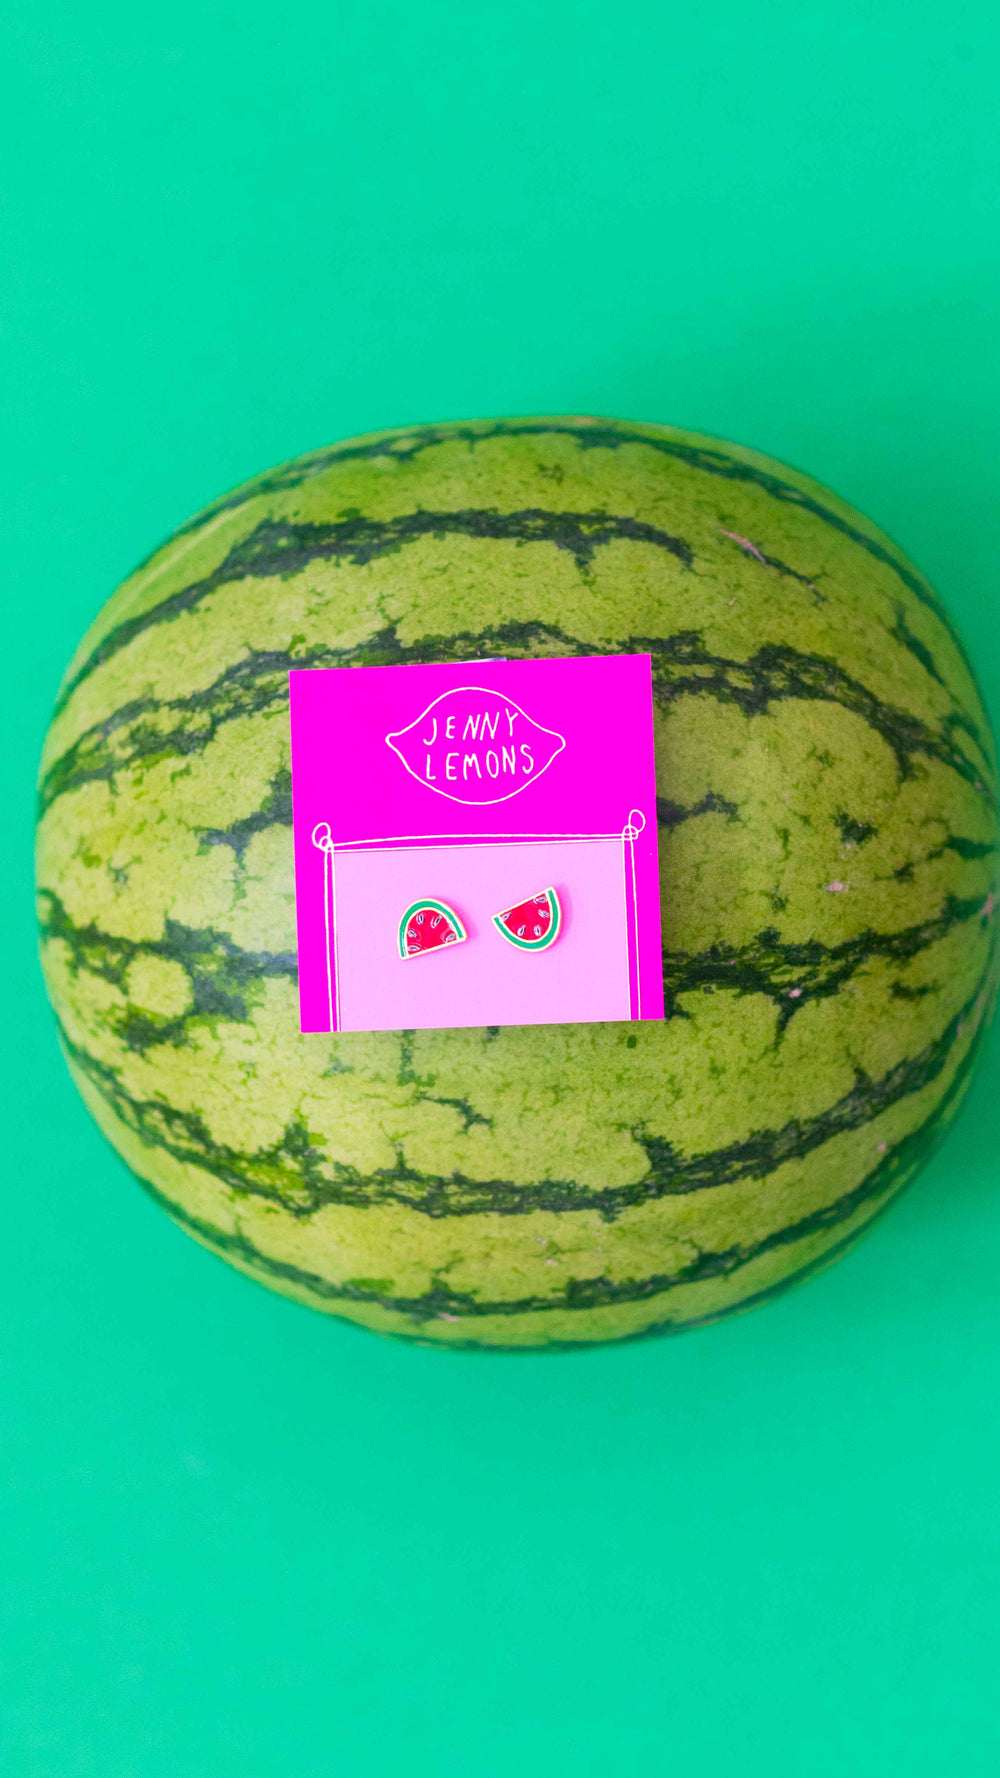
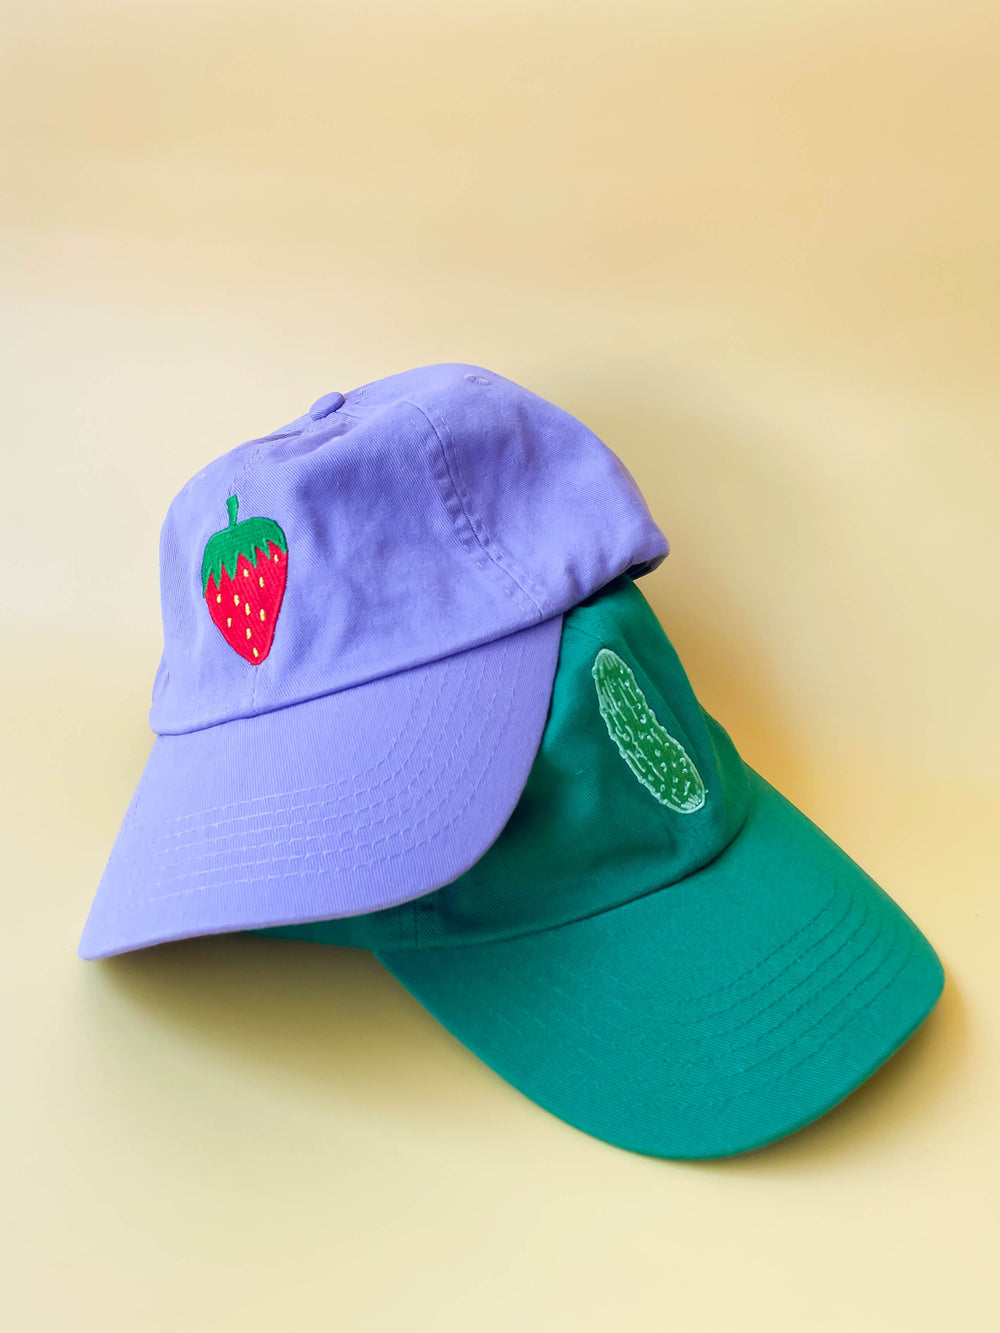
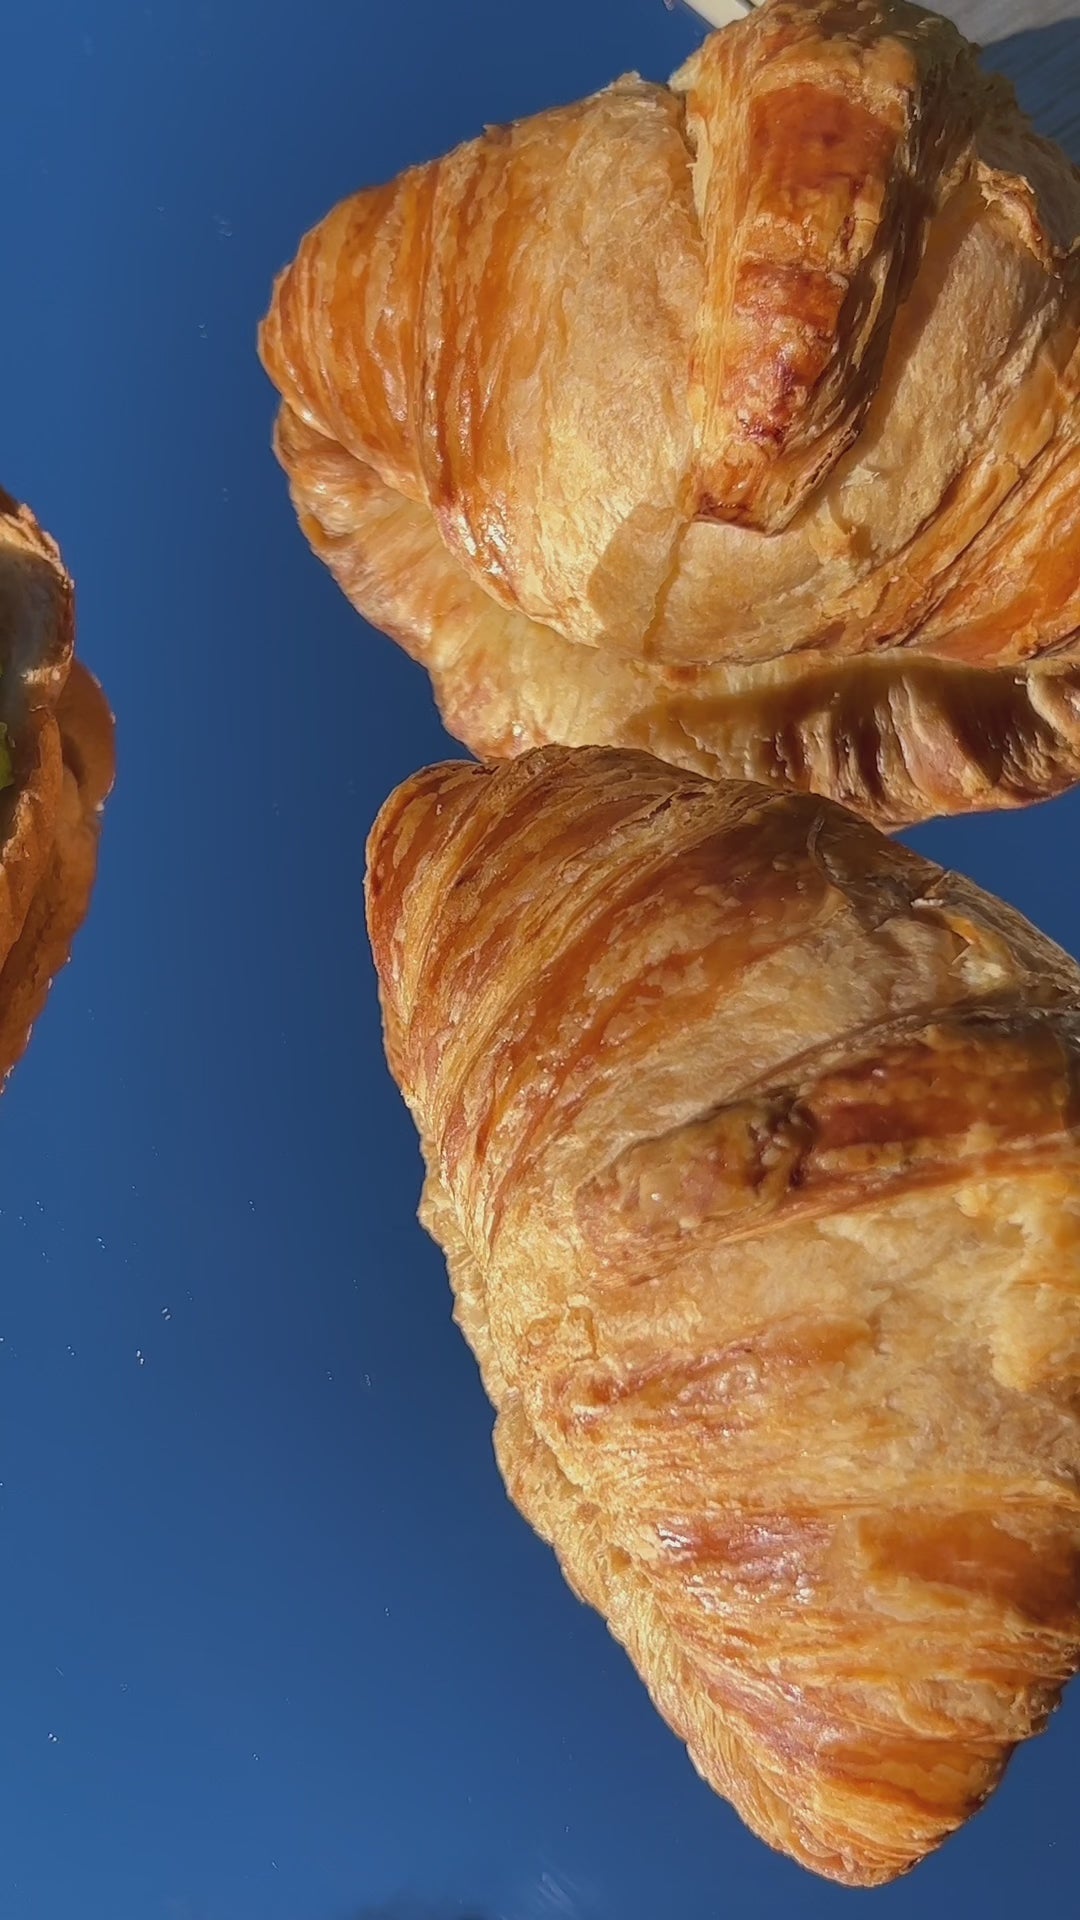
WEARABLE SNACKS ANYONE?
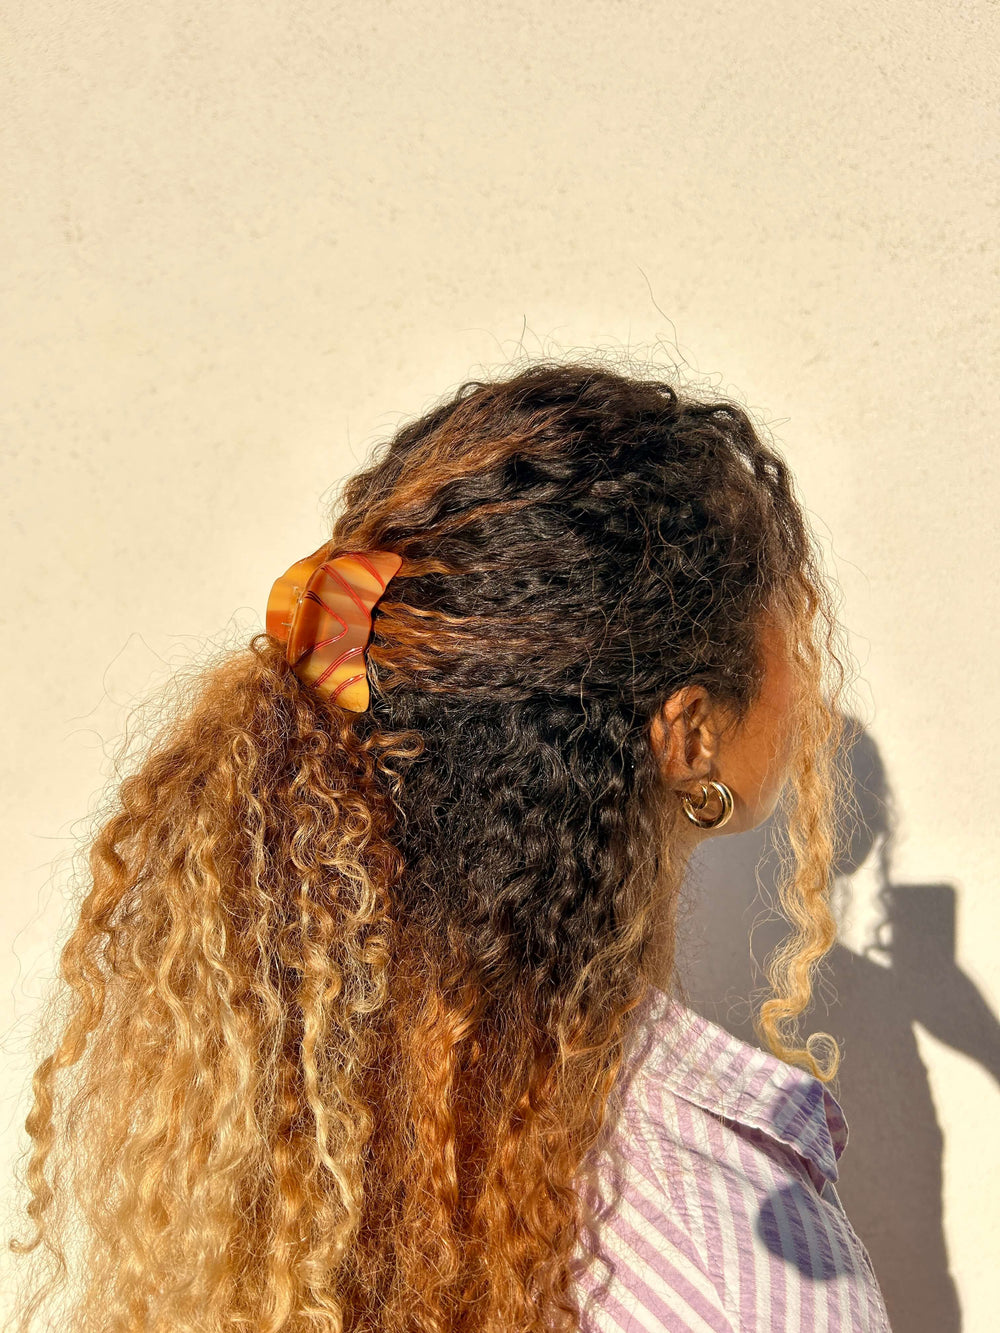
Add 3 hair accessories of any style and get 15% off! ( Discount applied in cart)


All the good stuff
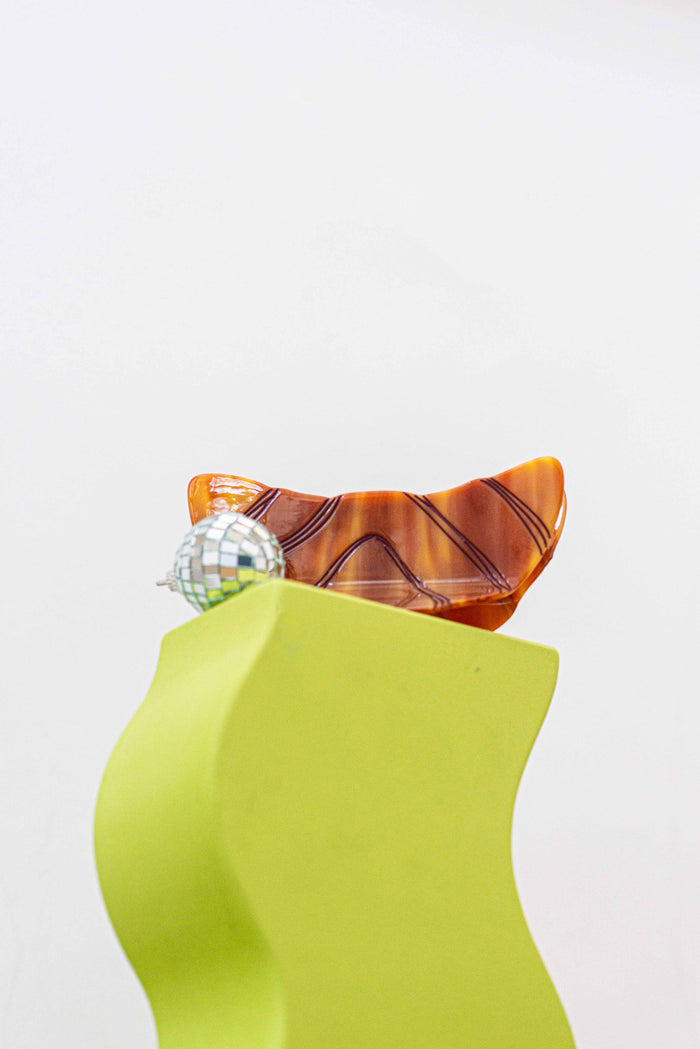
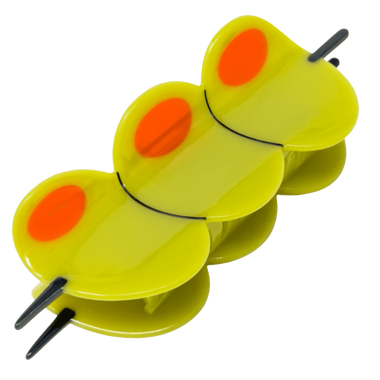
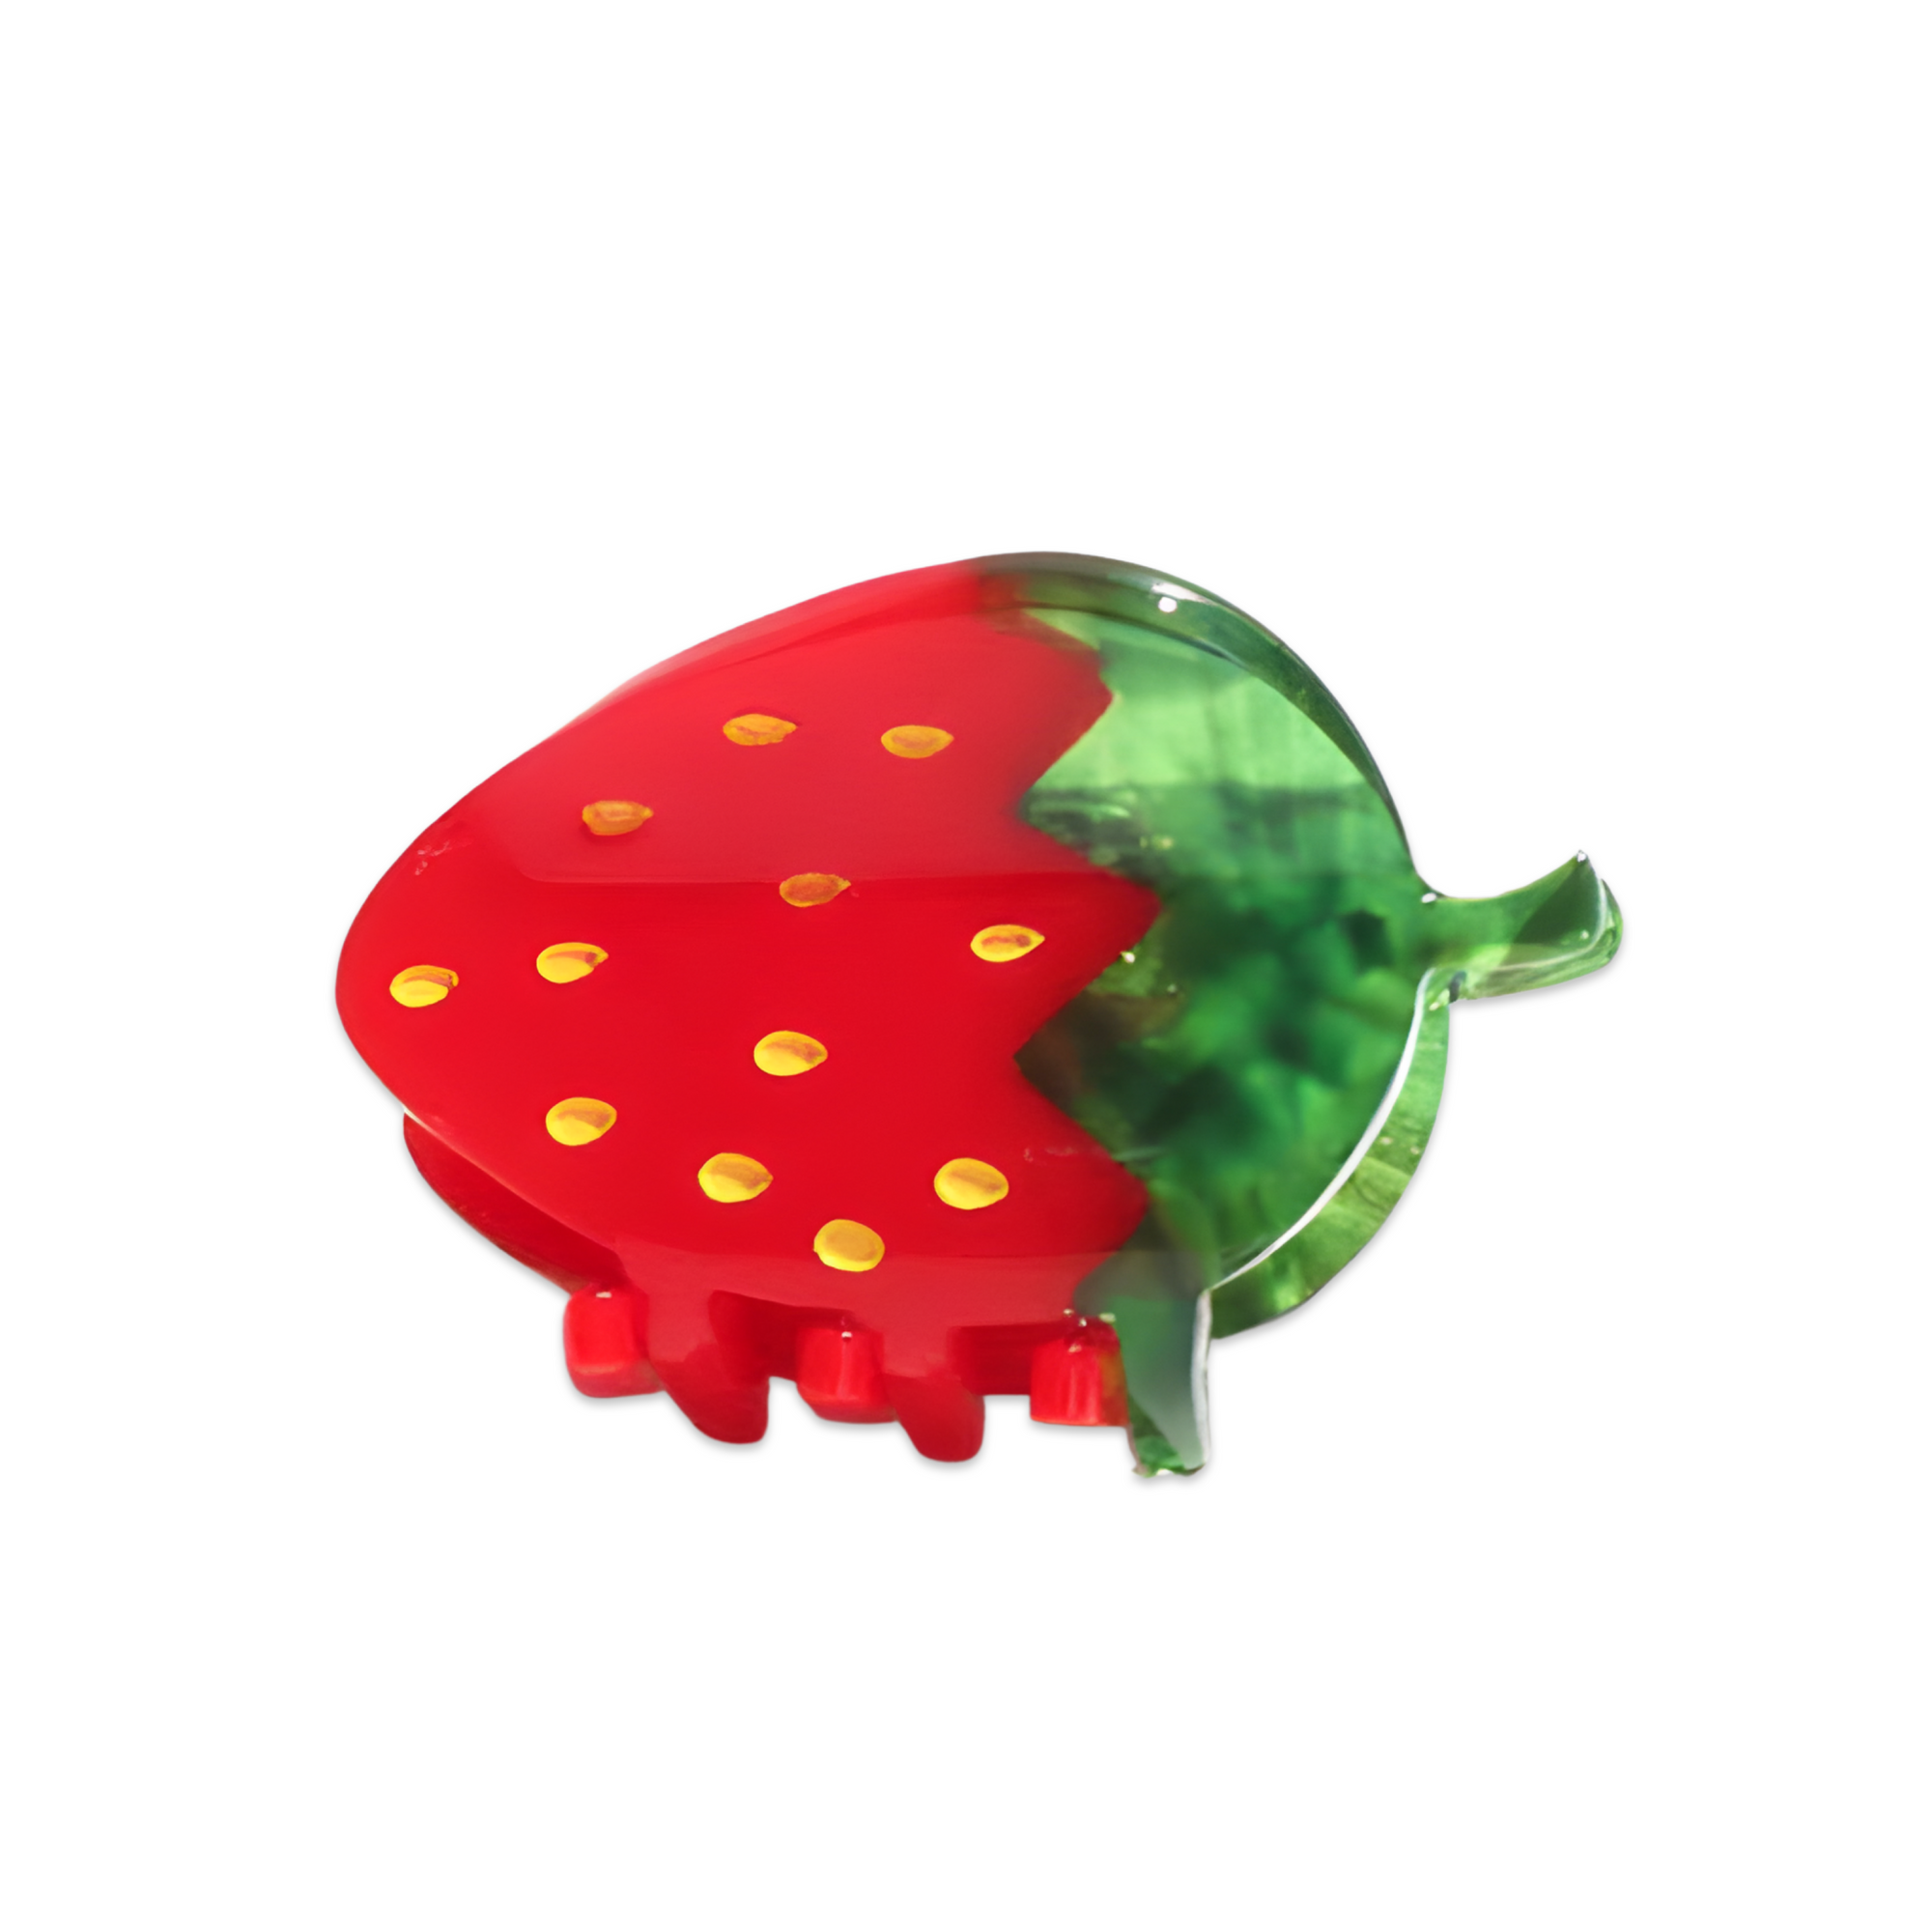
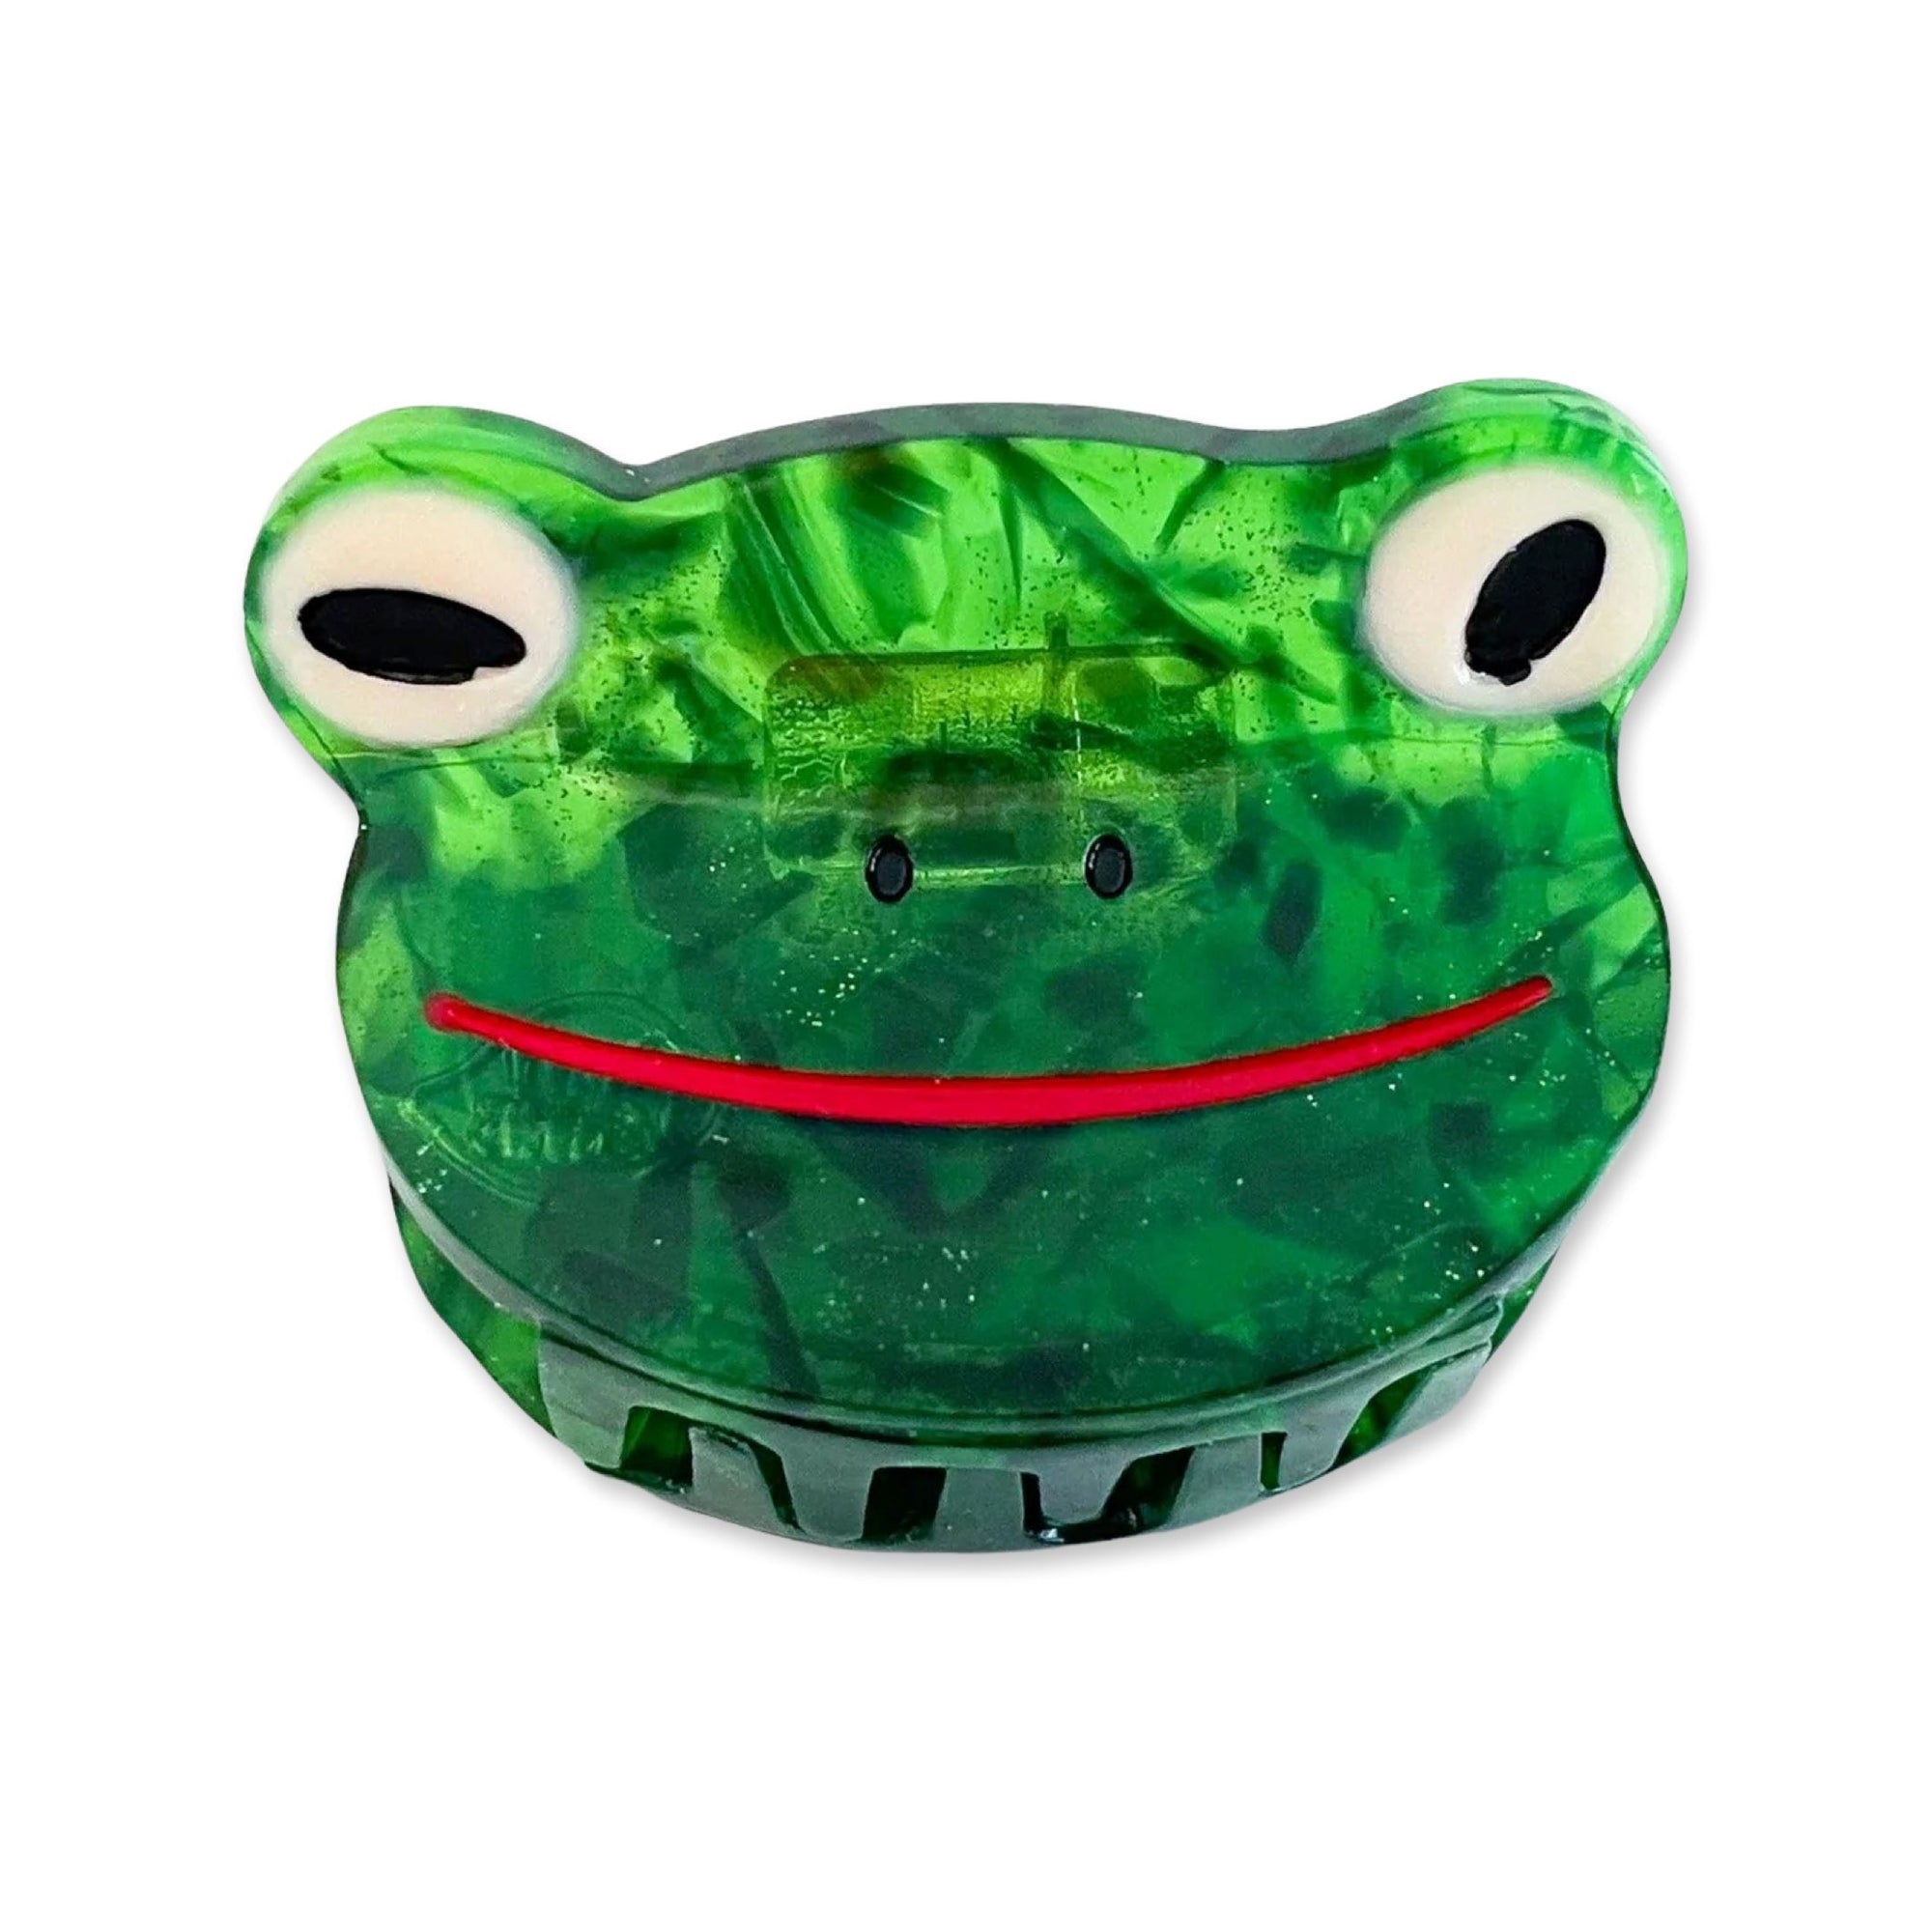
Say goodbye to plastic and hello to fabulous with our hair accessories!
Crafted from eco-friendly, plant-based cellulose acetate, each piece is lovingly handmade and hand-painted by talented artisans in our production facilities.
Our vibrant, quirky designs are the perfect finishing touch for a bright and bold outfit!


