


Embroidery On a T-Shirt: How to Stitch on Stretchy Fabric
The most frequently asked question
I've been teaching embroidery workshops for years. In my beginner's class, we cover several elementary techniques, like running stitch and how to prepare your fabric for embroidery. These classes are focused on embroidery on woven (non-stretchy) fabrics. Inevitably in each class, someone asks how to embroider on a t-shirt. I usually respond with a vague description of the process, which is slightly different than embroidering on woven fabric. I always feel a bit like I am not giving enough information, or that my students are left feeling a little confused.
This blog post is the answer to the countless questions I get about stitching on jersey (aka t-shirt or stretchy) fabrics. While it’s a lot of fun to embroider plain tees, I encourage you to experiment with vintage fabrics and novelty prints. In this tutorial, I embroidered on one of my favorite Jenny Lemons printed garments, our Eyes Boxy Tee!
In this article we will go over:
- how to use stabilizer sheets
- how to stretch your fabric without pulling
- how to tear away the stabilizer
Gather Your Materials
- Tear Away Stabilizer Sheets
- Fabric Marking Pen
- Embroidery floss
- Embroidery Needles
- Embroidery Hoop
- Thread Snips
- A tee to embroider on

Shop Embroidery Supplies

Stabilizer Sheets
Embroider on difficult materials, like t-shirts, sweatshirts, and knits with ease and confidence


Step 1: Stretch Your Fabric and Stabilizer Sheet
Without a stabilizer sheet, embroidering on knit fabrics would be extremely difficult. Knit fabric by nature is flexible. When you stretch it on a hoop the fabric is distorted, resulting in uneven stitching. A stabilizer sheet is a papery material that when layered with a knit fabric prevents it from stretching and provides support.
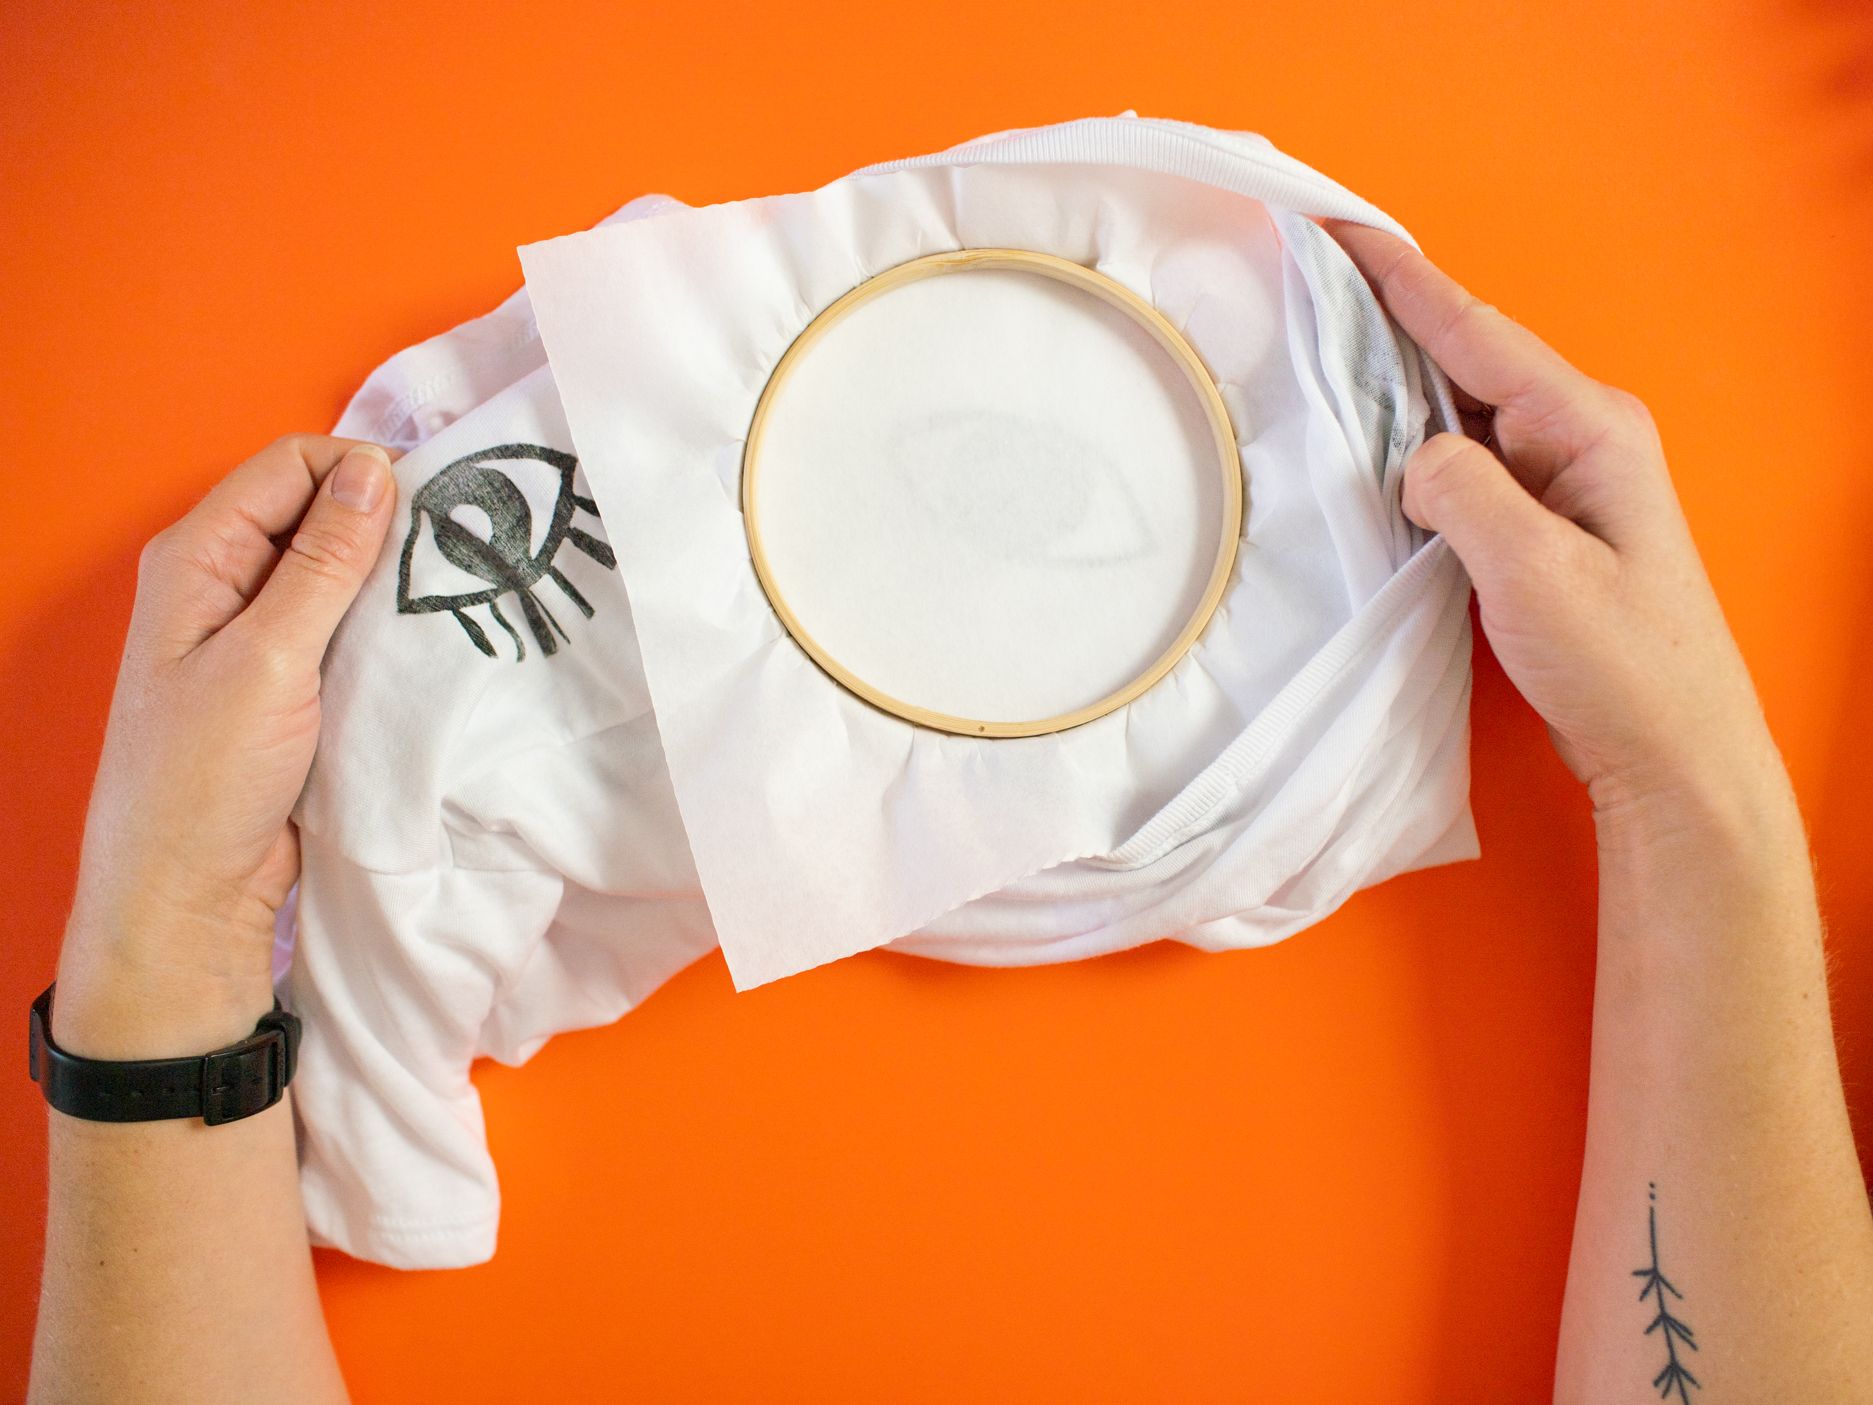
Use a stabilizer sheet that is larger than your hoop by about 1-2 inches on each side.

Put the stabilizer sheet underneath your fabric

Separate your hoop. Place the solid ring of the hoop underneath both the stabilizer and the fabric.

Push the hoop half with the screw on top of your fabric, securing it in place. Make sure the fabric is not stretched or distorted. Tighten the screw so the hoop is secure.
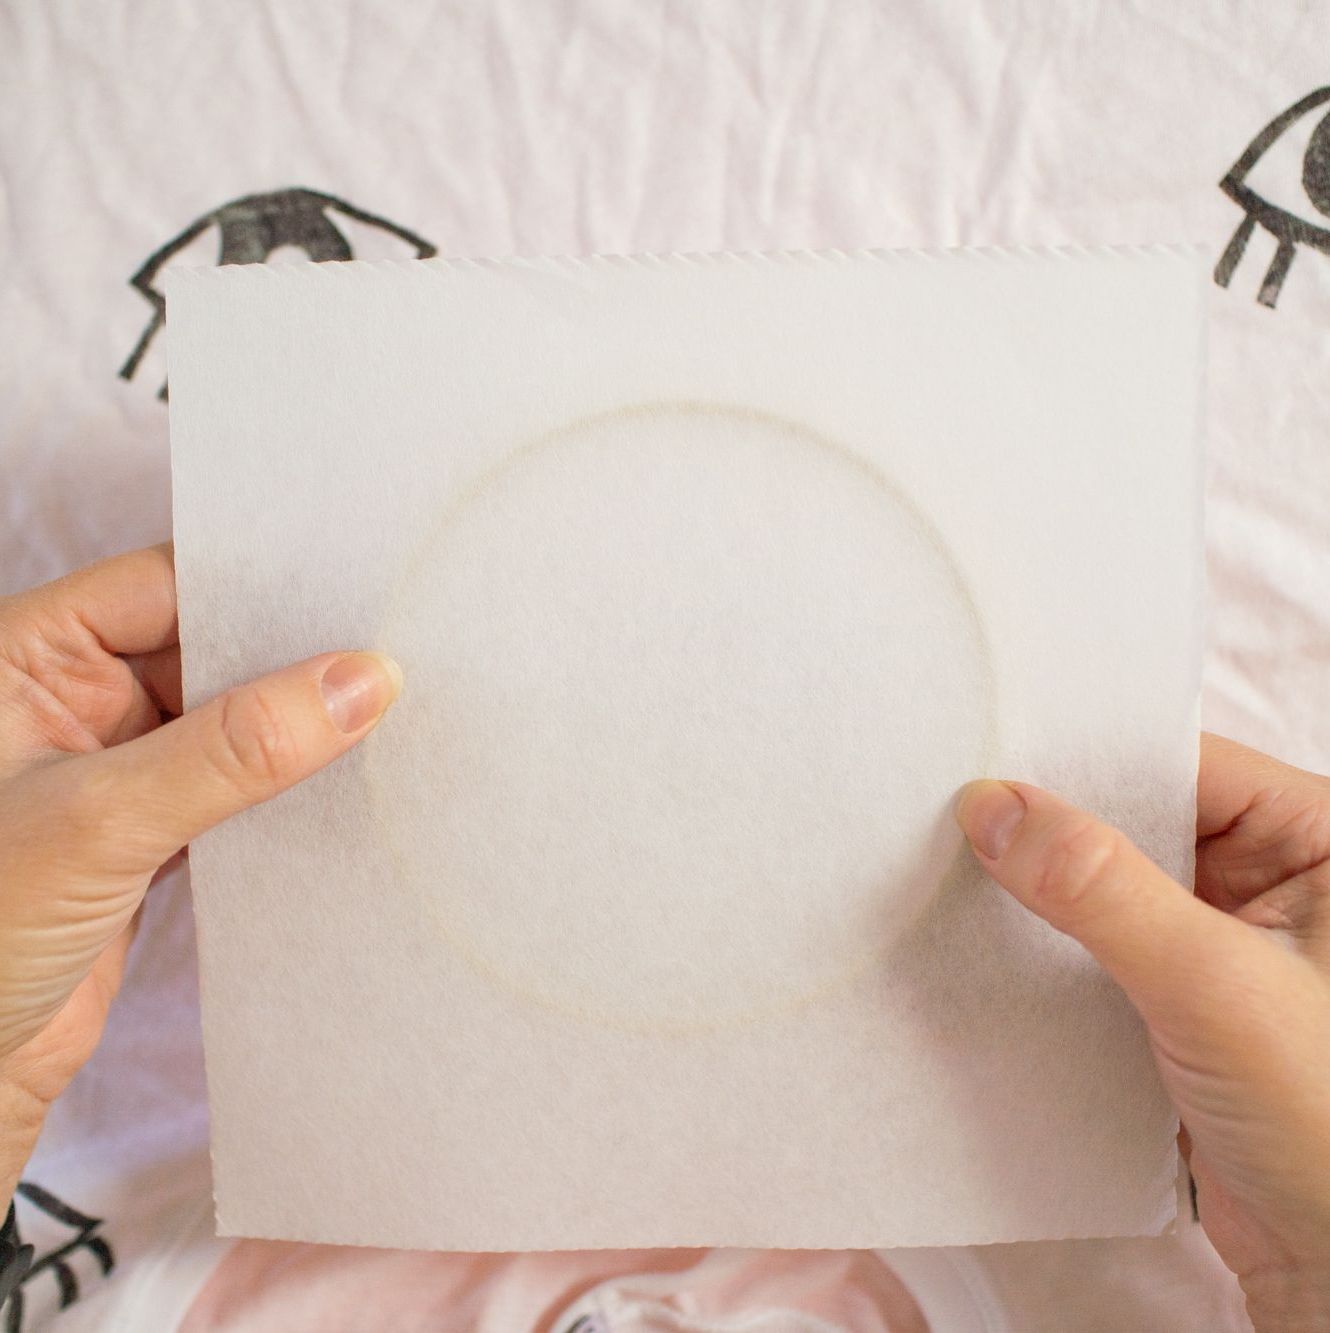
From the back your piece will look like the photo. Make sure everything is secure and smooth.
For more information on stretching fabric, check out our blog post Getting Started with Embroidery.
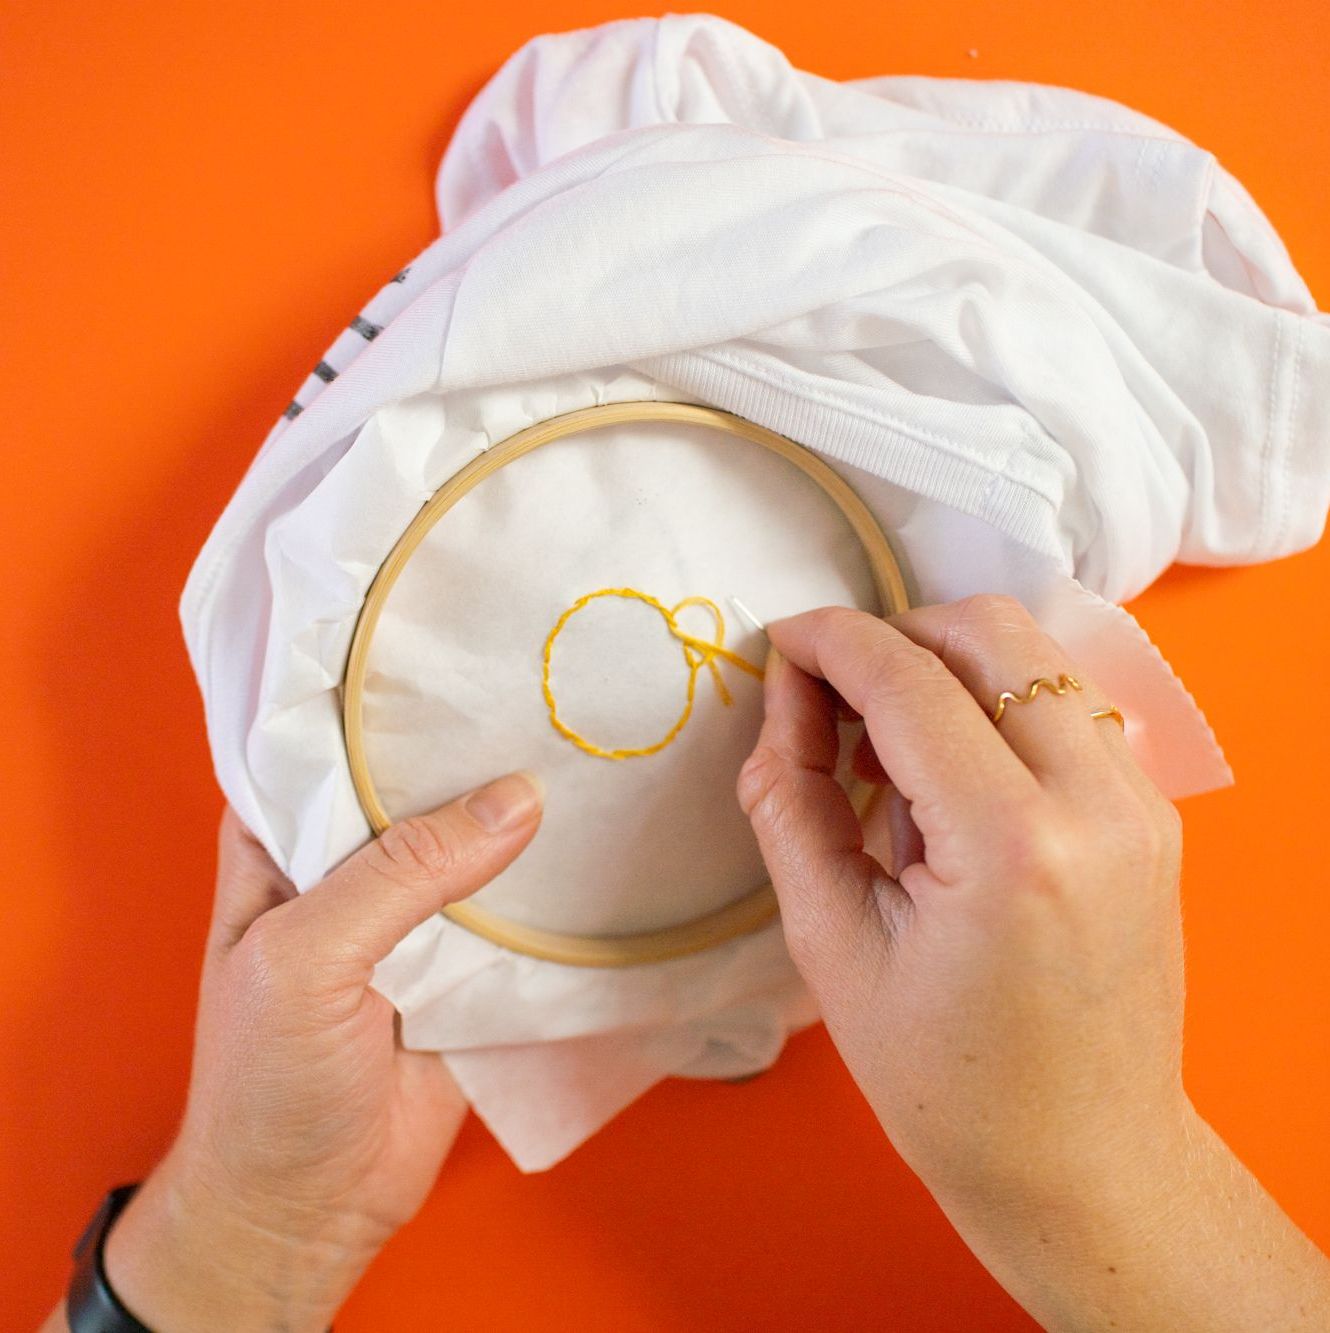
Step 2: Stitch your Design
Your fabric is ready to stitch. You can embroider any design your heart desires without fear that your stitches will become misshapen.
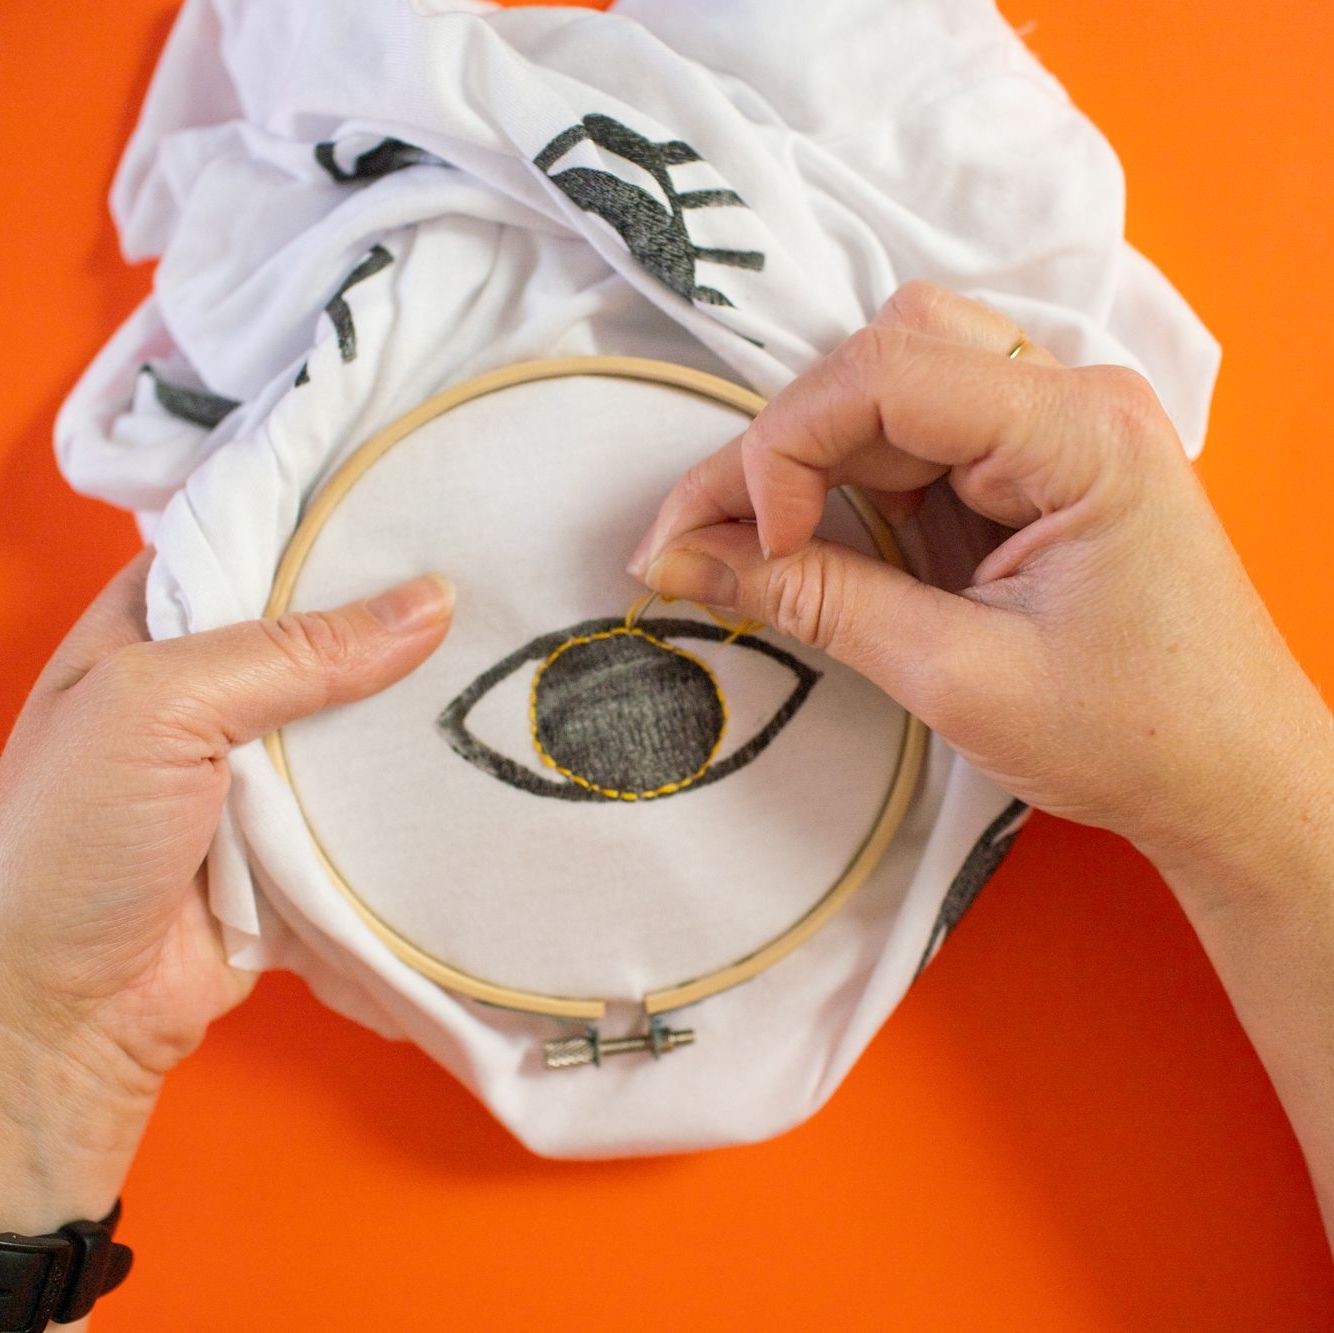
Complete your embroidered piece! In this example, I did a simple back stitch around the pupil of this eye. You can use a fabric marking pen to sketch out your design if you'd like!
Once your stitch is complete, flip it to the back and knot off your work.
Step 3: Tear Away the Stabilizer
Removing the stabilizer is a bit tricky. If you're not super careful, you can accidentally pull out your stitches, undoing all your hard work. Take a deep breath and be patient. Don't be afraid to use a small scissors to help! You don't have to only tear the stabilizer.
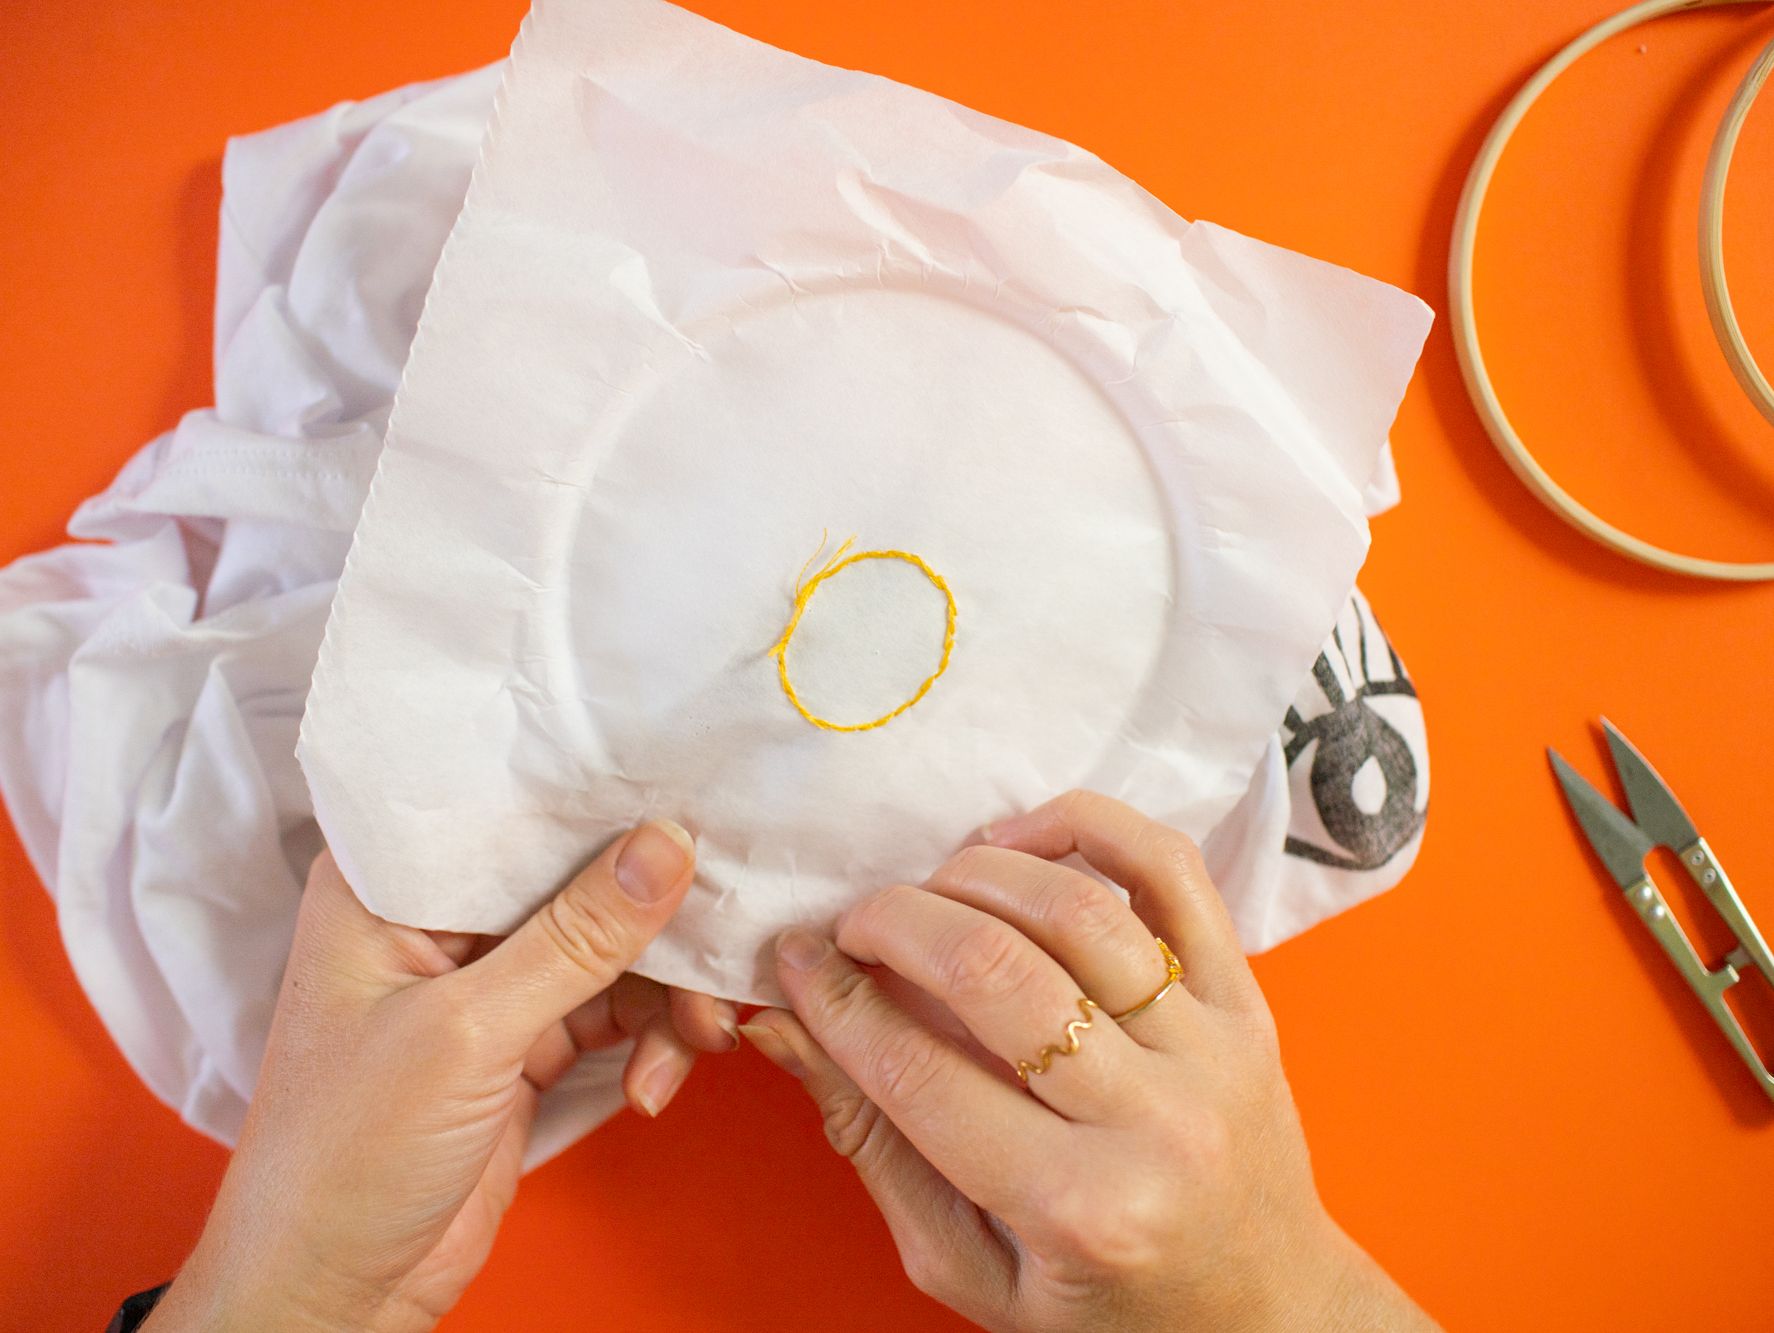
Remove your work from the hoop.
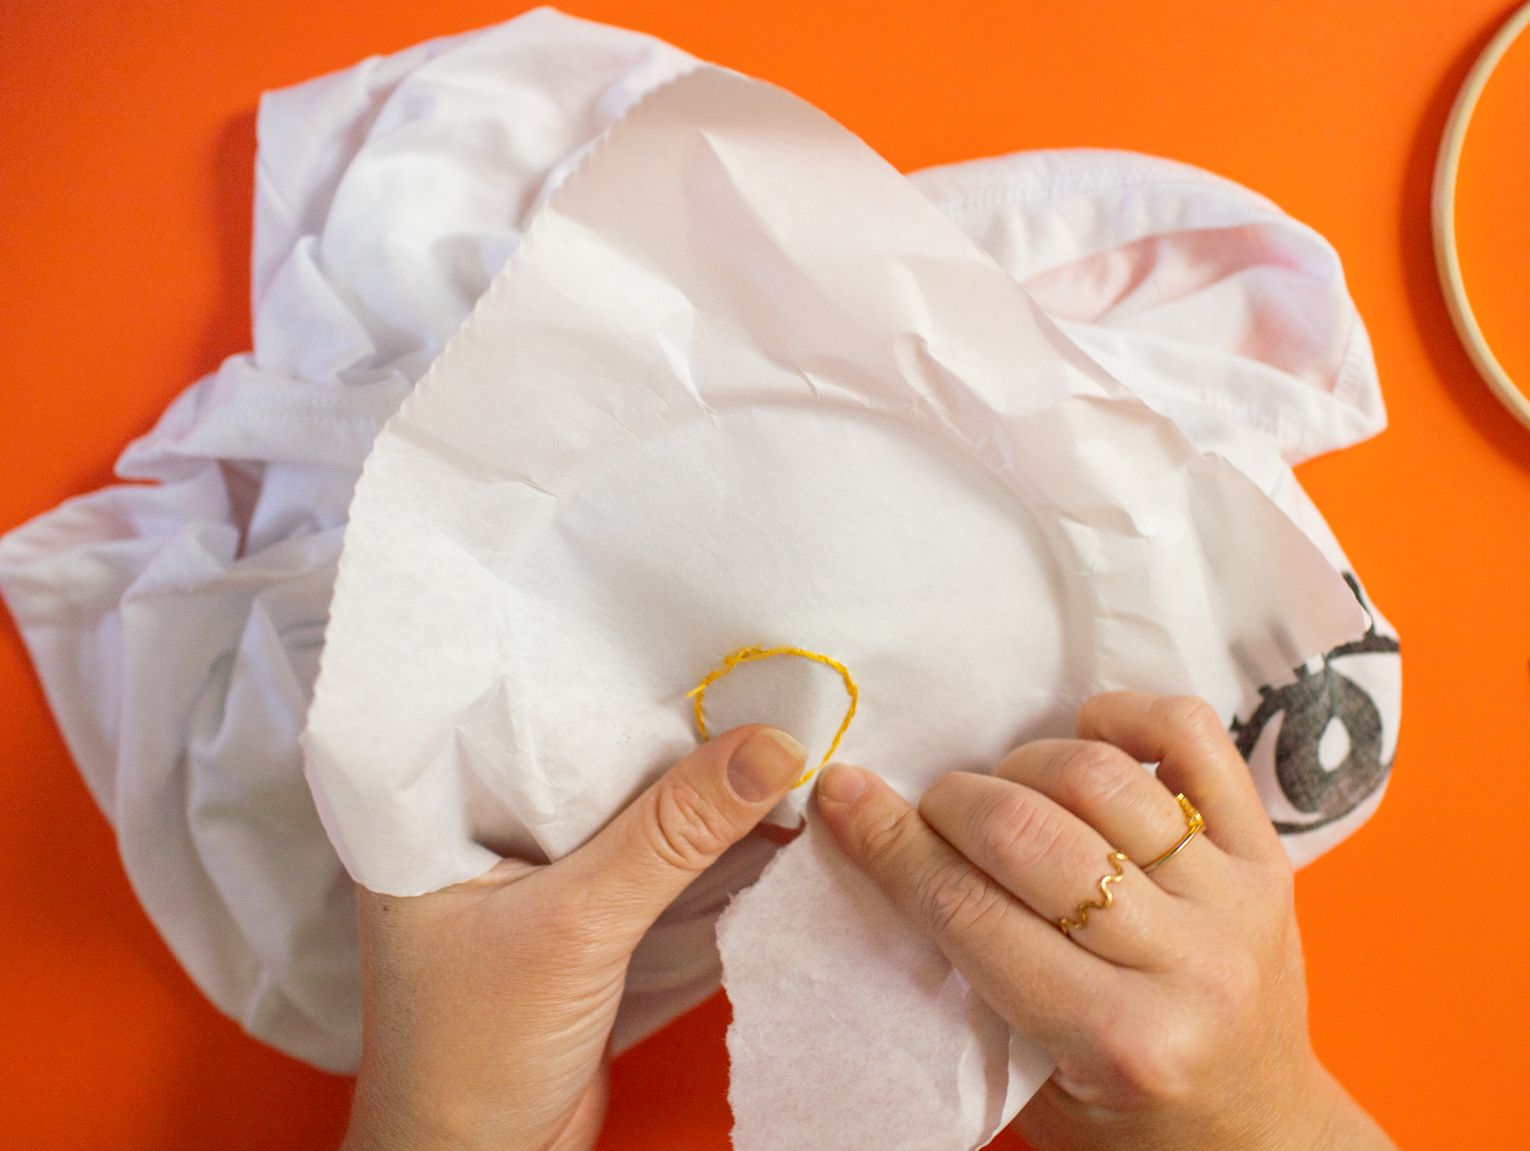
Carefully begin tearing away the stabilizer. Work slowly, being sure to take your time around the stitches.
Once your embroidery is free of the stabilizer, it will lay perfectly on your fabric!

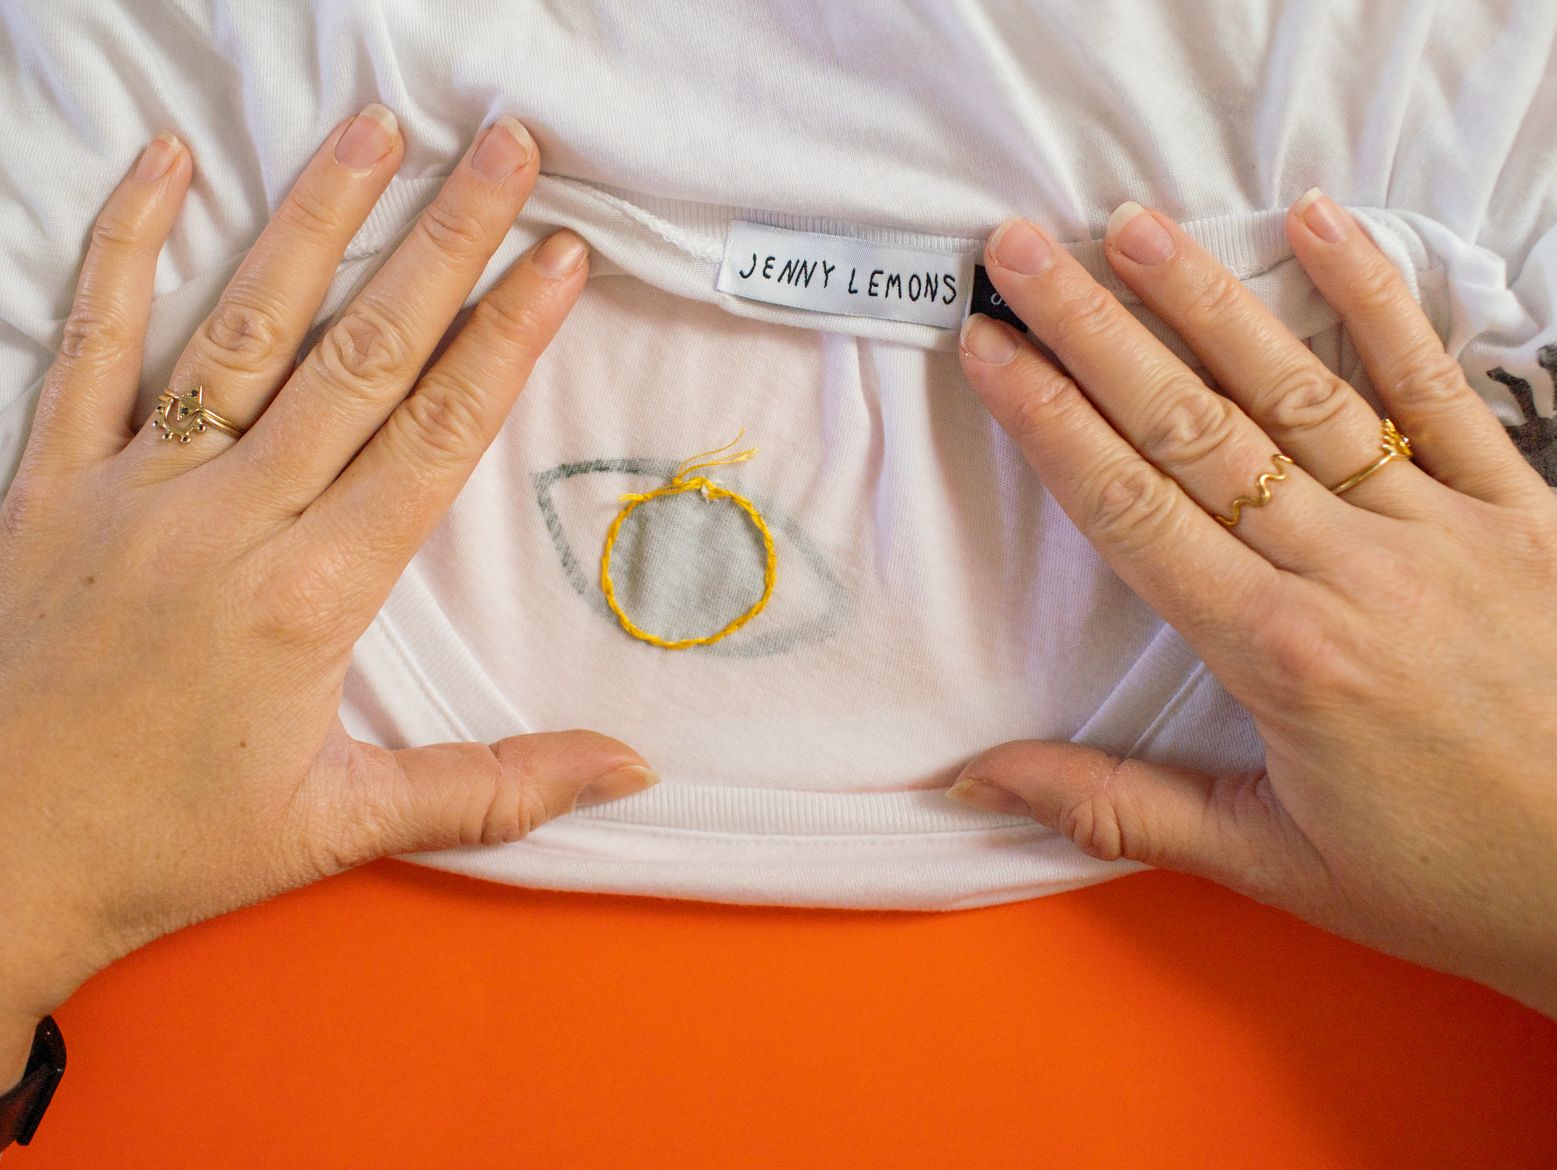
Step 4: Show Off Your Custom Tee!

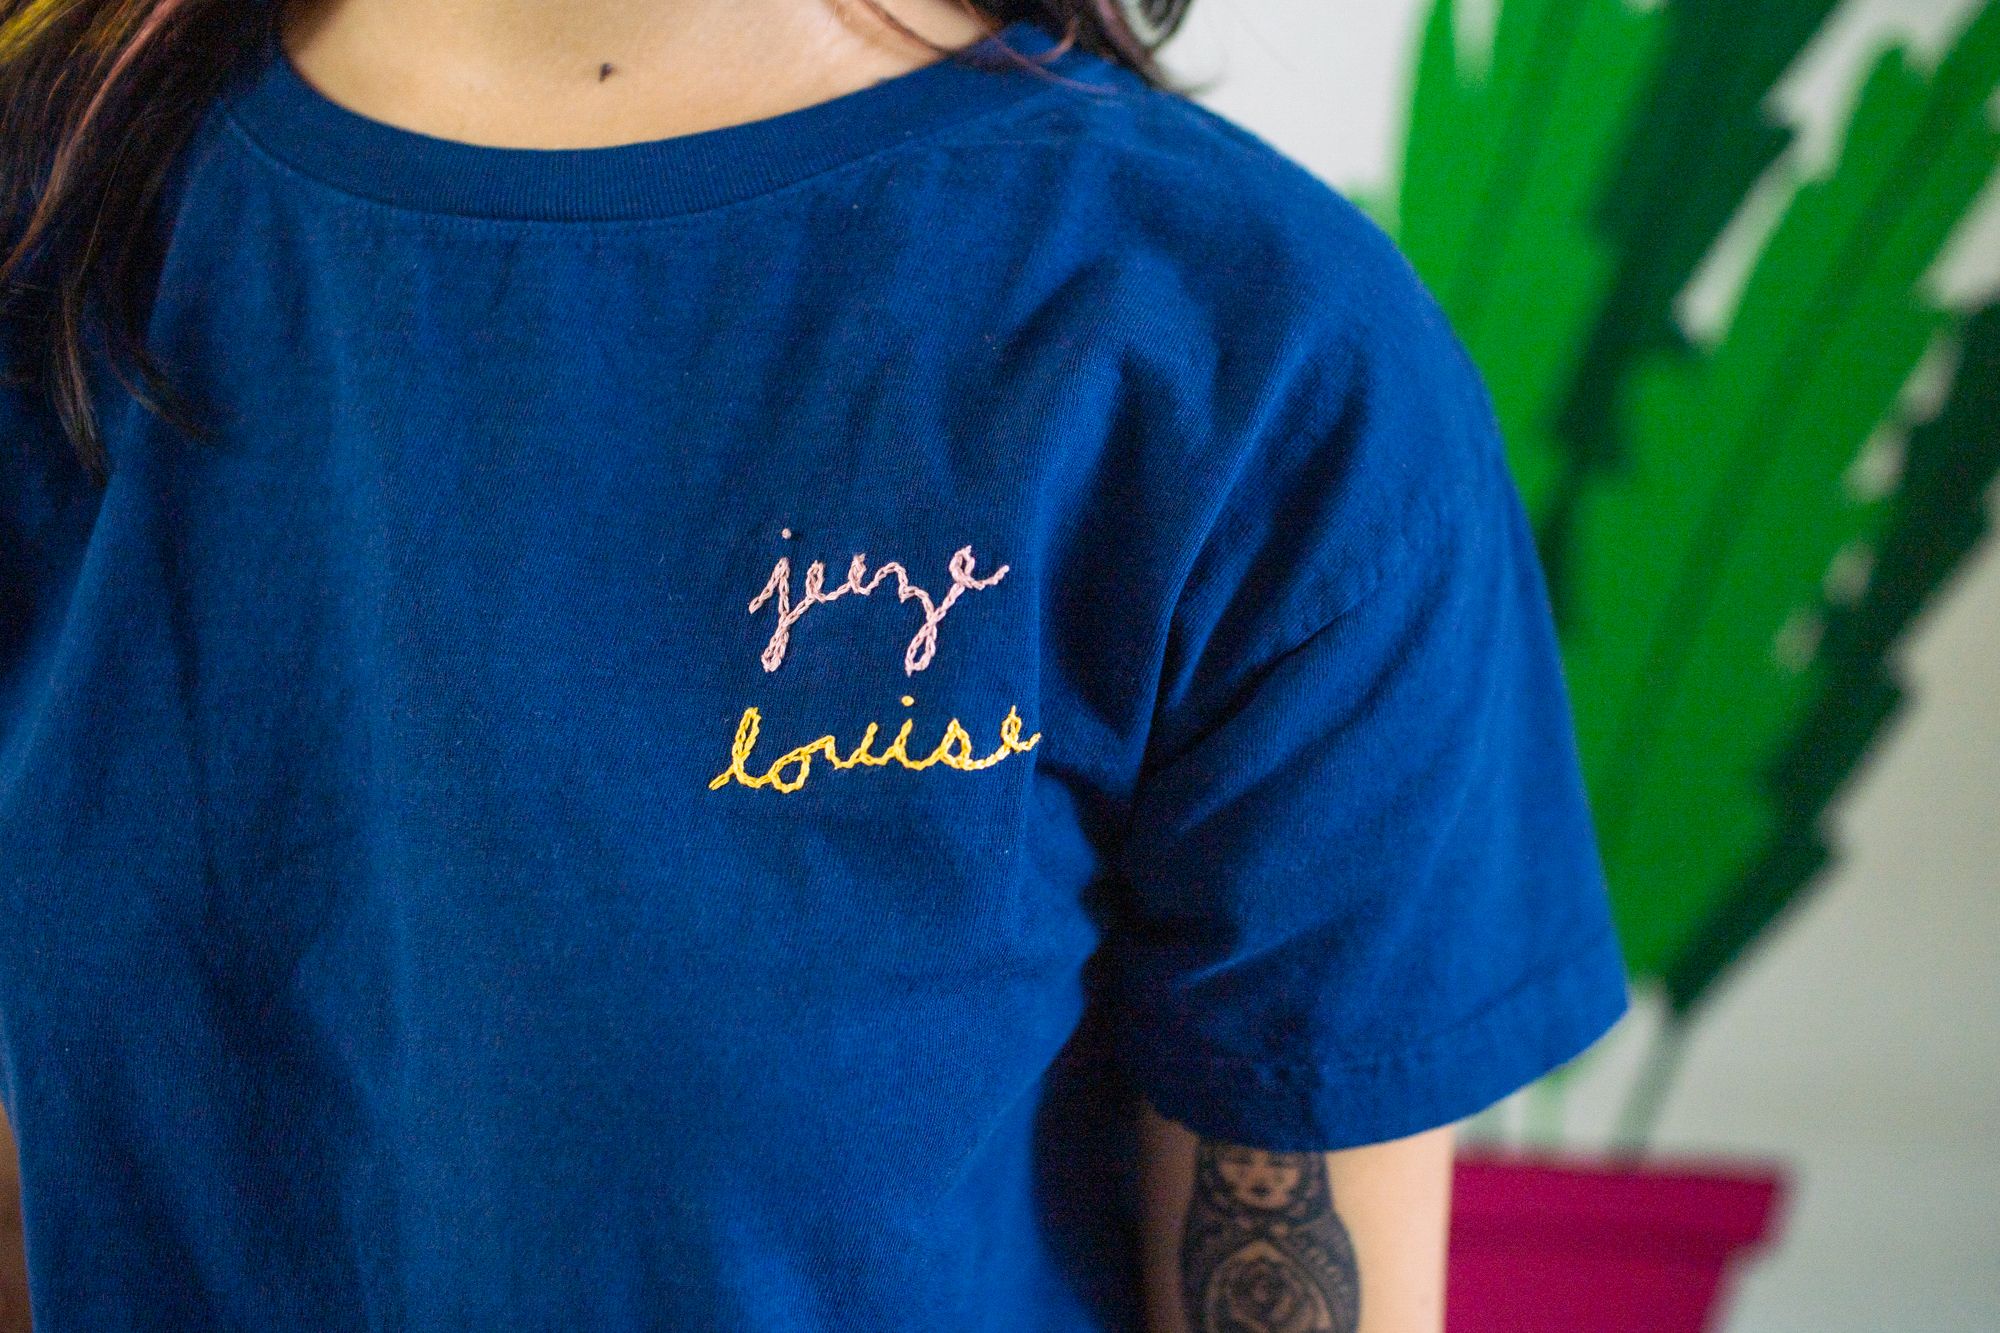
Embroidering plain tees is a super fun way to add some personality to your wardrobe! Try stitching a drawing, your name, or quote on your shirt. On this top, I stitched a favorite phrase "Jeez Louise."
What did you embroider on your tee? Share your questions and your work with us in the comments, on our instagram, or by emailing us at hello@jennylemons.com. We can't wait to see what you stitched!

By Jennie Lennick
Designer, teacher, and lover of crafts! Boss Lady at Jenny Lemons in San Francisco


