


How to Sew a Latch Hook Pillow - No Machine Necessary!
SEWING a Latch Hook Pillow
By Bobcat and Birdie
Let's get latch hooking!
Hi! My name is Birdie and I love to latch hook! I’ve been interested in this craft for over twenty years. Fiber arts have always drawn me in as a way to escape. Repetitive tasks with an end goal is super therapeutic for me.
Growing up making latch hook from big box stores, I would end up with a finished piece, but never knew what to do with it! Where do you go from there? You have hooked yarn in a cool design, but the rug canvas is starting to fray and you just really don’t know how to share the project you put a little piece of your heart into.
So let’s make a pillow! I’m using two pieces I made from my kits, but you can use any two finished pieces. Just make sure they’re the same size!
Gather Your Materials

As an Amazon Associate we earn from qualifying purchases. Thank you for checking out our recommendations!
SHOP LATCH HOOK SUPPLIES

Step 1: Measure Your Pieces
Grab your 2 finished latch hook pieces and your ruler.
We’re going to measure both sides of your finished pieces— note the vertical and horizontal lengths


Step 2: Cut Felt Backings


Measure and cut your felt (x2 for the both sides!)
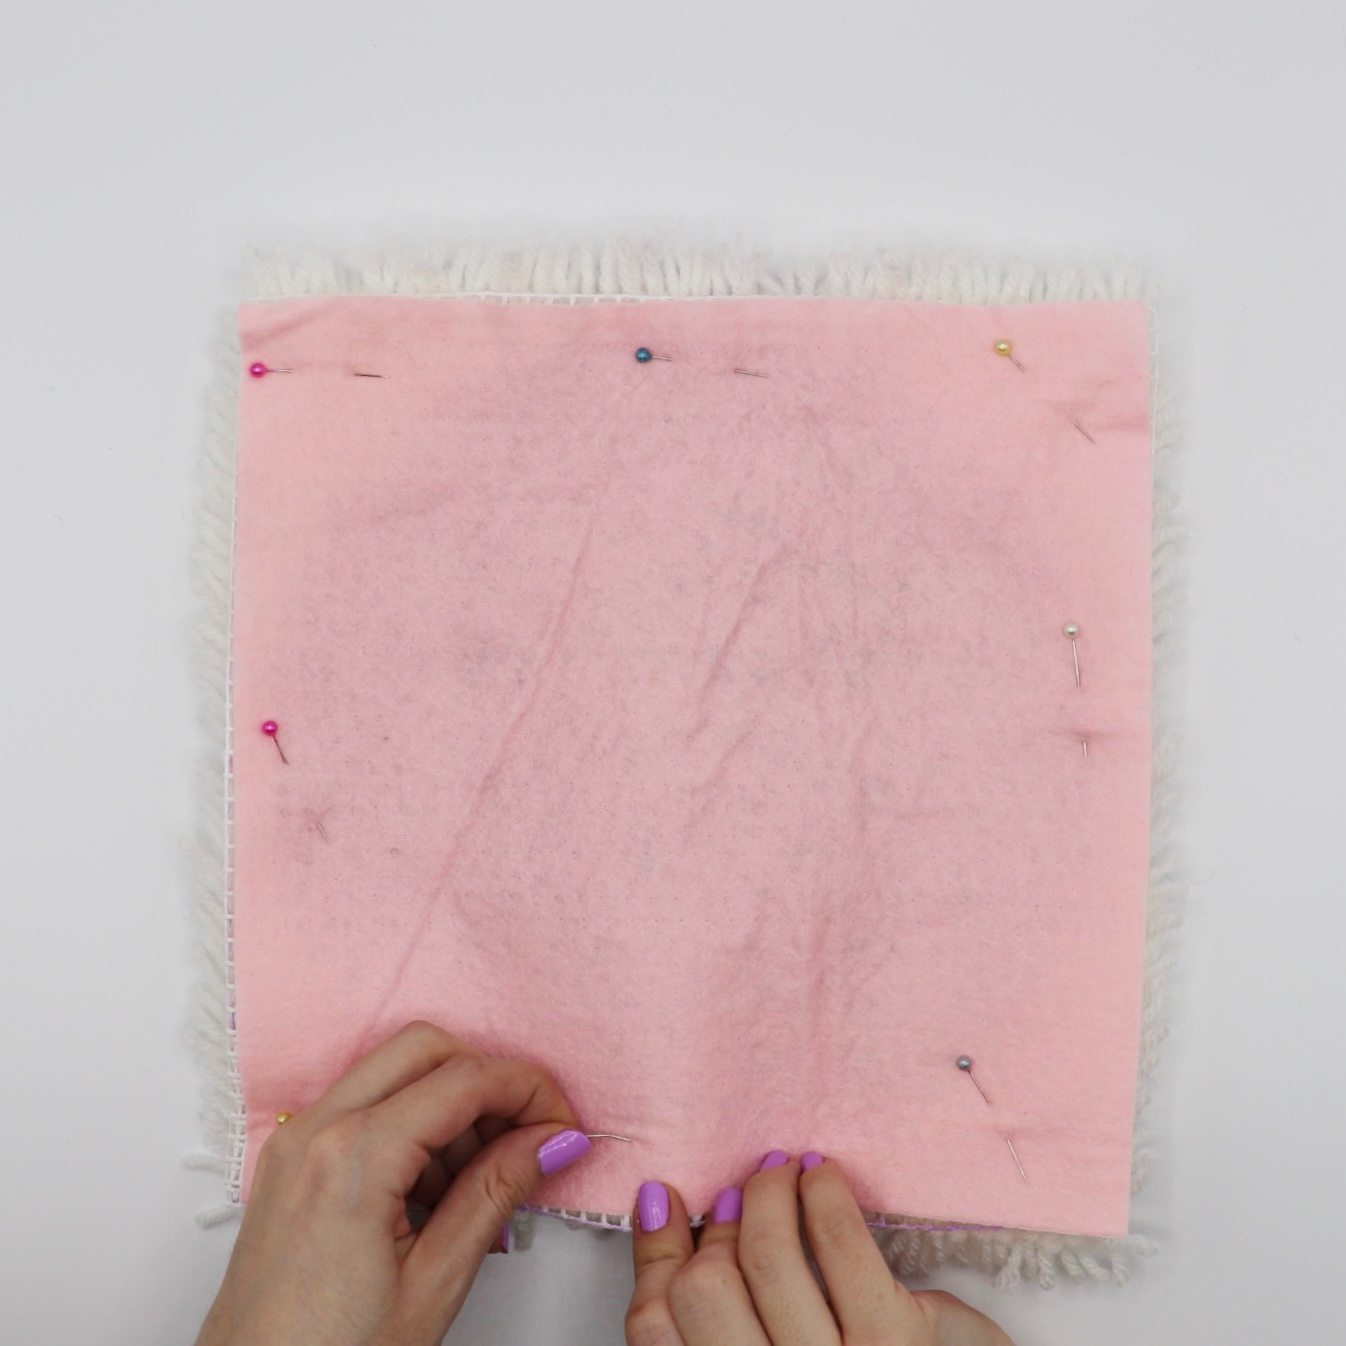
Step 3: Pin the Backings


Pick a latch hook piece to begin with and fold in all four sides. For this project, I didn’t trim the excess rug canvas off because it’s easier to pin with more canvas than with less.
Pin each corner of the rug canvas.


Line up one cut piece of felt over your piece and pin a side to hold it in place.


Fold each corner of felt back and take out the straight pin you placed before.
Pin the felt around all four sides.

And repeat!


Step 4: Prep Your Thread


Cut an arms length of embroidery floss. Separate two strands and knot off the end twice. -Thread your needle and begin with a blanket stitch to knot your first stitch on a corner. -Pro-tip: it’s easier to begin sewing on either the left or right of your piece (versus the top or bottom)
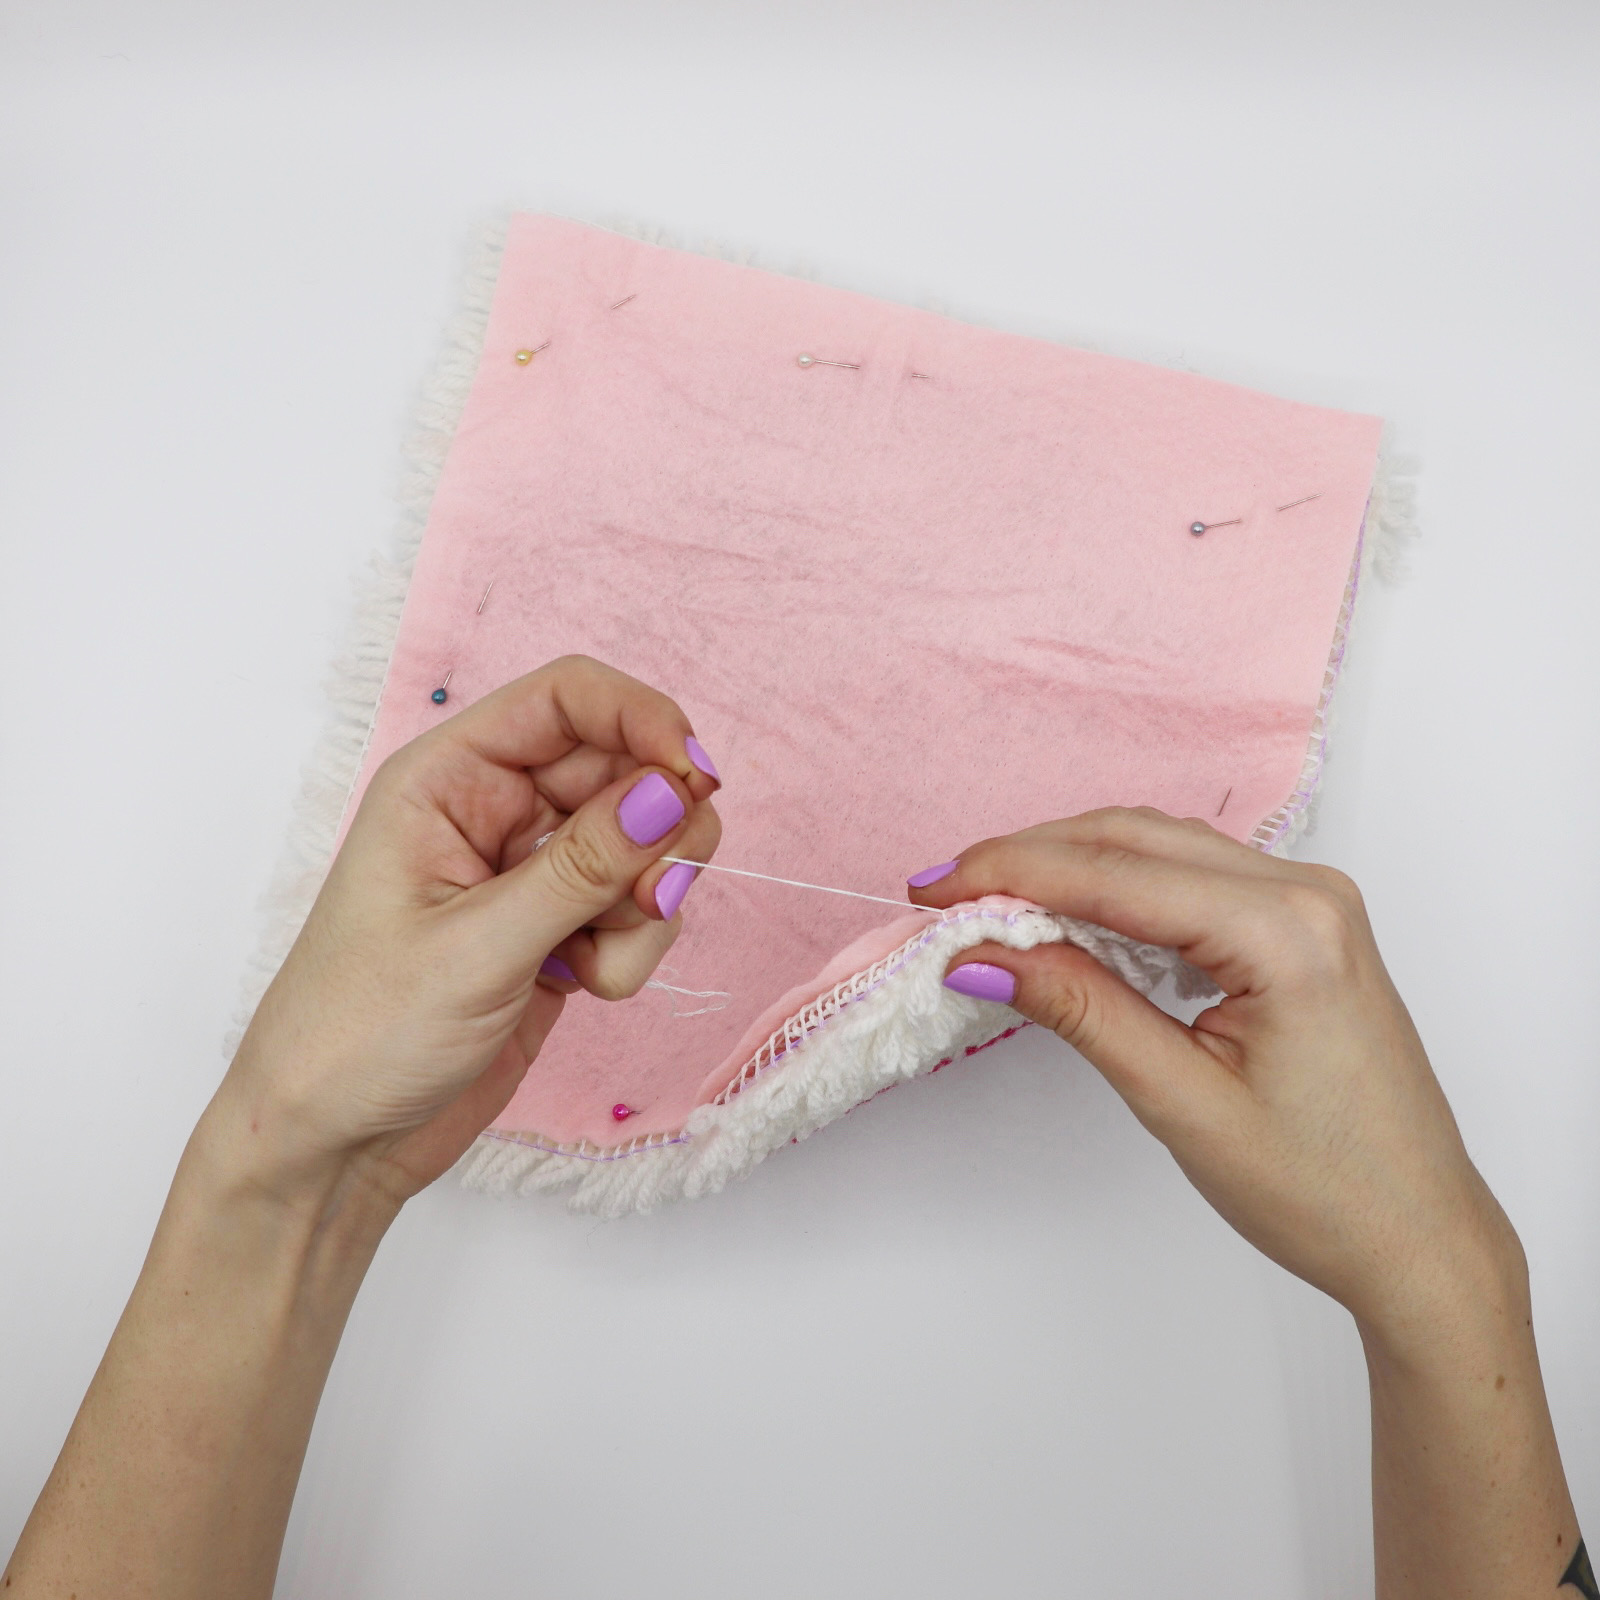
Step 5: Blanket Stitch the Backing
Continue sewing your piece along all four sides with a simple blanket stitch. -Two sides will be sewn “between” rows and two sides are sewn between hooked yarn “on” the row.
Follow this tutorial or visit Jenny Lemons' appliqué blog if blanket stitching is new to you:


Repeat steps 4-5 for the second piece.


6. Prep Your Pillow

Make sure the yarn of your pieces are facing the same direction

Turn the “right” sides in towards each other.

And pin!


A smaller pillow like this is harder to turn inside out with a small hole (tons of yarn to push through!) so we’re only pinning/sewing 3 sides and saving the bottom for last.
7. Sew The Edges
Sew the edges together and use your previous stitches as a guide.
Don’t forget! We’re only sewing 3 sides and leaving the bottom open.


8. Pillow Time!
Turn your piece inside out. Pay attention to the inner corners. -Begin stuffing the pillow. You don’t need to overstuff, just enough to fill in the shape.


9. Close off the bottom
Pin the last side together, and close the pillow at the bottom with a blanket stitch.


10. Fluff and enjoy!


Comments
Adrian said:
Thanks so much for posting this! I bought one of your kits at a store in Portland, ME and love your product so much. Wanted to also make a pillow out of it so this tutorial is perfect. Keep doing what you do!